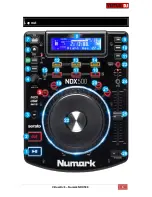
Numark NDX500, Operation Manual
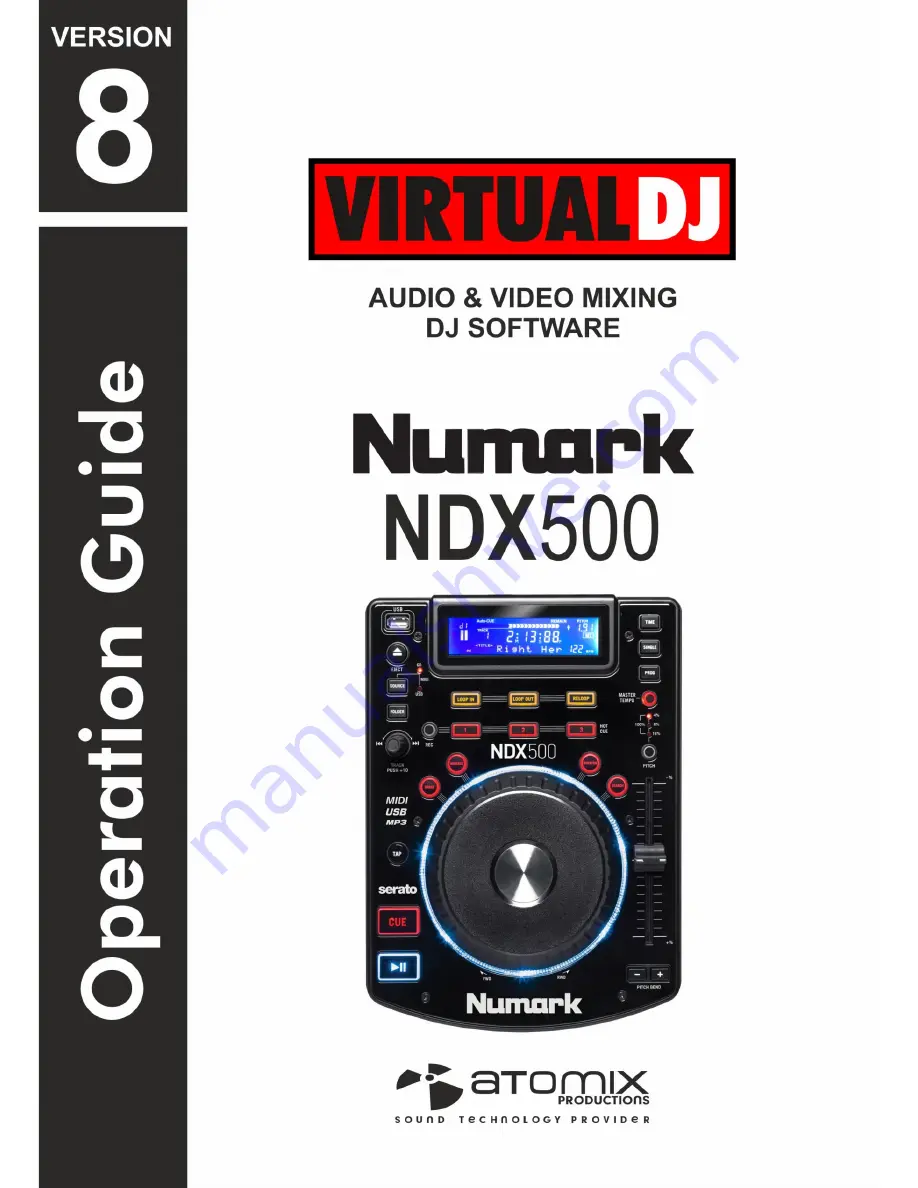
The Numark NDX500 is a versatile and user-friendly DJ media player, built to deliver seamless performance and ultimate control. Enhance your DJ skills by accessing the comprehensive Operation Manual, available for free download from 88.208.23.73:8080. Master the features and unleash your creativity with this exceptional product.
Share
Download

Reviews:
No comments
Related manuals for NDX500

F-400
Brand: T-Drill Pages: 75

KS
Brand: Zeiss Pages: 38

200 Series
Brand: Ecco Pages: 4

3
Brand: JD Squared Pages: 15

D1256
Brand: DAPAudio Pages: 16

400 Series
Brand: 3M Pages: 28

600 Series
Brand: Jacobsen Pages: 6

MIMO4040CDN
Brand: Ecler Pages: 108

RTE
Brand: R&S Pages: 121

Lab companion SI-300
Brand: Jeio tech Pages: 69

IP Video Test Option HST-3000
Brand: JDS Uniphase Pages: 4

JH Series
Brand: Jct Pages: 16

Harry
Brand: Palmako Pages: 83

Mini-MW Series
Brand: M-system Pages: 5

dot2
Brand: MA Pages: 2

GENESIS
Brand: RAPID REBOOT Pages: 18

M1240
Brand: MacDon Pages: 170

D1X Series
Brand: MacDon Pages: 108


