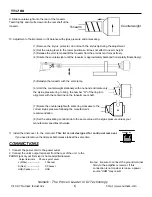
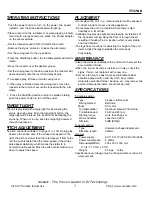
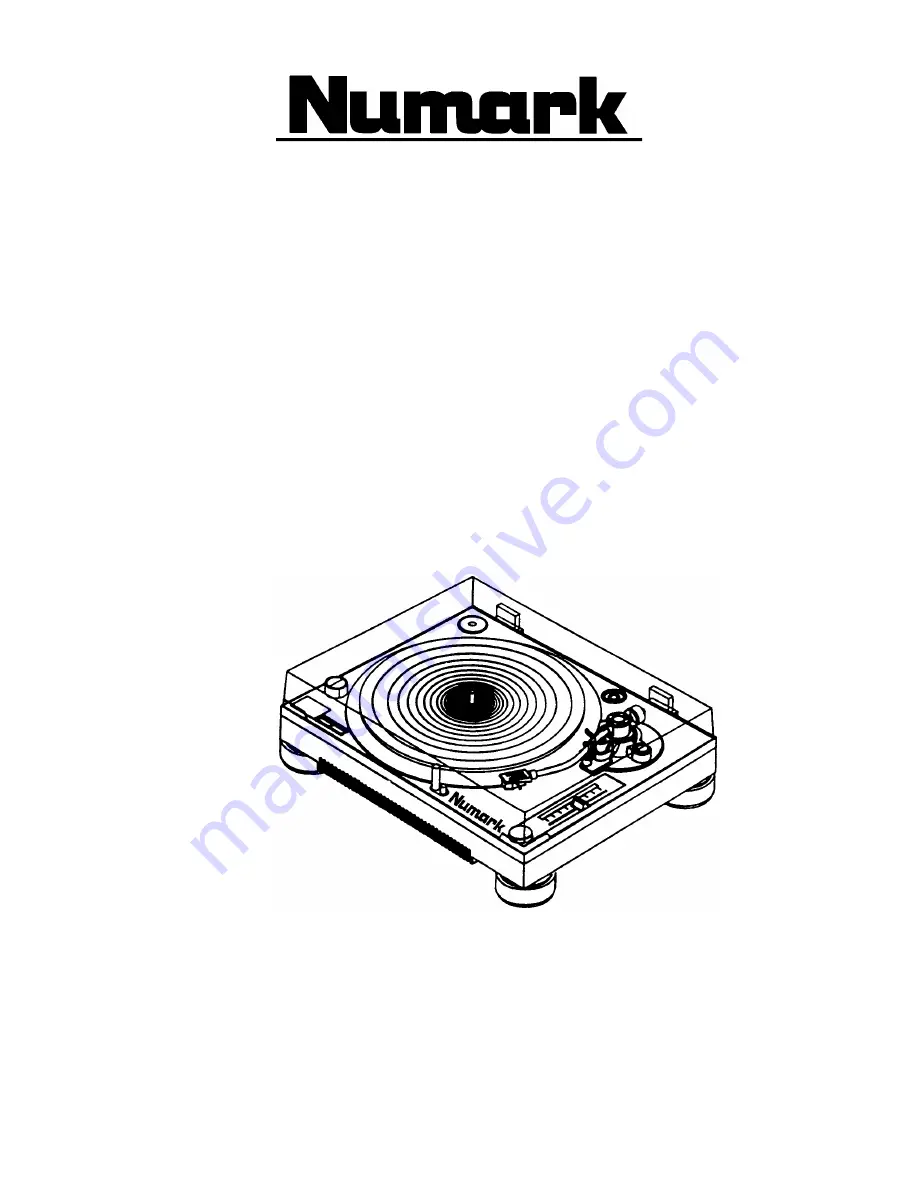
background image

Professional Disc Jockey Products

TT1700 Belt-Drive Turntable

OWNER’S MANUAL

NUMARK INDUSTRIES

11 Helmsman Road, North Kingstown, RI 02852 


http://www.numark.com

Summary of Contents for TT1700

Page 1: ...Professional Disc Jockey Products TT1700 Belt Drive Turntable OWNER S MANUAL NUMARK INDUSTRIES 11 Helmsman Road North Kingstown RI 02852 http www numark com ...

Page 2: ...o a power supply only of the type described in these operating instructions or as marked on the unit 8 Power Cord Protection Power supply cords should be routed so that they are not likely to be walked upon or pinched by items placed on or against them When removing the cord from a power outlet be sure to remove it by holding the plug attachment and not by pulling on the cord 9 Object and Liquid E...

Page 3: ...Registration Introduction Page 3 Diagram and Parts Description Page 4 Assembly Page 4 Operating Instructions Page 7 Specifications Page 7 Warranty and Service Page 8 Contents of this package 1 Main Unit 1 2 Turntable platter 1 with belt attached 1 3 Turntable mat 1 4 Dust cover 1 5 45 rpm adaptor 1 6 Counterweight 1 7 Headshell 1 cartridge attached on cetain models 8 Operating instructions 1 9 Reg...

Page 4: ...e 18 Hinge For Dust Cover 19 Belt Drive Spindle ASSEMBLY 1 Remove the main unit with the packing from the box and take off the packing material DO NOT DISCARD ANY PACKING MATERIAL The headshell counterweight and other parts are contained within the packing material 2 Set the 45 rpm adaptor on the main unit 3 Set the voltage selector switch to the 110 127 or 220 240V position according to the volta...

Page 5: ...tor to guard the stylus tip from damage If you have purchased a unit with the cartridge included then that cartridge is already installed on the headshell You may skip to line 8 1 Connect the lead wires to the cartridge terminals The terminals of most cartridges are color coded Connect each lead wire to the terminal of the same color White L Left channel Blue L Left channel Red R Right channel Gre...

Page 6: ...enter line on the tonearm rear shaft 7 Rotate the counterweight with scale ring clockwise to the correct stylus pressure following the manufacture s recommendation 8 Set the anti skating control knob to the same value as the stylus pressure unless your manufacturer specifies otherwise 11 Install the dust cover to the main unit This lid is not designed for continual removal If you need to remove th...

Page 7: ...s the platter is in normal turntable speed Move the pitch control slider up or down to adjust the speed PLACEMENT Do not place the unit in a location where it will be exposed to direct sun light or near a heating appliance Do not place the unit in a location where there is high humidity or a lot of dust Cartridge may pick up slight sound pressure or vibrations of the speakers coming along the floo...

Page 8: ...ory nor to cases where the serial number thereof has been removed defaced or changed nor to accessories used therewith not of our own manufacture Numark reserves the right to make changes or improvements in its products during subsequent production without incurring the obligation to install such changes or improvements on previously manufactured equipment To place this warranty into effect the en...

Reviews: