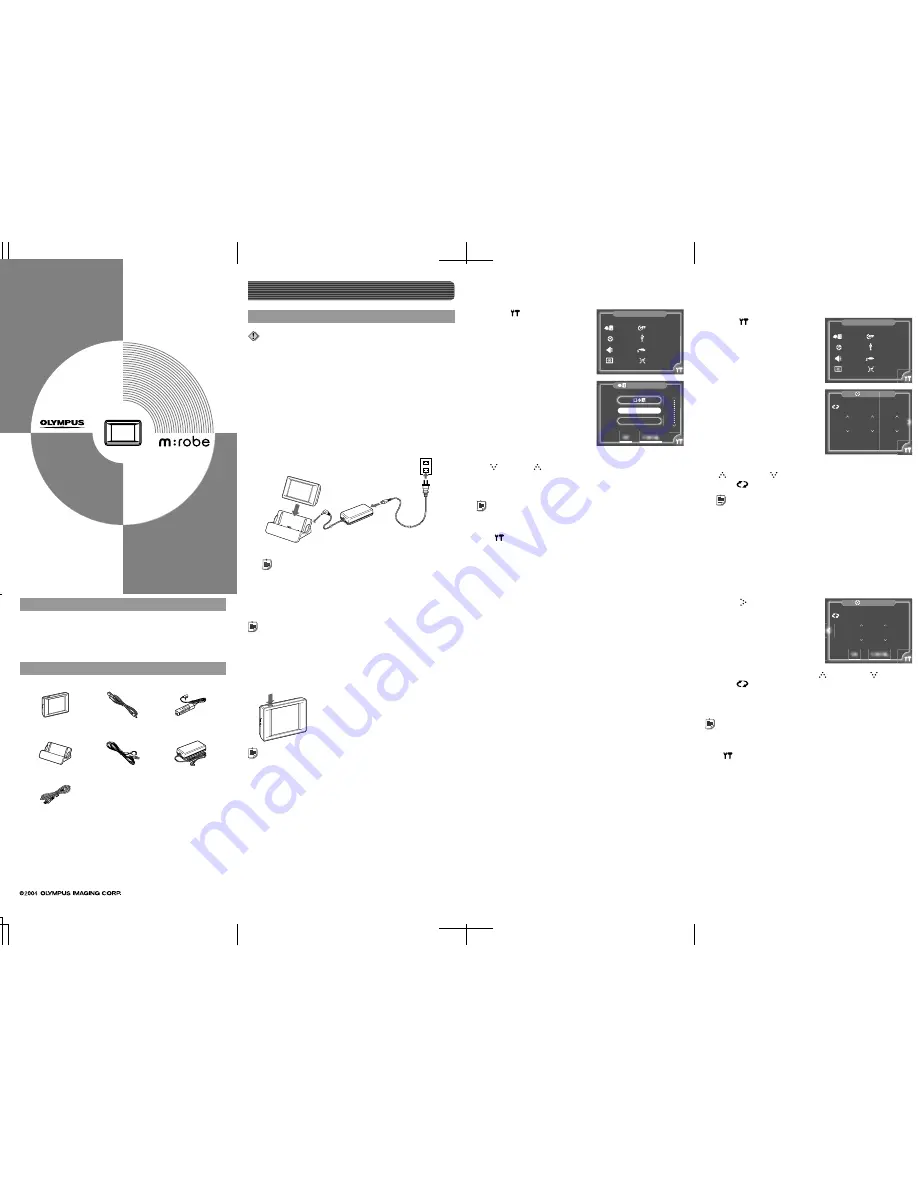
QUICK START GUIDE
HDD Motion Music Player
MR-500i
m:robe
YC0410
E1-NGXXXX-XX
Printed in China
m:robe SETTINGS
LANGUAGE
DATE&TIME
BEEP
LCD
OFF TIMER
USB CONNECTION
VIDEO OUT
RESET ALL SETTINGS
LANGUAGE
ENGLISH
FRANCAIS
OK
CANCEL
m:robe SETTINGS
LANGUAGE
DATE&TIME
BEEP
LCD
OFF TIMER
USB CONNECTION
VIDEO OUT
RESET ALL SETTINGS
:
TIME
12H
AM12 50
OK
CANCEL
DATE
M/D/Y
M
11 20
2004
D
Y
C
A
B
D
Setting up
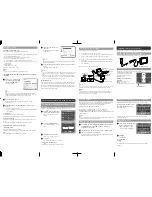
Setting up your m:robe
Note
Do not connect your m:robe to your computer before installing the supplied
Music/Photo Organization Software “m:trip.”
Charging the battery
A
Connect the AC cord to the AC adapter.
B
Connect the AC adapter to the DC IN 5V jack of the cradle.
C
Plug the AC cord into a wall outlet.
D
After checking that your m:robe is turned off, place it in its
cradle.
Setting the display language
You can set a desired display language.
a
Touch
in the bottom right
corner of the “HOME” screen.
The “m:robe SETTINGS” screen
appears.
Setting the date and time
You can set the date and time. (The time is displayed at the bottom left of
the screen.)
a
Touch
in the bottom right
corner of the “HOME” screen.
The “m:robe SETTINGS” screen
appears.
User registration
To stay informed of important updates and news regarding your OLYMPUS
product, be sure to register your purchase online.
Use the supplied CD-ROM to install the Music/Photo Organization
Software “m:trip” on your computer. After installing, click “OK” on the
registration screen to register your purchase.
Checking the contents
• m:robe
• Headphones
• Remote
• Cradle
• Dedicated USB
cable
• AC adapter
• AC cord
*
• AV cable
• Carrying pouch
• CD-ROM
(m:trip, Manual)
• BASIC MANUAL
• QUICK START GUIDE
(this guide)
• Warranty card
* Plug shape differs depending on country.
Trademarks
•
m:robe and m:trip are trademarks of OLYMPUS CORPORATION.
•
Windows is a registered trademarks of Microsoft Corporation.
Tip
Plug shape differs depending on country.
Charging starts. The LED of the device lights up.
After charging, the LED goes off.
Tips
• The battery is fully charged in about 3 hours.
• The supplied AC adapter is designed only for Olympus products that specify 5V
DC input.
Turning on your m:robe
Press and hold POWER.
Tips
• To turn off your m:robe, press and hold POWER.
• Pressing and immediately releasing POWER/HOLD after turning on
your m:robe sets the HOLD function to ON which turns off the screen and
deactivates the touch panel. To release the HOLD function, press and release
POWER/HOLD immediately again. For details on the HOLD function, refer to
the supplied manuals.
• If playback of music, slide show or remix is stopped and no operation is
performed for more than 10 minutes, your m:robe is automatically turned off
(Auto Off function). To turn on your m:robe again, press and hold POWER.
AC adapter
(supplied)
To a wall outlet
Cradle (supplied)
To DC IN 5V jack
b
Touch “LANGUAGE.”
The “LANGUAGE” screen appears.
b
Touch “DATE&TIME.”
The “DATE” screen appears.
d
Touch
.
The “TIME” screen appears.
c
Touch the desired language, selecting from the list using
(down) or
(up).
d
Touch “OK.”
The “m:robe SETTINGS” screen reappears, and the setting is complete.
Tip
To cancel the setting, touch “CANCEL” in step
d
.
To return to the “HOME” screen
Touch
in the bottom right corner of the screen.
c
Set “M” (month), “D” (day) and “Y” (year) using
(forward) or
(back).
Touch
repeatedly if you want to change the order of “D/M/Y.”
Tip
The default setting of this order differs, depending on the country where the
product was purchased.
Thank you for purchasing this OLYMPUS HDD
Motion Music Player m:robe MR-500i. This
QUICK START GUIDE contains instructions for
setup prior to use of this product.
You can start using this product immediately
after reading this guide. For more details on
operations and settings, refer to the supplied
“BASIC MANUAL” or “USER’S MANUAL”
(CD-ROM Edition). For inquiries, contact the
OLYMPUS service center in the enclosed
Authorized Distributors List.
e
Set the hour and minute using
(forward) or
(back).
Touch
to select 24 hour indication.
f
Touch “OK.”
The “m:robe SETTINGS” screen reappears, and the setting is complete.
Tip
To cancel the setting, touch “CANCEL” in step
f
.
To return to the “HOME” screen
Touch
in the bottom right corner of the screen.


