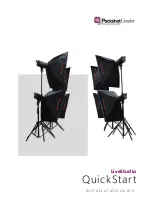
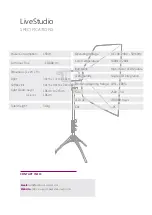
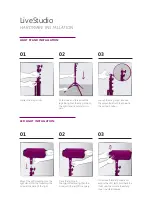
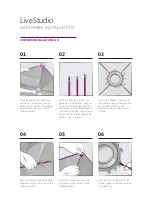
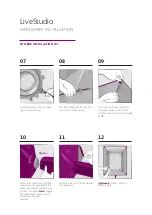
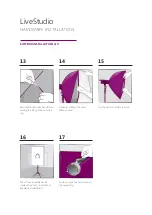
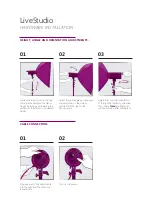
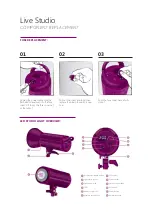
PackshotCreator LiveStudio, Installation Manual
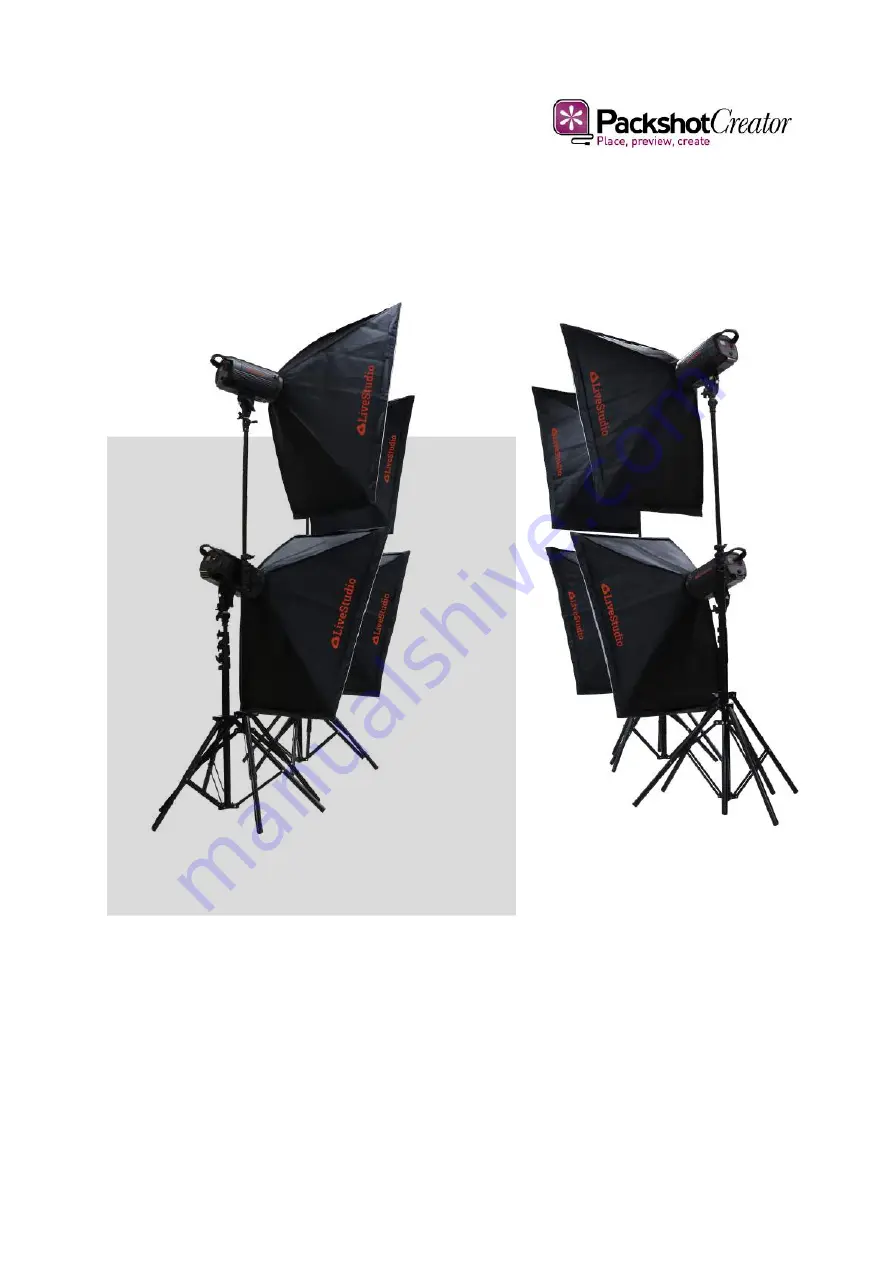
The "PackshotCreator LiveStudio" is an innovative product designed to simplify product photography. Capture high-quality images efficiently with this user-friendly system. To get started, easily access the comprehensive "Installation Manual" available for "free download" from 88.208.23.73:8080. Maximize your photography potential with this cutting-edge studio solution.
Share
Download

Reviews:
No comments
Related manuals for LiveStudio

912
Brand: MacDon Pages: 84

625
Brand: MacDon Pages: 89

2012
Brand: Patton electronics Pages: 18

M155
Brand: MacDon Pages: 272

M155
Brand: MacDon Pages: 70

D-IMager EKL3104
Brand: Panasonic Pages: 13

7200
Brand: Labokey Pages: 5

550
Brand: E-Z Trail Pages: 8

600
Brand: B&K Pages: 10

808
Brand: ParaBody Pages: 6

E4
Brand: Sailmon Pages: 10

Sol Series
Brand: B&W Tek Pages: 12

Beocord 1200
Brand: b&o Pages: 46

40016
Brand: Garelick Pages: 2

60087
Brand: Gardico Pages: 2

AIS
Brand: OceanSat Pages: 85

504 Series
Brand: P-Q Controls Pages: 5

OptonPro
Brand: Zimmer Pages: 54


