background image

Model No.

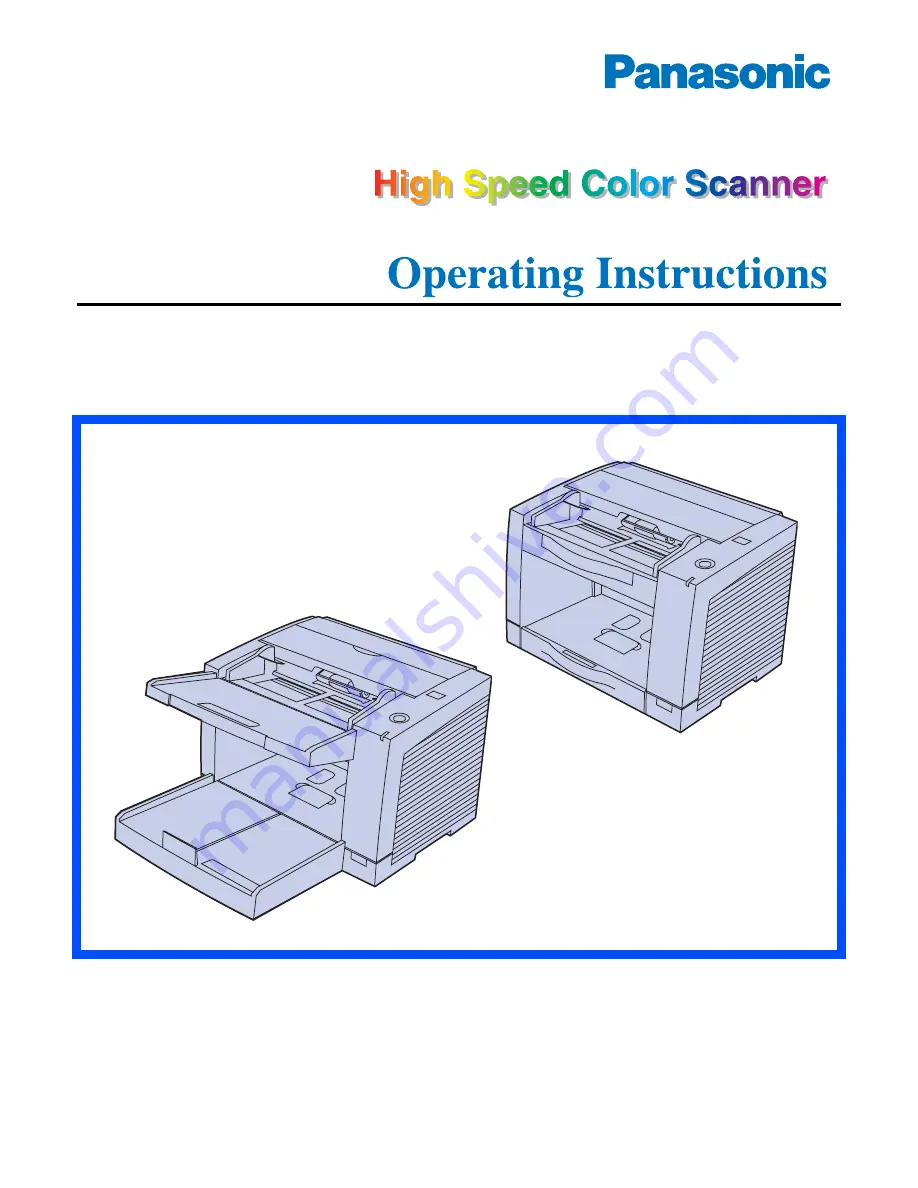
KV-S2025C / KV-S2025CU
KV-S2045C / KV-S2045CU

KV-S2025C
KV-S2025CU

KV-S2045C
KV-S2045CU

These instructions contain information on operating the scanner. Before reading these
instructions, please read the installation manual enclosed with this unit.

Please carefully read these instructions, the enclosed installation manual and maintenance
manual. Keep all documentation in a safe place for future reference.
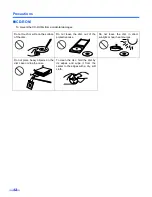
Keep the CD-ROM in the protective case. Do not expose the CD-ROM to direct sunlight or
extreme heat and do not scratch or smudge the surface of the CD-ROM.

Summary of Contents for KV-S2025C

Page 1: ...tructions please read the installation manual enclosed with this unit Please carefully read these instructions the enclosed installation manual and maintenance manual Keep all documentation in a safe...

Page 2: ...erating system Windows NT is Microsoft Windows NT operating system Windows 2000 is Microsoft Windows 2000 operating system Windows XP is Microsoft Windows XP operating system Microsoft Windows and Win...

Page 3: ...he rollers and sensors 23 Cleaning the CIS glasses and sensor rollers 25 Replacing Consumables 27 Replacing the paper feed roller module 27 Replacing the retard roller module 30 How to re attach the s...

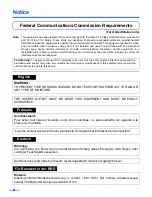
Page 4: ...liance the user must use only shielded interface cable and the provided power supply cord Also any unauthorized changes or modifications to this equipment would void the user s authority to operate th...

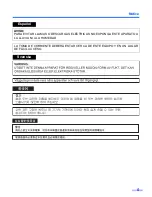
Page 5: ...ce 5 Espa ol AVISO PARA EVITAR LLAMAS O DESCARGAS EL CTRICAS NO EXPONGA ESTE APARATO A LA LLUVIA NI A LA HUMEDAD LA TOMA DE CORRIENTE DEBER ESTAR CERCA DE ESTE EQUIPO Y EN UN LUGAR DE F CIL ACCESO Sve...

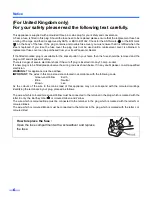
Page 6: ...evere electrical shock if the cut off plug is inserted into any 13 amp socket If a new plug is to be fitted please observe the wiring code as shown below If in any doubt please consult a qualified ele...

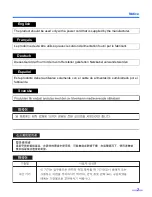
Page 7: ...ran ais Le produit ne devra tre utilis qu avec le cordon d alimentation fourni par le fabricant Deutsch Dieses Ger t darf nur mit dem vom Hersteller gelieferten Netzkabel verwendet werden Espa ol Este...

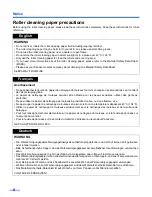
Page 8: ...rouleaux proximit d un feu ou d une flamme vive Ne pas ranger le papier de nettoyage de rouleaux en plein soleil ni une temp rature d passant 40 oC 104 oF Utiliser le papier de nettoyage de rouleaux e...

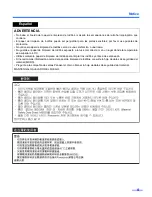
Page 9: ...de una calefacci n o una llama No guarde el papel de limpieza de rodillos expuesto a la luz solar directa ni en un lugar donde la temperatura sea superior a 40 C Utilice solamente papel de limpieza d...

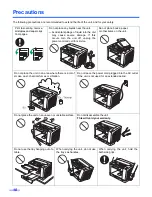
Page 10: ...rd and call for service Do not place books paper or other items on the unit Do not place the unit in an area where there is a lot of smoke dust chemical fumes or vibration Do not leave the power cord...

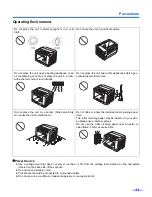
Page 11: ...raft Do not use the unit in a vertical position Do not place the unit near a heating appliance or an air conditioning vent Do not place the unit in a room with extremely high or low humidity Do not pl...

Page 12: ...urface of the disc Do not leave the disc out of the protective case Do not leave the disc in direct sunlight or near heat sources Do not place heavy objects on the disc case or drop the case To clean...

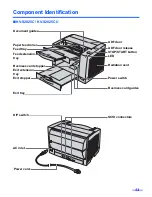
Page 13: ...on tray Document guides Paper feed roller Feed tray Feed extension tray Business card stopper Exit tray Exit stopper ADF door ADF door release STOP START button LED Radiation vent Power switch Busines...

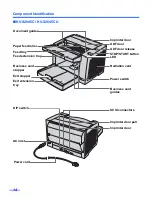
Page 14: ...r Feed tray Feed extension tray Business card stopper Exit extension tray Exit stopper Imprinter door ADF door ADF door release STOP START button LED Radiation vent Power switch Business card guides D...

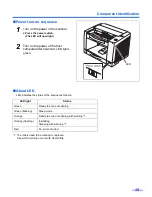
Page 15: ...scanner s LED lights green About LED LED indicates the status of the scanner as follows 1 The rollers need to be cleaned or replaced See which warning occurs with User Utility LED light Status Green...

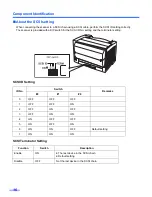
Page 16: ...IP switch for the SCSI ID No setting and the terminator setting SCSI ID Setting SCSI Terminator Setting ID No Switch Remarks 2 1 0 0 OFF OFF OFF 1 OFF OFF ON 2 OFF ON OFF 3 OFF ON ON 4 ON OFF OFF 5 ON...

Page 17: ...Hold both ends and bend the docu ments as shown in the illustration 3 To flatten the documents hold firmly and pull them apart as shown in the illustration Repeat these steps as necessary 2 Carefully...

Page 18: ...siness card guides and the business card stopper for larger documents than their acceptable size It will cause paper jams 5 Place the documents on the feed tray with the side to be scanned facing up B...

Page 19: ...or carbonless paper may cause skewing paper jamming or multiple sheet feeding because it makes the rollers dirty and the chemicals may cause the rollers to swell up The amount of documents should not...

Page 20: ...occurs remove the jammed sheet according to the following procedure Removing paper jams from the feed part 1 Push the ADF door release to open the ADF door 2 Remove the jammed document If the jammed d...

Page 21: ...llers are installed properly before closing the ADF door If the sensor rollers are removed re attach them Refer to page 32 4 Close the ADF door When you close the ADF door close it securely until the...

Page 22: ...eek or when 20 000 sheets have been scanned whichever comes first Clean the rollers and sensors if paper jamming or multiple sheet feeding occurs frequently Refer to pages 23 25 Clean the CIS glasses...

Page 23: ...a long period of time before using it the alcohol will evaporate Please use the roller cleaning paper immediately after opening the bag The roller cleaning paper Model No KV SS03 is available from the...

Page 24: ...rom rotating and wipe the rollers all the way around them proceeding from one end to the other in the directions of the arrows shown in the figure on the right 4 Clean the reflector sheet for the endi...

Page 25: ...ADF door 6 Close the ADF door 7 Clear the roller cleaning counter with User Utility After cleaning the above rollers click Clear Counter button for After Clean Roller with User Utility Cleaning the CI...

Page 26: ...er cleaning paper If the sensor rollers are removed while cleaning re attach them after cleaning 4 Close the ADF door When you close the ADF door close it securely until the door is locked Sensor roll...

Page 27: ...door release to open the ADF door 3 Push the two green levers down at both ends of the paper feed roller mod ule to unlock the paper feed rollers When moving the green levers do not apply pressure in...

Page 28: ...e new paper feed roller mod ule with its gear on the right 1 Hang both ends of the paper feed roller module 2 While slightly lifting the paper feed roller module pass the claw along the groove of the...

Page 29: ...the direction of the arrows until they click into place After installing the paper feed roller module confirm that the feed rollers can be moved lightly in vertical direction 7 Close the ADF door Whe...

Page 30: ...g the retard roller module 1 Turn the power off 2 Push the ADF door release to open the ADF door 3 Open the retard roller cover 4 Remove the retard roller module in the direction of the arrow Retard r...

Page 31: ...sure that both ends of the shaft reach the springs of the holder 6 Close the retard roller cover 7 Close the ADF door When you close the ADF door close it securely until the door is locked 8 Clear th...

Page 32: ...release Match the groove to the guide Push the roller and confirm the sensor is locked by the springs on both sides Re attach the sensor roller for front scanning Attach the longer roller to the unit...

Page 33: ...sult in a service charge to repair the unit The scanner should be handled in the correct horizontal position Materials Required Original Scanner Carton Packing Materials Shipping Tape and Scissors 1 T...

Page 34: ...ld be handled in the correct horizontal position Materials Required Original Scanner Carton Packing Materials Shipping Tape and Scissors 1 Turn the power switch off and disconnect your scanner from th...

Page 35: ...i step Optical 600 dpi Main and Sub scanning derections Tonal gradation Binary mode Gray scale mode 4 8 bit Dither mode 16 256 step Error diffusion Note Dither and Error diffusion are executed by driv...

Page 36: ...0 1 A 5 W 0 1 A 7 W 0 15 A 6 W 0 1 A 7 W Environment Operating temperature and humidity Temperature 15 C to 30 C 59 F to 86 F Humidity 30 to 80 RH Storage temperature and humidity Temperature 0 C to 3...

Page 37: ...evice manager s prop erty The same ID number is used for the scanner and the other device Use the different SCSI ID numbers for each devices The terminator is not set correctly If the scanner is locat...

Page 38: ...loaded face down upside down Load the document correctly See page 17 Vertical lines appear on the scanned document The CIS glasses are dirty Clean the CIS glasses See page 25 The sensor rollers are di...

Page 39: ...dimensions 36 F Feed extension tray 13 14 18 Feed tray 13 14 18 Feed tray capacity 35 Free rollers 24 G Green levers 27 I Image control 35 Imprinter door pull 14 Interface 35 L LED 13 14 15 Limit mark...

Page 40: ...etting 16 SCSI terminator 16 Sensor rollers 21 26 32 Separation roller 24 Specifications 35 Starting position sensor 24 STOP START button 13 14 Storage temperature and humidity 36 System requirements...

Page 41: ...41...

Page 42: ...orporation of America Two Panasonic Way Secaucus New Jersey 07094 Panasonic Canada Inc 5770 Ambler Drive Mississauga Ontario L4W 2T3 Matsushita Electric Industrial Co Ltd Web Site http www panasonic c...

Reviews: