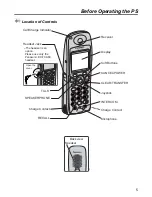


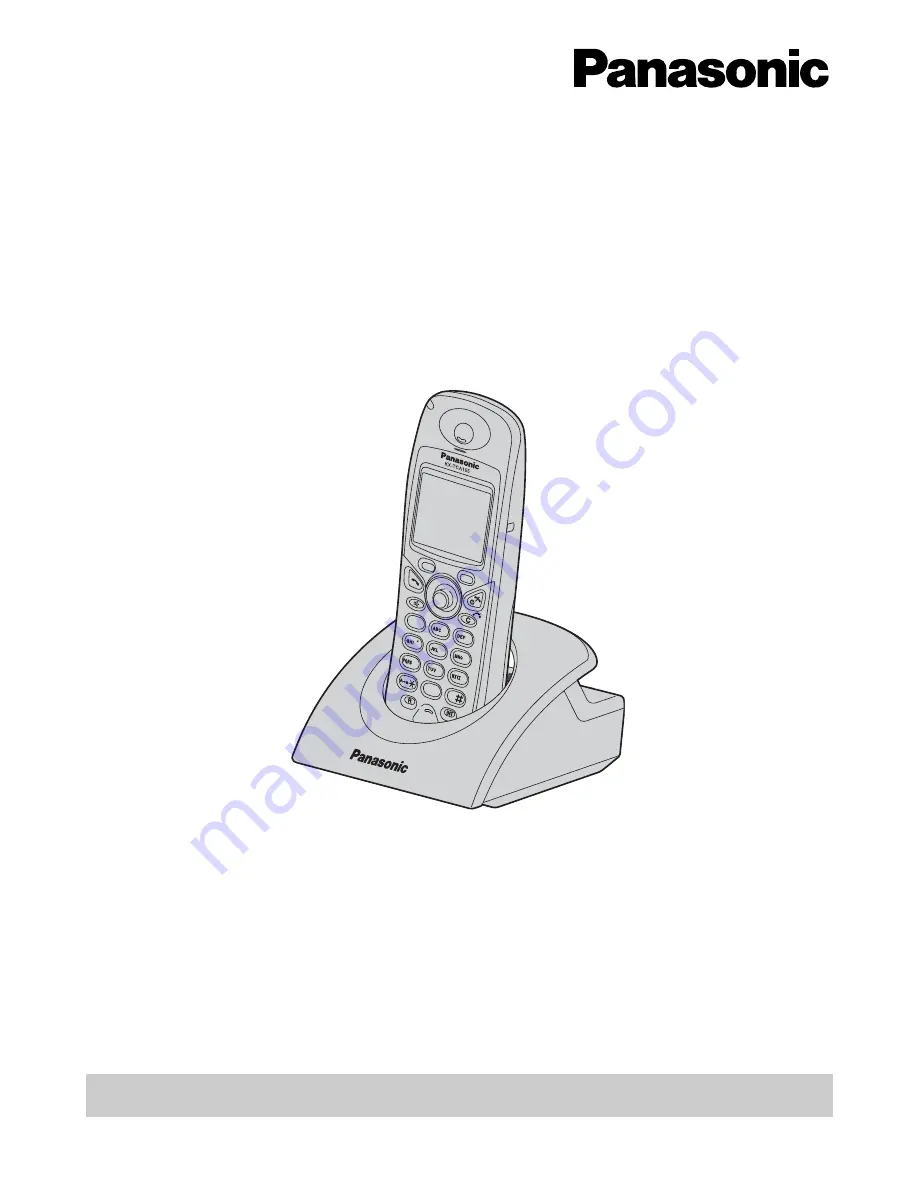
DECT Portable Station
Operating Instructions
Model No.
KX-TCA155
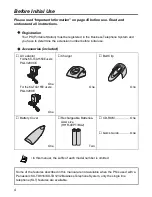
Thank you for purchasing the Panasonic KX-TCA155, DECT Portable Station. Please
read this manual carefully before using this product and save this manual for future
use.
This manual is designed to be used with the KX-TCA155 DECT Portable Station and a
Panasonic KX-TDA series Business Telephone System.
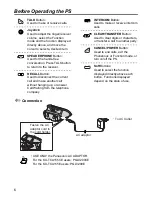
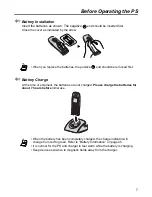
Charge the battery for about 7 hours before initial use.
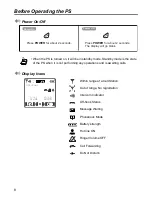
7
1
0
3
6
2
4
8
9
5
Summary of Contents for KX-TCA155
Page 28: ...Using the Phonebook 28 Character Mode Table ...
Page 49: ...Memo 49 Memo ...