


INT
R
O
REC
ORDING
PL
A
Y
IN
G
ON
-S
C
R
E
E
N
D
ISP
LA
YS
E
D
IT
ING
R
A
DIO &
S
OUND
S
ETT
INGS
INF
O
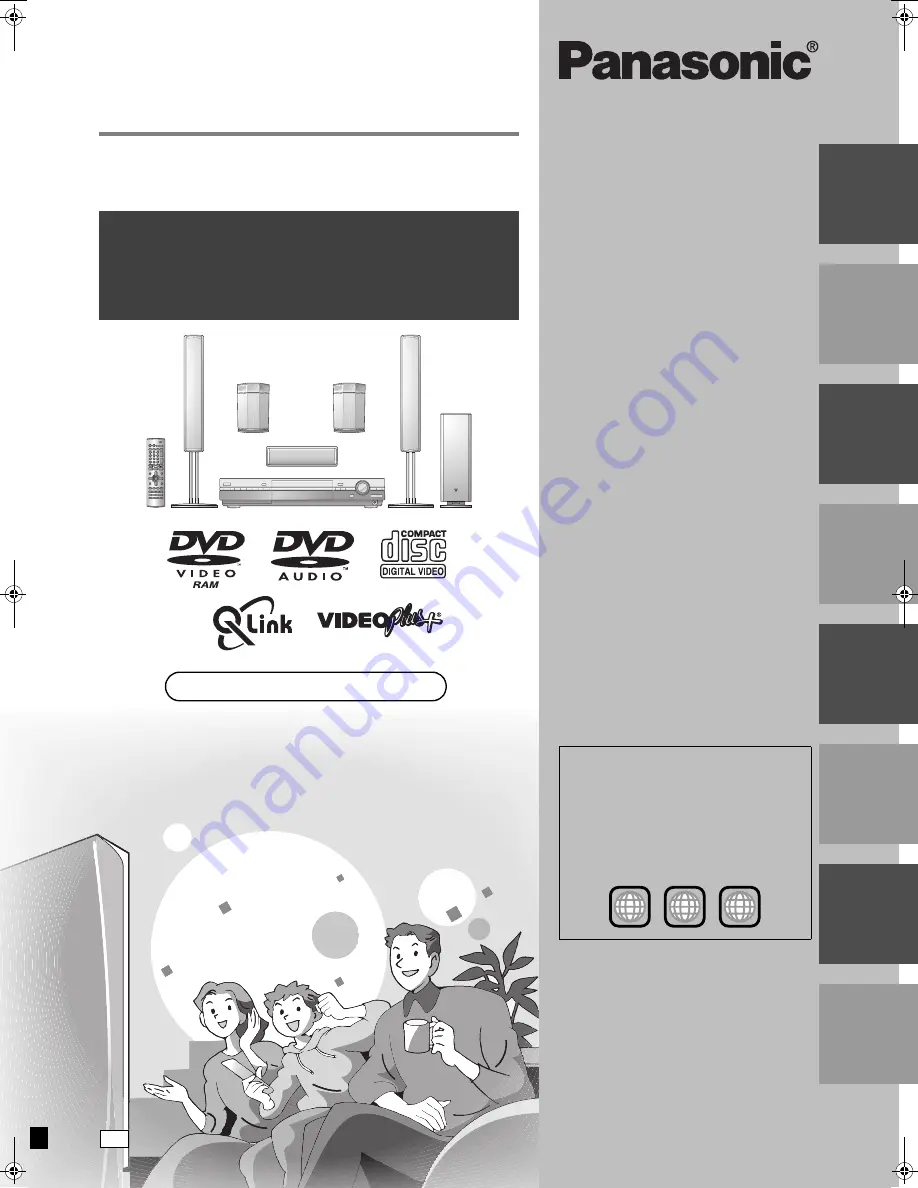
Recordable DVD
Home Theater System
Operating Instructions
Model No.
SC-HT1000
Operations Guide
Before using this product, perform setup and
connections after carefully reading the Setup
Guide.
Web Site: http://www.panasonic.co.uk
Before connecting, operating or adjusting this
product, please read these instructions completely.
Please keep this manual for future reference.
[Note]
“EB” on the outer packaging indicates the United
Kingdom.
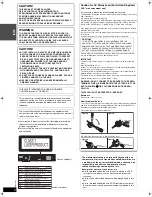
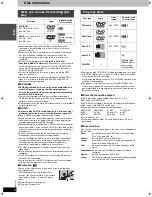
Region number supported by
this unit
Region numbers are allocated to DVD players
and software according to where they are sold.
≥
The region number of this unit is “2”.
≥
The unit will play DVDs marked with labels
containing “2” or “ALL”.
Example:
2
ALL
3
5
2
RQT7062-B
EB
7062en.book 1 ページ 2003年8月27日 水曜日 午後2時56分


