


PARACHUTES DE FRANCE SA
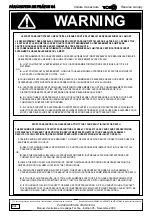
Lire, suivre, appliquer les avertissements , recomandations, et instructions de ce manuel
Read and follow all WARNINGS, WARRANTY, INSTRUCTIONS for products of this manual.
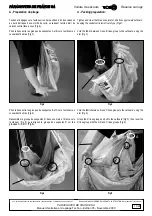
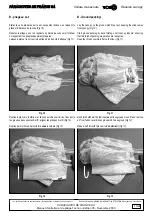
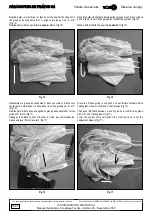
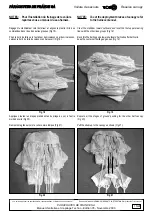
Manuel d’entretien et de pliage Techno - Edition 05 - Novembre 2000
1/24
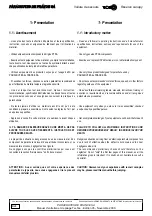
Voilures ailes de secours
Manuel d'entretien et de pliage
Ram-air Reserve Canopy
Owner's Manual
Réf
P/n P
9009111400
Edition N° 05 de Novembre 2000
Conformément à la FEE N° 193
Validée en date du 24/10/2000
CERTIFICATION FRANCAISE
FRENCH SPAE APPROVAL
QUALIFICATION AVIATION CIVILE
FRENCH AVIATION APPROVAL
QUALIFICATION CIVILE AMERICAINE
US FAA APPROVAL
530 EQ 03
QAC 121
TSO C23d
732 031 349 RCS Pontoise
voilure N°:
Canopy N°:
......................................


