www.pasco.com
1.
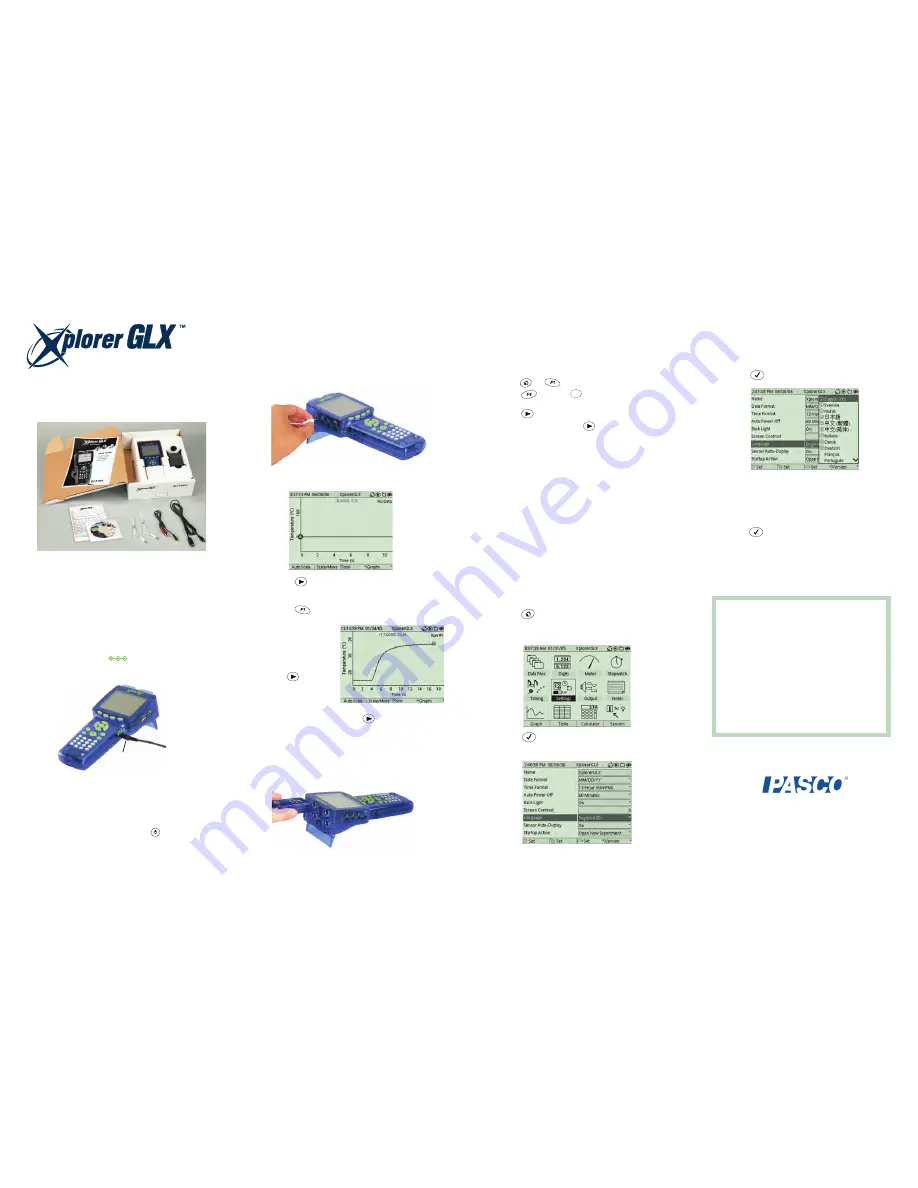
Unpack the Xplorer GLX
A.
GLX Users’ Guide
B.
Xplorer GLX
C.
AC Power Adapter
D.
Registration Card
E.
Getting Started with the
Xplorer GLX CD-ROM
3.
Collect Data With a Temperature Probe
1. Connect one of the included temperature probes to
one of the temperature ports on the left side of the GLX.
2. The Graph display will launch automatically to plot
Temperature vs. Time.
3. Press
The GLX is now recording and graphing data from the temperature probe.
4. Press
to automatically scale the graph.
6.
Select a Language
The GLX has several language options. Follow these steps to select your
preferred language.
1. Press
to go to the Home Screen.
2. On the Home Screen, Press the arrows keys to highlight the
Settings icon.
3. Press
to open the Settings screen.
4. Press the down arrow key to highlight Language.
A
B
C
E
F
G
H
D
Printed in USA
012-09310B
Rev. 6/06
Connect the AC Adapter
to the Power Port.
Quick-Start
Instructions
2. If the Graph is not already displayed on the screen,
press
and
at the same time to go to the Graph.
3. Press
then press
to start a new graph ready to
display data from the PASPORT sensor.
4. Press
to start data recording.
5. To stop data recording, press
again.
5.
Learn more about the GLX:
•
Connecting to your computer
•
Using a mouse or keyboard
•
Printing directly to a printer
•
Using the calculator, etc.
Please:
•
Read the GLX Users Guide
•
See User’s Guide for ten introductory
activities using the included GLX sensors.
•
View the tutorial movies on the
Getting Started with the GLX CD-ROM
•
Visit www.pasco.com/glx
F.
Two Fast-response
Temperature Probes
G.
Voltage Probe
H.
USB host-connection cable
Technical Support
For assistance with the Xplorer GLX and other
PASCO products, contact PASCO Technical Support at:
Address:
PASCO scientific
10101 Foothills Blvd.
Roseville, CA 95747-7100 USA
Phone:
(800) 772-8700 (in the U.S.)
(916) 786-3800 (wordwide)
Fax:
(916) 786-7565
Web:
www.pasco.com/support/
Email:
support@pasco.com
2.
Connect Power and Charge
the Battery
1. Connect the AC adapter to the power port on the
right side of the GLX.
2. Plug the adapter into an AC power outlet.
When you connect the AC adapter, the GLX turns on automatically
and the battery starts charging.
You can start using the GLX immediately, but leave it plugged in
overnight (at least 14 hours) to fully charge.
Once the battery has been charged, you can use the GLX without
the AC adapter. To turn it on using battery power, push the power
button at the lower-right corner of the keypad
and hold it for
about one second.
5. Hold the end of the
temperature probe in
your hand and observe
how the data plotted
on the Graph reacts.
6. To stop data recording,
press
again.
You have just collected and graphed a run of temperature data.
To collect additional data runs, press
again.
4.
Collect Data With a PASPORT Sensor
If you have also ordered a PASPORT sensor, try the following:
1. Connect the PASPORT sensor to one of the PASPORT
sensor ports.
5. Press
to open the Language menu.
6. Press the up or down arrow key to highlight your preferred
language.
Not all languages in the menu are visible at once. Move the
highlight to the lowest visible language and press the down
arrow key for additional languages.
7. Press
to select the highlighted language.
7.
Update Your GLX
1. See Chapter 5 in the User’s Guide.
2. Check www.pasco.com/GLX and click on “Updates”.
7
?!


