background image


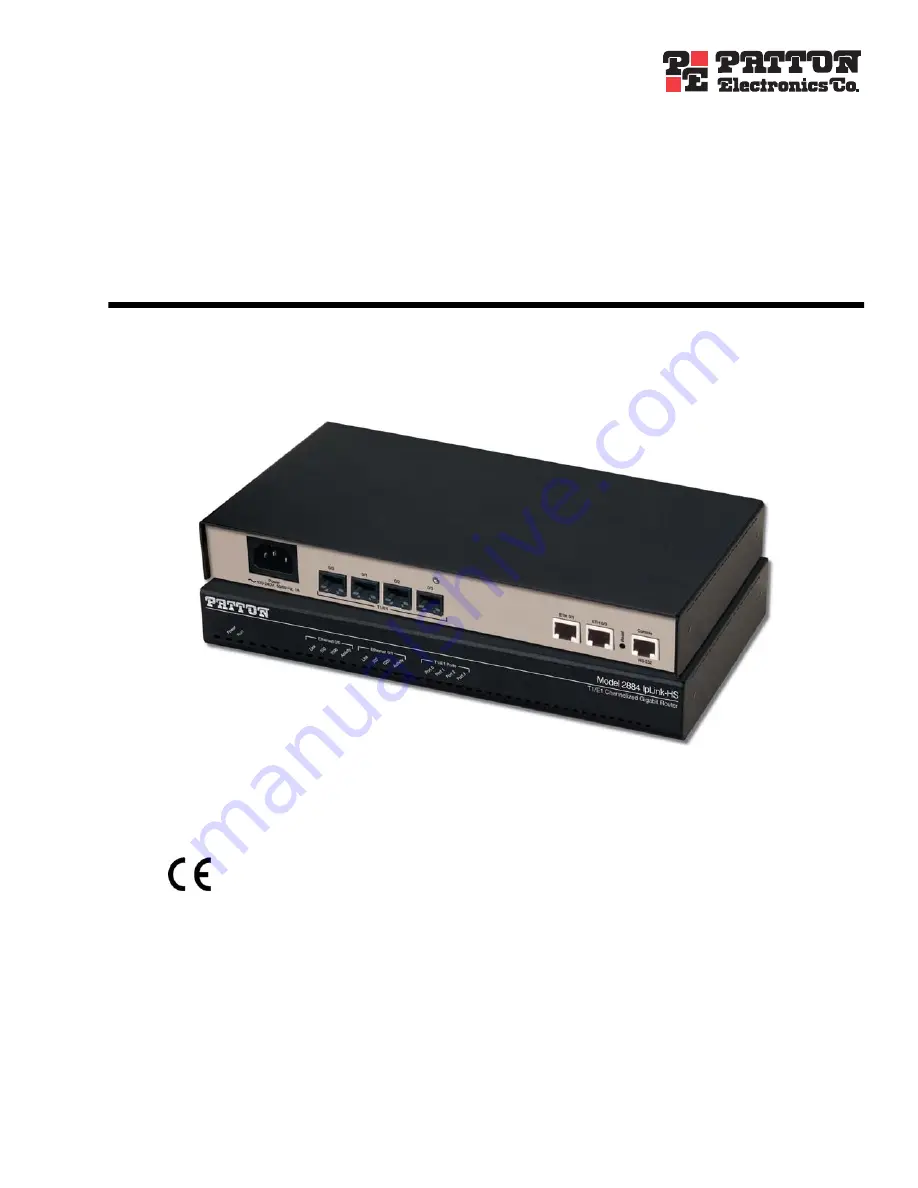
IpLink 2884


T1/E1 Channelized Gigabit Router


Getting Started Guide


Sales Office:


+1 (301) 975-1000


Technical Support:


+1 (301) 975-1007


E-mail:


support@patton.com


WWW:


www.patton.com


Document Number: 


13223U1-002 Rev. D


Part Number: 


07M2884-GS


Revised: 


May 6, 2008


Important


This is a Class A device and is intended for use in a light industrial environment. It is not intended nor approved for use in an industrial 
or residential environment.


Start Installation

For Quick 


Summary of Contents for IpLink 2884

Page 1: ...E mail support patton com WWW www patton com Document Number 13223U1 002 Rev D Part Number 07M2884 GS Revised May 6 2008 Important This is a Class A device and is intended for use in a light industri...

Page 2: ...under a license and may be used or copied only in accordance with the terms of such license For information about the license see Appendix E End user license agreement on page 49 or go to www patton...

Page 3: ...ormation 13 2 Applications overview 19 3 IpLink installation 21 4 Initial configuration 28 5 Contacting Patton for assistance 32 A Compliance information 35 B Specifications 38 C Cabling 41 D Port pin...

Page 4: ...t Panels 16 IpLink 2884 rear panel 16 IpLink 2884 front panel 18 2 Applications overview 19 Typical IPLink 2884 Application 20 3 IpLink installation 21 Planning the installation 22 Site log 22 Network...

Page 5: ...ion 33 Patton support headquarters in the USA 33 Alternate Patton support for Europe Middle East and Africa EMEA 33 Warranty Service and Returned Merchandise Authorizations RMAs 33 Warranty coverage 3...

Page 6: ...thernet 43 E1 Port 44 T1 Port 45 D Port pin outs 46 Introduction 47 Console port 47 Ethernet 48 T1 E1 port 48 E End user license agreement 49 End User License Agreement 50 1 Definitions 50 2 Title 50...

Page 7: ...r connection 27 10 Connecting the IpLink to your laptop PC via the Ethernet port 29 11 Connecting the IpLink to your laptop PC via the console port 30 12 Connecting a serial terminal 42 13 Typical Eth...

Page 8: ...2 IpLink 2884 Model Codes 15 3 Rear panel ports 17 4 LED Descriptions 18 5 Sample site log entries 22 6 Factory default IP address and network mask configuration 30 7 RJ45 socket 10 100Base T 48 8 RJ...

Page 9: ...rdware installation procedures Chapter 4 on page 28 provides quick start procedures for configuring the IpLink router Chapter 5 on page 32 contains information on contacting Patton technical support f...

Page 10: ...ng calls attention to important information The alert symbol and CAUTION heading indicate a potential haz ard Strictly follow the instructions to avoid property damage The shock hazard symbol and CAUT...

Page 11: ...nk is ON or OFF To avoid electric shock use caution when near WAN ports When detaching cables detach the end away from the IpLink first Do not work on the system or connect or disconnect cables during...

Page 12: ...View button in the Adobe Acrobat Reader toolbar to return to your starting point Futura bold type Commands and keywords are in boldface font Futura bold italic type Parts of commands which are relate...

Page 13: ...Chapter 1 General information Chapter contents IpLink Model 2884 Overview 14 Features and Benefits 15 Model 2884 Features 15 Rear and Front Panels 16 IpLink 2884 rear panel 16 IpLink 2884 front panel...

Page 14: ...sure network wide QoS enforcement VLAN priority bits can be used for QoS enforcement Stateful Firewall inspection of traffic is accomplished through the creation of Access Control Lists ACLs that enab...

Page 15: ...1000 auto MDI ports easily connect to any LAN infra structure Per Flow QoS Traffic rates are set through ACLs that shape and police VLAN and IP traffic Stateful Firewall Inspection Stateful firewall...

Page 16: ...2884 rear panel The IpLink 2884 rear panel ports are described in table 3 Figure 2 2884 rear panel RS 232 Console ETH 1 ETH 0 Reset 3 2 1 0 T1 E 1 Power 120 240V 50 60 Hz 1A T1 E1 Ports 0 3 Console R...

Page 17: ...ps T1 E1 interface meeting all requirements of ITU T recommendations for G 703 Use a shielded E1 or T1 interface cable for 120 Ohm balanced connections to connect the IpLink with an NT or ET e g a PBX...

Page 18: ...n the Ethernet is connected to a 100Mb network Off when the Ethernet is connected to a 10Mb network Ethernet Speed 1000 On when the Ethernet is connected to a 1000Mb network Ethernet Activity Flashes...

Page 19: ...19 Chapter 2 Applications overview Chapter contents Typical IPLink 2884 Application 20...

Page 20: ...aximizes the use of the up link networks minimizing the cost of deploying service by implementing per TDM channel bridging or routing as well as supporting Layer 2 bond ing of WAN interfaces into high...

Page 21: ...ols 23 Power source 23 Location and mounting requirements 23 Installing the IpLink 2884 23 Placing the IpLink 23 Installing cables 24 Connecting the T1 E1 ports 24 Connecting the 10 100 1000Base T Eth...

Page 22: ...a site log to record all actions relevant to the system if you do not already keep such a log Site log entries should include information such as listed in table 5 Network information Network connect...

Page 23: ...in the installation to ensure that VoIP service is not impaired if the power fails Location and mounting requirements The IpLink router is intended to be placed on a desktop or similar sturdy flat su...

Page 24: ...E1 port pin out and ISDN cables refer to Appendix C Cabling on page 43 and Appendix D port pin outs on page 47 Connecting the 10 100 1000Base T Ethernet LAN and WAN cables The IpLink 2884 has automati...

Page 25: ...hat the green Power LED is lit see figure 6 Do not connect power to the AC Mains at this time There are no user serviceable parts in the power supply sec tion of the Model 2884 Contact Patton Electron...

Page 26: ...d out how to replace it with a com patible power cord 4 Connect the male end of the power cord to an appropriate power outlet 5 Verify that the green Power LED is lit see figure 6 Do not connect power...

Page 27: ...ower connection Do not connect power to the DC Mains at this time Do not connect power to the DC Mains at this time There are no user serviceable parts in the power supply sec tion of the Model 2884 C...

Page 28: ...ng the IpLink to your PC 29 Connecting and logging in via the Ethernet port 29 Connecting and logging in via the Console port 30 2 Configuring the desired IP address 30 Factory default IP settings 30...

Page 29: ...until the Power LED stops blinking and stays lit constantly Now the IpLink is ready Connecting and logging in via the Ethernet port The IpLink 2884 Series is equipped with Auto MDX Ethernet ports so...

Page 30: ...sername admin Leave the password field empty Figure 11 Connecting the IpLink to your laptop PC via the console port 2 Configuring the desired IP address Factory default IP settings The factory default...

Page 31: ...start up the system will initialize itself using the modified configuration Trinity copy running config startup config Trinity The IpLink can now be connected to your network 3 Connecting the IpLink t...

Page 32: ...n support headquarters in the USA 33 Alternate Patton support for Europe Middle East and Africa EMEA 33 Warranty Service and Returned Merchandise Authorizations RMAs 33 Warranty coverage 33 Out of war...

Page 33: ...ax 1 253 663 5693 Alternate Patton support for Europe Middle East and Africa EMEA Online support available at www patton inalp com E mail support e mail sent to support patton inalp com will be answer...

Page 34: ...ll be issued upon receipt and inspection of the equipment 30 to 60 days We will add a 20 restocking charge crediting your account with 80 of the purchase price Over 60 days Products will be accepted f...

Page 35: ...rmation Chapter contents Compliance 36 EMC 36 Safety 36 PSTN Regulatory 36 Radio and TV Interference 36 FCC Part 68 ACTA Statement 36 Industry Canada Notice 37 CE Declaration of Conformity 37 Authoriz...

Page 36: ...ing the unit the user is encouraged to try to correct the interference by one or more of the following measures moving the computing equipment away from the receiver re orienting the receiving antenna...

Page 37: ...quipment users should ensure that it is permissible to be con nected to the facilities of the local telecommunications company The equipment must also be installed using an acceptable method of connec...

Page 38: ...38 Appendix B Specifications Chapter contents WAN Ports 39 Ethernet Ports 39 Management 39 Protocols 39 Security 40 Power Supply 40 Physical 40...

Page 39: ...th built in MDI X Management HTTP SNMP Telnet SSH Ethernet CORBA Management Plane RS 232 Console Port SYSLOG Client Software upgrade via TFTP Protocols IP RFC 741 TCP RFC 793 UDP RFC 768 ICMP RFC 950...

Page 40: ...anagement access ACL rule and profiles SSH for secure remote access Power Supply Internal universal 100 240 VAC input 50 60 Hz Less 15W power consumption Internal 36 72VDC nominal 48V Terminal Block P...

Page 41: ...41 Appendix C Cabling Chapter contents Introduction 42 Console 42 Ethernet 43 E1 Port 44 T1 Port 45...

Page 42: ...rminal over its serial console port as depicted in figure 12 Figure 12 Connecting a serial terminal Note See section Console port on page 47 for console port pin outs The interconnecting cables shall...

Page 43: ...re 13 Typical Ethernet straight through cable diagram for 10 100Base T Figure 14 Typical Ethernet straight through cable diagram for 1000Base T The interconnecting cables shall be acceptable for exter...

Page 44: ...crossover cable Hazardous network voltages are present in the T1 E1 cables If you detach the cable detach the end away from the IpLink or interface card first to avoid pos sible electric shock Network...

Page 45: ...rossover cable Hazardous network voltages are present in the T1 E1 cables If you detach the cable detach the end away from the IpLink or interface card first to avoid pos sible electric shock Network...

Page 46: ...46 Appendix D Port pin outs Chapter contents Introduction 47 Console port 47 Ethernet 48 T1 E1 port 48...

Page 47: ...rmation for the ports of the IpLink Console port Configuration settings 9600 bps 8 bits no parity 1 stop bit no flow control Figure 19 EIA 561 RJ 45 8 pin port Note N C means no internal electrical co...

Page 48: ...sed T1 E1 port Note Pins not listed are not used Table 7 RJ45 socket 10 100Base T Pin Signal 1 TX 2 TX 3 RX 6 RX Table 8 RJ45 socket 1000Base T Pin Signal 1 TRD0 2 TRD0 3 TRD1 6 TRD1 4 TRD2 5 TRD2 7 T...

Page 49: ...49 Appendix E End user license agreement Chapter contents End User License Agreement 50 1 Definitions 50 2 Title 50 3 Term 50 4 Grant of License 50 5 Warranty 50 6 Termination 51 7 Other licenses 51...

Page 50: ...ignated Equipment at a site owned or leased by the End User B The End User may copy licensed Program s as necessary for backup purposes only for use with the Des ignated Equipment that was first purch...

Page 51: ...terminate this Agreement should End User violate any of the provi sions of section 4 Grant of License on page 50 C Upon termination for A or B above or the end of the Term End User is required to dest...

Reviews: