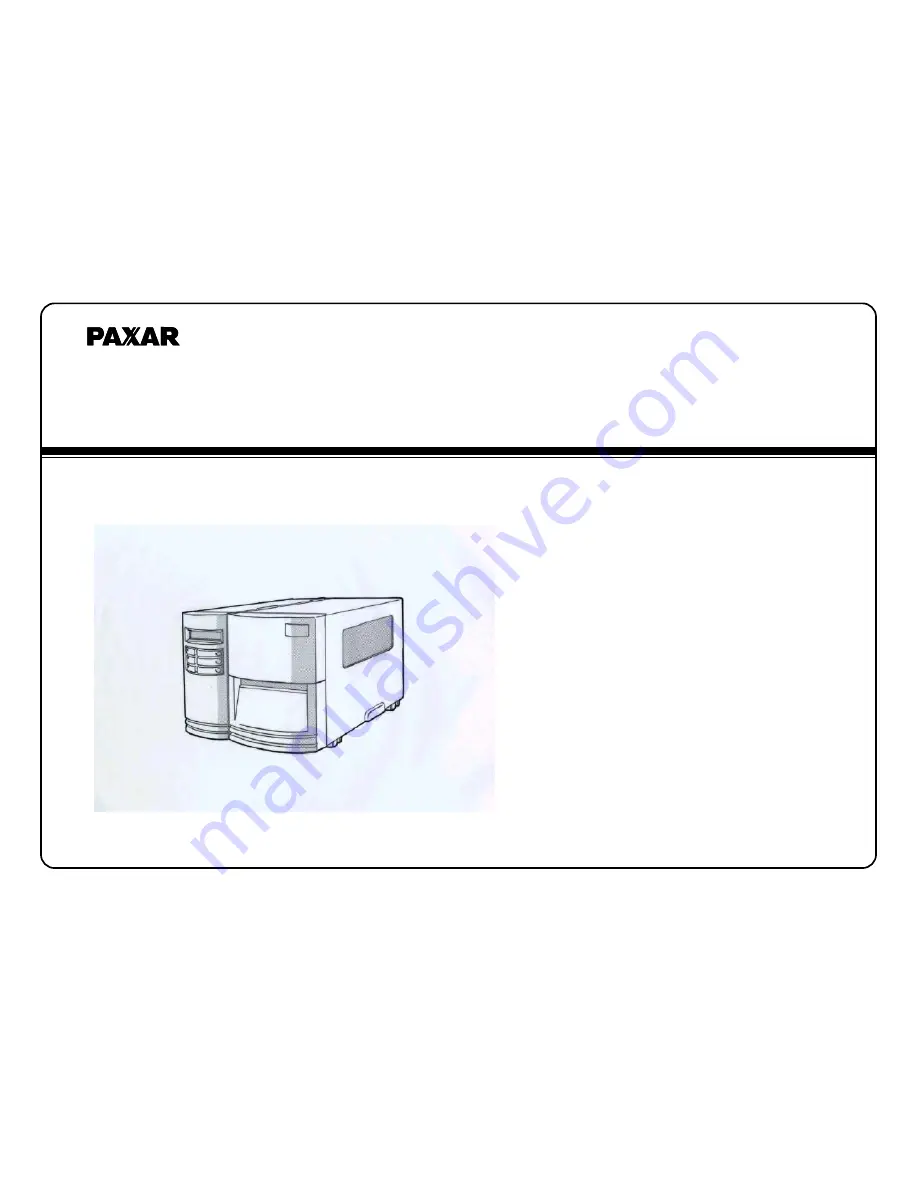
background image

 Model

9662

Printer

USER MANUAL

CONFIDENTIAL

Summary of Contents for 9662

Page 1: ...Model 9662 Printer USER MANUAL CONFIDENTIAL ...

Page 2: ...r Cord User s Manual CD ROM Ribbon possible damage 2 Raise the top cover of the printer to see if the media compartments are in order If damages did occur immediately file the claim to the shipping company for settlement Having performed the primary inspections next step please check whether you have received the following accessories together with the printer If there is any item missing contact ...

Page 3: ...e location should be near the host or terminal Consider the distance between host and printer for the communication cable serial or parallel cable Clear the ground and isolate from other electrical cables for the power adapter Connecting the Power Cord 1 Leave the power switch at the O position 2 Connect the power supply plug to the power jack and the other end to your AC source 4 AC Electrical Ou...

Page 4: ...es LCD Display Top Access Door Front Access Door 6 Head Latch Paper Sensor Guide Platen Roller Thermal Print Head Thermal Print Head Bracket Feed Slot Ribbon Supply Spindle Media Supply Spindle Ribbon Pick up Spindle 5 ...

Page 5: ...ibbon roll pack and separate the ribbon roll and the bare core 4 Insert the ribbon roll into the ribbon supply spindle Figure 3 5 Lead the bare core through the print head module Figure 4 Peel Off Mode 6 Attach the edge of the ribbon on the bare core and wind it a little bit onto the core Note The dull side of the ribbon should be faced down 7 Insert the bare core into the ribbon pick up spindle F...

Page 6: ...Bracket Head Latch 2 Ribbon Supply Spindle 3 10 Bare Core Print Head Module Ribbon Pick up Spindle 5 4 9 ...

Page 7: ...e the printer automatically cuts the label after it is printed Standard Mode 1 Insert the media roll into the media supply spindle and move the media guide to the inside Figure 6 2 Push the head latch by anti clockwise and then fold the bracket 3 Remove the outside media guide Figure 7 1 Lead the Media through the print head module and under the paper sensor guide Figure 8 5 Put back the outside m...

Page 8: ...Print Head Module Paper Sensor Guide 8 9 Head Latch Bracket Outside Media Guide 13 14 ...

Page 9: ...rewinder kit Figure 14 8 Turn the rewinder kit twice to ensure the media is firmly fixed Figure 15 9 Close the side access door and turn on the printer or press the FEED button if the printer is already on Figure 16 Notes 1 The FEED button will not drive the printer to peel The peeling work can be executed only when 1 the software setting is ready 2 Bit 5 of DIP switch at rear panel must be set to...

Page 10: ...15 13 Rewinder Kit Print Head Module 16 14 Sticker Rewinder Kit 17 18 ...

Page 11: ... Close the top access door and turn on the printer or press the FEED button if the printer is already on and then the label will be fed into the cutter mode automatically Figure 19 Note The FEED button will not drive the printer to cut The cutting work can be executed only when 1 the software setting is ready 2 Bit 3 of DIP switch at rear panel must be set to the ON position 17 Paper Sensor Guide ...

Page 12: ... if any of the following conditions prevail The printer is at PAUSE state A fault condition MEDIA The MEDIA indicator will remain on for the normal operation of the printer Blinking Media run out RIBBON ONIII under thermal transfer mode with ribbon installed OFF under direct thermal mode no ribbon installed Set by Windows driver or command Blinking Ribbon run out 3 LED indicators READY MEDIA and R...

Page 13: ...dicates the emulation printer language MPCL or PPLB READY 203 MPCL ESC FOR KEYBD If a keyboard is plugged in extra message will be shown at the second row Notes 1 We suggest you make media calibration READY 203 MPCL WITH B C READER If a barcode reader is connected and bits 6 8 are all at ON positions extra message will be shown at the second row after the first time installation after change diffe...

Page 14: ...TIVE Select the proper type by the media You can change some settings from proper panel operation instead of sending commands Buttons Function PAUSE CANCEL Don t press over 1 second Enters setting mode A second press will exit setting mode and return to normal mode FEED Pressing this button will show next parameter PAUSE Pressing this button will show next setting item CANCEL Selects certain param...

Page 15: ... buttons for about 3 seconds 3 Release buttons 4 The language item will appear LANGUAGE ENGLISH 5 Press FEED button for next language 6 Press CANCEL button to select or set the language for your need Pressing PAUSE or PAUSE CANCEL buttons exits setting and enters normal mode Notes Item Range Factory Default LANGUAGE ENGLISH FRENCH GERMAN ITALIAN SPANISH PORTUGUESE ENGLISH 1 To make sure the settin...

Page 16: ...utton A power switch and power connector 4 The printer will print out a configuration report 5 Finally the READY message is displayed and the READY indicator stops blinking and lights up DIP Switch Centronics PS 2 KB I F 6 The following information will be printed on this report RS 232 Serial Port Font list DIP switch settings Hardware configuration and status Label parameters Firmware version Pow...

Page 17: ...sage is displayed and the READY indicator stops blinking and lights up 4 Finally the READY message is displayed and the READY indicator stops blinking and lights up 6 The following information will be printed on this report 5 The following parameters automatically reset Font list Label parameters DIP switch settings Heat Darkness Hardware configuration and status Speed Label parameters Symbol set ...

Page 18: ... applications e g MS Word and print out the contents by this label printer as long as they are for Windows 2 Alternatively you can connect the printer with a serial cable to the RS232C port of your computer or terminal for PC compatibles the RS232C port is COM1 COM2 or COM3 Before installation 1 Check the contents of the driver to ensure it is complete Note 2 Make a backup copy of this driver Usin...

Page 19: ...ton 4 Click Have Disk click the pull down menu to select CD ROM driver path LabelView File Select Printer Label Dr on LPT1 OK 5 click Browse button 6 Select the proper directory for installation CodeSoft WIN95 WIN98 File Printer Windows Label Dr on LPT1 OK WIN2000 LabelMatrix NT4 0 file Printer Setup Label Dr on LPT1 OK 7 The driver name Label Dr 200 6 inch model or Label Dr 300 6 inch model will ...

Page 20: ...tion Set portrait or landscape according to the print direction Paper source Media type T T stands for thermal transfer ribbon mode and D T for direct thermal mode without ribbon Paper size Orientation Media choice Darkness Set the heat value or darkness from this field The darkness value ranges from 0 to 15 Paper source Media type Media choice Copies This function designates the number of printed...

Page 21: ...ssory setting click Paper Properties menu select Custom click Paper User Define size click more option set up a new size select Enable without click OK cutter peeler click OK Print quality Speed Properties menu click Device Options select parameters click OK 39 ...

Page 22: ...OK Paper size Copies Media choice Accessory setting Paper Output Speed Paper source Media type Print quality Darkness Back to Printers menu Label Dr Printing Reference menu right click to get click Layout pop up menu click Advanced button select Printing click each item to select Reference the parameters click Paper Quality click OK select media type click OK 41 ...

Page 23: ... the new form in Form description for select the IO port click OK reset the paper size in the specific squares of the Measurements click OK Paper size Orientation Paper source Media type Copies Media choice Accessory setting Printers menu Label Dr right click to get pop up menu select Document Defaults click Advanced button click each item to select desired parameter 43 ...

Page 24: ...lect desired A Problems on media parameter click OK Blinking Indicators READYand MEDIA LCD display MEDIA OUT Create a new size Please refer to the procedure of create a Possible Problems Solutions Remarks Missing gap Check the media path Check the position of label sensor If you use continuous media check your application soft ware and driver You should select continuous Media out Supply the media...

Page 25: ...service For X 2000 and X 3000 DIP switch bit 3 should be ON for cutter MEMORY FULL Check the graphics and soft fonts fromhost Make sure to delete the graphics and soft fonts if they are no longer used bythe application software Refer to the Technical Rference Manual for details Note After the problems have been solved press CANCEL to continue printing D Miscellaneous The host shows Printer Time ou...

Page 26: ...continue your print jobs after any abnormal conditions have been recovered simply press the CANCEL button or restart the printer Make sure that the LED indicator is illuminated and not blinking and remember to resend your files 50 If you use small labels label height is less than 30 mm and the area near top is unprintable you can adjust the top margin slightly by the following procedure 1 Hold FEE...

Page 27: ...m Compact size W12 1 H10 2 L17 3 W310 H260 L445 mm Weight 32Ibs 14 5kg Power source 110 220 VAC 10 50 60 Hz Agency listing CE UL CUL FCC class A Operating temperature 40 100 F 4 38 C 10 90 non condensing Storage temperature 40 F 140 F 4 C 60 C Turn off the printer open the cover print head module and remove the ribbon Rub the print head with a piece of cotton which has been moistened with alcohol ...

Page 28: ...and PPL Printer Programming Language A PPL Specification G 6000 General fonts 7 alpha numeric fonts OCR A and OCR B ASD smooth fonts 6 8 10 12 14 and 18 points Symbol sets for smooth fonts USASCII UK German French Italian Spanish Swedish and Danish Norwegian Courier fonts 8 symbol sets PC PC A PC B EAMA 94 Roman Legal Greek and Russian Soft fonts Downloadable PCL fonts Font expandability 1x1 to 24...

Page 29: ...TS CTS 8 7 RTS RTS 4 8 CTR RTS 7 8 CTS GND 7 5 GND GND 5 5 GND Serial The RS232 connector on the printer side is a female DB 9 Pin Direction Definition 1 In DSR 2 In RxData 3 Out TxData 5 Ground 6 Out DTR 7 Out RTS 8 In CTS 9 Out 5V Alternatively you can just connect the 3 wires in the following way Host 25S Printer 9P Host 9S Printer 9P PC or compatible PC or compatible TX 2 2 RX TX 3 2 RX RX 3 3...

Page 30: ...antity is not too large or you use Xon Xoff as flow control there will be no problem at all Baud rate 2400 4800 9600 19200 and 38400 set from bits 6 8 of DIP switch Data format always 8 data bits 1 start bit and 1 stop bit Parity always non parity Handshaking XON XOFF as well as CTS RTS hardware flow control If you run an application with the bundled printer driver under Windows and use the serial...

Page 31: ...installed or end of ribbon occurred Load new ribbon to the printer If you just use thermal media set bit 1 of DIP switch to OFF position SERIAL IO ERROR READY The format or baud rate of the RS232 communication is inconsistent between the printer and host CUTTER FAILED READY The cutter can not cut off the media check the media and cutter MEMORY FULL READY The printer buffer is full caused by the lo...

Page 32: ... sides 3 Mount the cutter IC to U22 on main board Take care of the location and direction the IC hole ix at lower Position 4 Set bit 3 of DIP switch 1 8 to ON position 5 Secure two screws for cutter 1 and bracket 2 Note The drive IC for cutter is 3770 7 Insert the left side of cutter bracket 7 and secure two screws 6 to the TPH module 61 62 ...

Page 33: ...ller 4 Refer to the diagram Assemble the related components for both left and right sides 2 Close the TPH latch 3 Hold the PAUSE CALIBR button and turn on the Printer 4 Release the button when the cutter starts cutting 5 After cutting the Printer will feed the label for 12 inches Notes The above procedure is taken at first time after installation or cutter jam Normally the Procedure is 1 Put the m...

Page 34: ... of TPH module 6 Install ribbon and media 66 The plastic core 13 14 of the rewinder kit must be parallel with the exit media or label To adjust the position you may remove the screw 13 tune the position of component 14 or loosen the two screws 15 and 16 shift the position of metal bar and secure the screws 65 ...

Page 35: ...t Command ASCII Binary Remark33 33 Set sensor without label ESC R0 1BH 24H 52H 30H Command 0 Set sensor with label ESC R1 1BH 24H 52H 31H Command 1 Step 1 Put the label away from the sensor send command 0 and wait for 2 more seconds Step 2 Put a label under the sensor 10 mm below hold it send command 1 and wait for 2 more seconds 67 ...

Reviews: