


Toll Free Technical Support
1 - 866 - 456 -9269
II or III
with Memory& Fan Trim
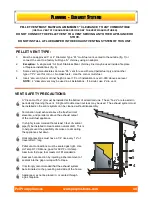
READ THIS ENTIRE MANUAL BEFORE YOU INSTALL AND USE YOUR HEATER.
FAILURE TO FOLLOW INSTRUCTIONS MAY RESULT IN PROPERTY DAMAGE,
BODILY INJURY OR EVEN DEATH!
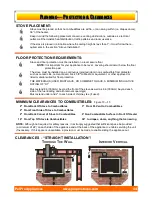
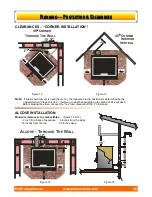
Installation shall conform to CAN/CSA B365 Installation Code for Solid-Fuel-Burning Appliances and
Equipment in Canada and NFPA 211 Chimney, Fireplaces, Vents and Solid Fuel Burning Appliances in the USA
.
Contact local building or fire officials to obtain a permit and information on any installation requirements
and installation inspection requirements in your area.
Rev. A, 01/2009
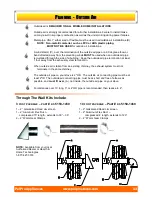
FPP
Step Top
Freestanding
Rev B, 09.2012
Toll Free Technical Support
1.877.427.3316
www.pelprostoves.com


