background image

3139 116 19611

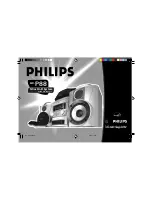
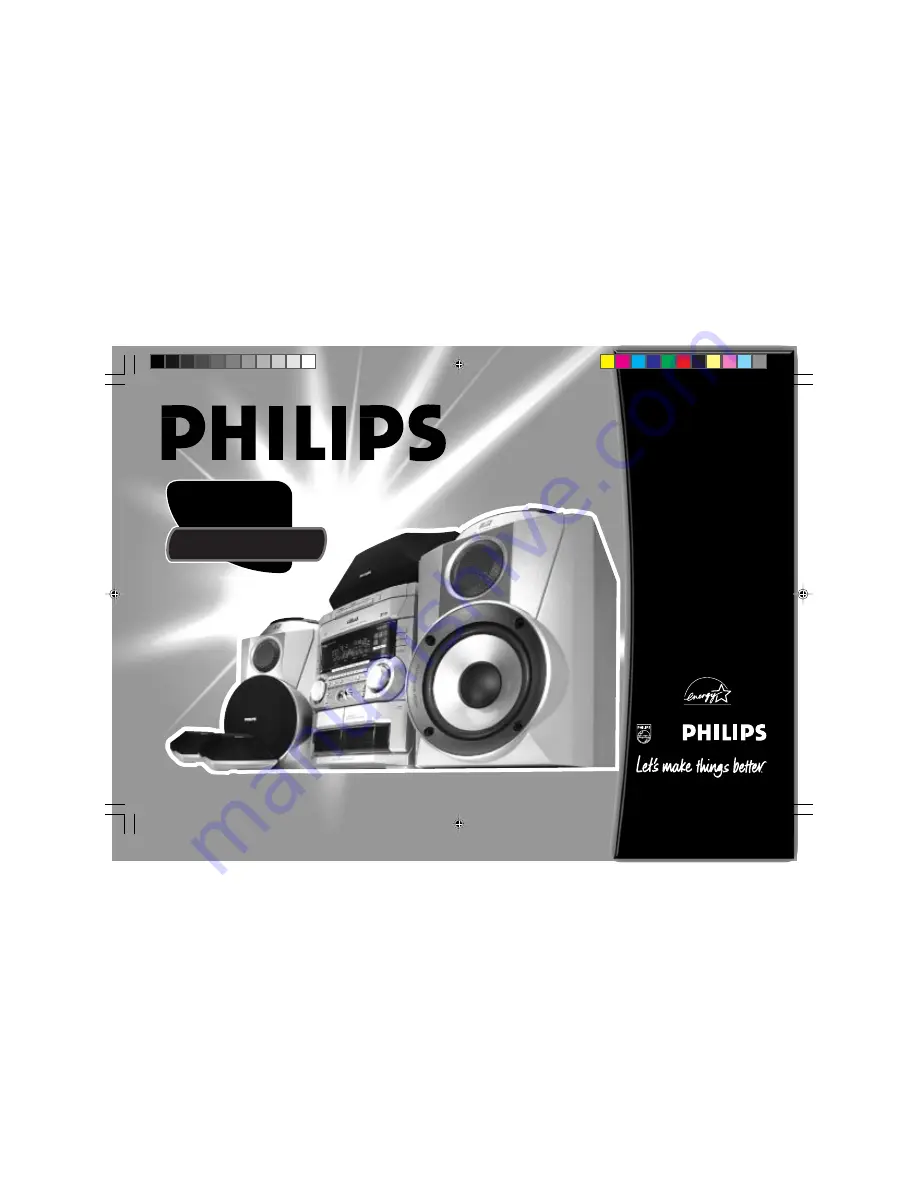
Mini Hi-Fi System

FW-

P88

with 3 CD changer

pg 01-31/P88/22-Eng

3/6/00, 1:26 PM

1

Summary of Contents for 3 CD CHANGER WITH DOLBY PRO LOGIC PROCESSOR FWP88C

Page 1: ...3139 116 19611 Mini Hi Fi System FW P88 with 3 CD changer pg 01 31 P88 22 Eng 3 6 00 1 26 PM 1 ...

Page 2: ...le for your socket outlets it should be cut off and an appropriate plug fitted in its place If the mains plug contains a fuse this should have a value of 5 Amp If a plug without a fuse is used the fuse at the distribution board should not be greater than 5 Amp Note The severed plug must be disposed of to avoid a possible shock hazard should it be inserted into a 13 Amp socket elsewhere How to conn...

Page 3: ...s Italiano Svenska Dansk Suomi Português ÏÏËÓÈÎ Deutsch 3 INDEX CLASS 1 LASER PRODUCT English 4 Français 32 Español 60 Deutsch 88 Nederlands 118 Italiano 146 Svenska 174 Dansk 202 Suomi 230 Português 258 ÏÏËÓÈÎ 286 pg 01 31 P88 22 Eng 3 6 00 1 26 PM 3 ...

Page 4: ...eparation 6 7 Dolby Pro Logic 8 9 Controls 10 12 Operating The System 13 16 CD 17 19 Tuner 20 22 AUX CDR 22 Tape 23 24 Recording 25 26 Clock 27 Timer 27 28 Sleep Timer 28 Specifications 29 Maintenance 30 Troubleshooting 30 31 CONTENTS pg 01 31 P88 22 Eng 3 6 00 1 26 PM 4 ...

Page 5: ...om the rear and the top of the unit and 5 cm from the each side The system incorporates a built in safety feature that prevents overheating Do not expose the system to excessive moisture rain sand or heat sources Under no circumstances should you repair the system yourself as this will invalidate the warranty GENERAL INFORMATION SAFETY INFORMATION If the system is brought directly from a cold to a...

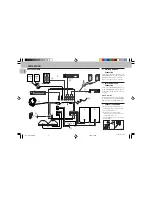
Page 6: ...far away from the system and adjust its position for the best reception B FM Wire Antenna Connection Connect the supplied FM wire antenna to the FM ANTENNA 75 Ω terminal Adjust the position of the FM antenna for the best reception Outdoor Antenna For better FM stereo reception connect an outdoor FM antenna to the FM ANTENNA 75 Ω terminal using a 75 Ω coaxial wire C Speakers Connection Connect the ...

Page 7: ... terminals of a TV VCR Laser Disc player DVD player or CD Recorder to the AUX CDR IN terminals at the rear of the system H Subwoofer Out Connection Connect the optional active subwoofer to the SUBWOOFER OUT terminal The subwoofer reproduces just the low bass sound effect e g explosions the rumble of spaceships etc Be sure to follow the instructions supplied with the subwoofer I Wireless Surround O...

Page 8: ...o the listener If the speakers magnetic field affects the television picture increase the distance between the TV and the speakers Center Speaker For the best sound place the center speaker at the same height as the left and right speakers Place the center speaker directly above or beneath the television Rear surround Speakers The surround speakers should be placed at normal listening ear level or...

Page 9: ...ANTOM will be displayed The DPL display panel will light up Dolby 3 Stereo Use this setting when full surround is not required but a wide stereo sound is desired It only requires the left right and center speakers Press DPL to select the Dolby 3 Stereo mode The message DOLBY 3 STEREO will be displayed The DPL display panel will light up Normal Stereo This setting is for normal stereo sound without...

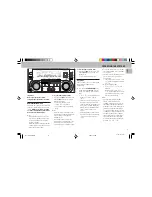
Page 10: ... WOOX WOOXLEVEL fi TAPE 1 2 CD 1 2 3 BAND CDR DVD 3 LEFT CENTER RIGHT SURR SURR PRO LOGIC TV VOL TV VOL SHUFFLE DIM REPEAT L R DSC VEC 9 fl 0 STOP CLEAR SEARCH TUNING PLAY PAUSE PREV NEXT SIDE PRESET DISC CHANGE DISC 1 DISC 2 DISC 3 OPEN CLOSE STANDBY ON D C 3C H A N G E R MINI HIFI SYSTEM DUB HSD RECORD A REV DIM CLOCK TIMER PROG BASS TREBLE wOOx TECHNOLOGY POWER SAVE IR SENSOR VOLUME PLUS LEVEL ...

Page 11: ...When tape playback is stopped press to select either tape deck 1 or 2 AUX CDR DVD to select sound from an external source e g TV VCR Laser Disc player DVD player or CD Recorder When in AUX mode press to select either AUX or CDR DVD TV AV only on the remote control to select TV or Video mode DISPLAY SCREEN to view the current setting of the system CD CAROUSEL TRAY DISC CHANGE to change CD s OPEN CL...

Page 12: ... 2 ª TAPE DECK 1 º CLOCK to view clock display REPEAT to repeat a CD track a disc or all available discs TEST TONE to check the sound level of the Front Left Front Right Center and Surround speakers CENTER to adjust the sound level of the center speaker TIMER ON OFF to switch on or off timer fi SLEEP to switch the system to standby mode at a selected time fl REAR to adjust the sound level of the s...

Page 13: ...d The last preset radio station or the first available RDS station will appear on the display when EASY SET is completed If RDS station does not transmit RDS time within 90 seconds the program will exit automatically and the display will show NO RDS TIME Important Before you operate the system complete the preparation procedures Demonstration mode The system has a demonstration mode that shows the...

Page 14: ...to the n socket at the front of the system The speakers will be muted Sound Control For Optimal sound listening you can only select one of the following sound control at a time PERSONAL DSC VEC or BASS TREBLE PERSONAL SOUND You can store upto 6 personal settings 1 Press to select the PERSONAL feature 2 Adjust the JOG to select the desired Personal setting The selected personal setting number will ...

Page 15: ...automatically wOOx level cannot be stored as part of the personal setting It is not possible to adjust Bass Treble level during personal setting USE JOG will be displayed DIGITAL SOUND CONTROL DSC The DSC feature enables you to adjust the system to suit your type of music 1 Press to select the DSC feature 2 Adjust the JOG to select the desired Digital Sound Control setting OPTIMAL CLASSIC TECHNO V...

Page 16: ...e desired levels of wOOx The WOOX display lights up WOOX 1 WOOX 2 or WOOX 3 will be displayed Notes When Personal or Bass Treble sound control is selected wOOx will be switched off automatically Some CDs or tapes might be recorded in high modulation It may cause distortion at high volume If this occurs switch off wOOx or reduce the volume OPERATING THE SYSTEM Automatic DSC wOOx VEC wOOx selection ...

Page 17: ...good system performance wait until the CD changer completely reads the disc s before proceeding CD Direct Play You can play a CD directly by pressing the DISC 1 DISC 2 or DISC 3 button The CD player will stop at the end of playback of the selected disc A lit button indicates that a disc is loaded in the disc tray The selected disc is encircled Warning 1 This system is designed for conventional CDs...

Page 18: ...e control until the desired track appears on the display The selected track number and elapsed playing time appear on the display If you press í once it will skip to the beginning of the current track and play the track again Note Pressingí during shuffling can only skip to the beginning of the current track Searching for a particular passage during playback Press and hold à or á until the desired...

Page 19: ... displayed The REPEAT and PROGRAM appear on the display 2 Press Ç to stop program playback Shuffle only on remote control In shuffle mode the system plays all the available discs and their tracks in random order Shuffle may be used also when tracks are programmed To shuffle all the discs and tracks 1 Press SHUFFLE SHUFFLE will be displayed The SHUFFLE the disc and the track selected at random appe...

Page 20: ...red automatically The frequency and preset number will be displayed briefly The system will stop searching when all the available radio stations are stored or when the memory for 40 preset radio stations is used The system will remain tuned to the last stored preset radio station Notes You can cancel the automatic programming by pressing PROG orÇ on the system only If you want to reserve a section...

Page 21: ...within 90 seconds the RDS time is not detected NO RDS TIME will be displayed Note Some RDS station may be transmitting a real time clock at a minute interval The accuracy of the transmitted time depends on the transmitting RDS station NEWS TA Traffic Announcement only available in Radio Station with RDS You can activate NEWS or TA function in Standby Demonstration or any source mode except Tuner m...

Page 22: ...displayed 2 Press AUX CDR DVD again to select external normal AUX mode AUX will be displayed STANDBY ON MINI HIFI SYSTEM BAND C1 2 3 CDR DUB HSD RECORD A REV DIM CLOCK TIMER PROG BASS TREBLE wOOx TECHNOLOGY POWER SAVE IR SENSOR VOLUME PLUS LEVEL BASS TREBLE P E R S O N A L D S C VEC TAPE 1 2 CD 1 2 3 CDR DVD TAPE CD TUNER AUX LEFT CENTER RIGHT SURR SURR PRO LOGIC RDS DOLBY B NR NEWS TA CD TEXT BAN...

Page 23: ... selected T2 or T2 will be displayed When recording the A or B display will be flashing Auto Reverse Playback only on tape deck 2 Press A REV to select the different playback modes å å å å å to record or playback on one side of the tape The tape stops at the end of one side to record or playback on both sides of the tape The tape then stops to playback continuously on both sides of the tape up to ...

Page 24: ... or right will be displayed depending on which button is pressed During searching the sound is reduced to a low volume When you release à or á the tape continues playing Notes During rewinding or fast forwarding of a tape it is also possible to select another source e g CD TUNER or AUX Before playing a tape check and tighten slack tape with a pencil Slack tape may get jammed or may burst in the me...

Page 25: ... position of Volume wOOx DSC etc Dolby B NR can be selected for Tuner or CD recording To prevent accidental recording break out the tab on the left shoulder of the tape side you want to protect If CHECK TAPE is displayed the protection tab has been broken Put a piece of clear adhesive tape over the opening Do not cover the Cr02 tape detection hole when covering the tab opening Recording from other...

Page 26: ...isten to another source while dubbing Dolby B NR button has no influence during dubbing dubbing from tape deck 1 to tape deck 2 An original tape recorded with Dolby B NR automatically produces a copy with Dolby B NR CD Synchro Start Recording 1 Load a blank tape into tape deck 2 and a disc into a disc tray 2 Press CD to select CD mode You can program the tracks in the order you want them to be rec...

Page 27: ... LEFT CENTER RIGHT SURR SURR PRO LOGIC RDS DOLBY B NR NEWS TA CD TEXT BAND 5 Press CLOCK TIMER again to store the setting The clock starts To exit without storing the setting press Ç on the system Notes During clock setting if no button is pressed within 90 seconds the system will exit clock setting mode automatically When a power interruption occurs the clock setting is erased To set the time wit...

Page 28: ...n progress Sleep only on remote control This feature allows you to select a length of time after which the system will switch to the standby mode automatically 1 Press SLEEP on the remote control repeatedly to select a period of time The selections are as follows time in minutes 60 45 30 15 OFF 60 SLEEP XX or OFF will be displayed XX is the time in minutes 2 When you reach the desired length of ti...

Page 29: ...ncy response CrO2 tape type II 60 15000 Hz 5 dB Normal tape type I 60 15000 Hz 5 dB Signal to noise ratio without Dolby B NR CrO2 tape type II 50 dBA Normal tape type I 47 dBA Signal to noise ratio with Dolby B NR CrO2 tape type II 62 dBA Normal tape type I 58 dBA Wow and flutter 0 4 DIN SPEAKERS System Shielded 2 way top firing wOOx and Bass reflex system Impedance 6 Ω wOOx 1 x 6 5 top firing wOO...

Page 30: ...should you try to repair the set yourself as this will invalidate the guarantee Do not open the set as there is a risk of electric shock If a fault occurs check the points listed below before taking the system for repair Should any problems persist after you have made these checks consult your nearest dealer or service center CD Player Operation NO DISC is displayed The disc is inserted upside dow...

Page 31: ... Speakers are connected wrongly Check the speaker connections and location Lack of bass sound or apparently imprecise physical location of musical instruments Speakers are connected wrongly Check the speaker connection for proper phasing colored black wires to colored black terminals Remote control has no effect on the system Wrong source is selected Select the source CD TUNER etc before pressing ...

Reviews: