INSTRUCTIONS PERTAINING TO A RISK OF FIRE OR INJURY TO PERSONS-IMPORTANT SAFETY INSTRUCTIONS
Lighted lamp is HOT! WARNING- To reduce the risk of FIRE OR INJURY TO PERSONS: Turn off/unplug and
allow to cool before replacing lamp. Lamp gets HOT quickly! Contact only switch/plug when turning on.
Do not touch hot lens, guard, or enclosure (see diagram/picture). Keep lamp away from materials that
may burn. Do not touch the lamp at any time. Use a soft cloth. Oil from skin may damage lamp. Do not
operate the luminaire fitting with a missing or damaged shield. SAVE THESE INSTRUCTIONS.
Xenon lamps do not require additional shielding.
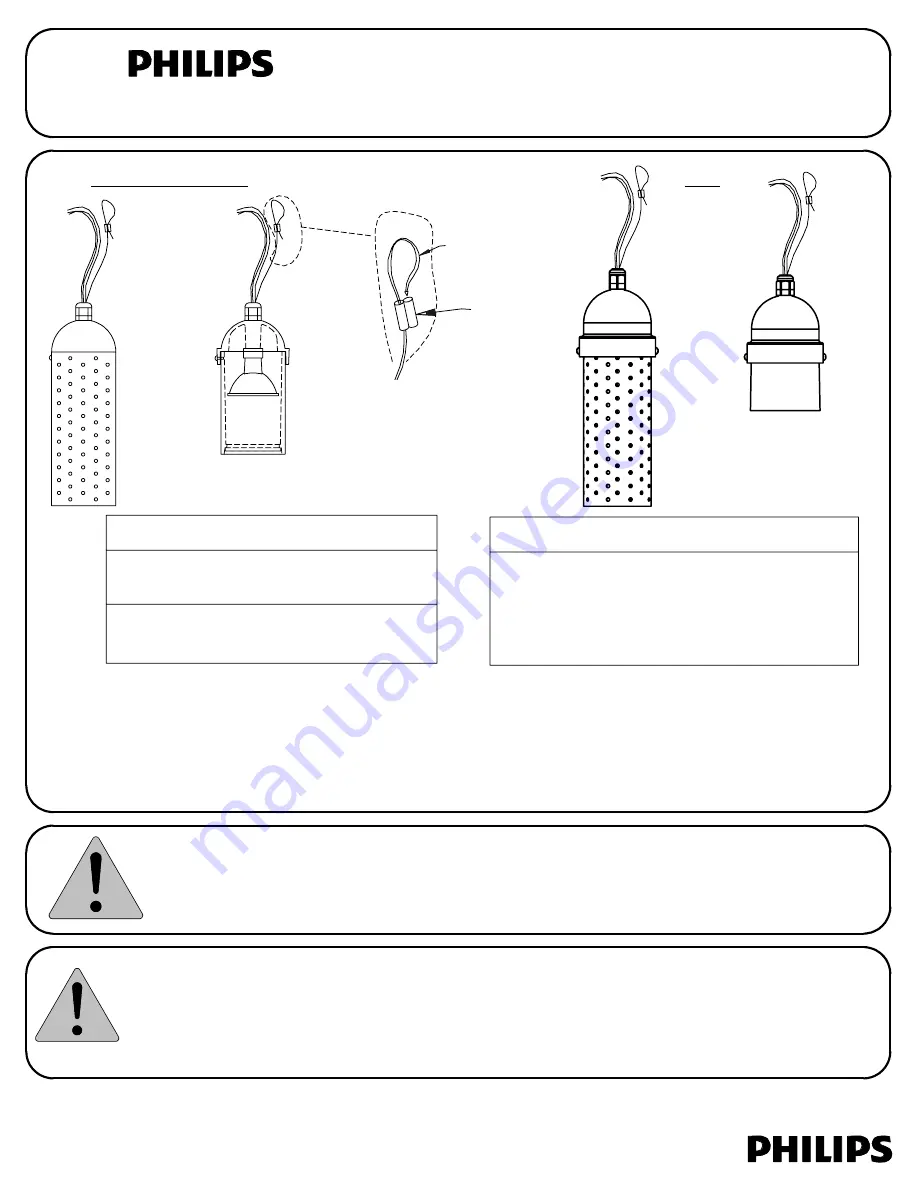
DRL1
DL1
Possible lamps for incandescent fixtures:
DL1 - 27W #1156 (included)
Single Contact Bayonet Base
20W MR16 Bi-pin (not supplied)
STAINLESS
CABLE
CABLE
CRIMP
DL1D
DRL1 - 35W MR16 Bi-pin
(not supplied) - US only
DRL1D
INSTALLATION
1. Always make sure power is OFF before installing or servicing these fixtures.
2. For incandescent fixtures: Install specified lamp. The screws on the side must be removed to install the lamp.
For LED fixtures: The LED modules are factory installed and are not replaceable. Magnetic low voltage
transformer is required.
3. Use the cable crimp (included) to hang the fixture. Insert end of stainless cable through one side of crimp,
and back through the other side, forming a loop as shown above. Adjust to desired length and crimp tight.
Cut off excess stainless cable.
4. Connect to power using the Low Voltage Connector included with the fixture.
INCANDESCENT
LED
DL1DC2/DRL1DC2 - 3.7W Cool White
DL1DW2/DRL1DW2 - 3.7W Warm White
DL1DC3/DRL1DC3 - 6.4W Cool White
DL1DW3/DRL1DW3 - 6.4W Warm White
LED Modules (Factory Installed/Not Replaceable)
32000968, revision E
100 Craftway Dr.
Littlestown, Pennsylvania 17340-0128
Phone: (717) 359-7131
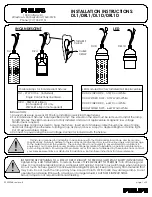
INSTALLATION INSTRUCTIONS:
DL1/DRL1/DL1D/DRL1D
page 1 of 2
This fixture is intended for installation in accordance with the National Electrical Code and local code
specifications. Failure to adhere to these codes and instructions may result in serious injury and/or damage
to the ballast and void the warranty. These instructions do not purport to cover all details or variations in
equipment, nor to provide for every possible contingency related to installation, operation, maintenance,
or mounting situation. Should specific problems occur that are not addressed by these instructions, contact
your Sales Representative or distributor for assistance. Retain these instructions for future reference.
IF THIS IS THE ONLY PAGE
MOVE THE DRAWING
NUMBER AND REVISION
NOTE TO THE RIGHT 0.60"
AND ADD THE PHILIPS SHIELD
HERE (IT CAN BE COPIED
FROM PAGE 2 OF THE
DEFAULT TEMPLATE)
The warning notes to the left are
required by ANSI/UL 1838-2009 &
CSA 22.2 No. 250.7-07 for Tungsten
Halogen/Xenon Luminaires only.
However, these warnings should
be left on all low voltage
instruction sheets due to the fact
that the information is beneficial
to have on
all low voltage fixtures
regardless of lamp type.


