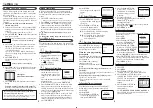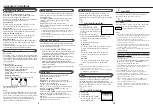
PLAY 15:00
CH12
AUTO
B-----+-----+-----+-----+-----+-----E
REMAIN 2:30 INDEX - 1
LP 0:00:00
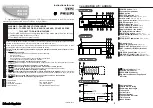
Video Cassette Recorder
Instructions for use
Safety Pr
ecaution
VR220/55
VR420/55
LPT0559-001A
C
C
ongratulations on purchasing your new VCR. Spare a few moments to read this instruction
manual to get better results, and to avoid any costly mistakes.
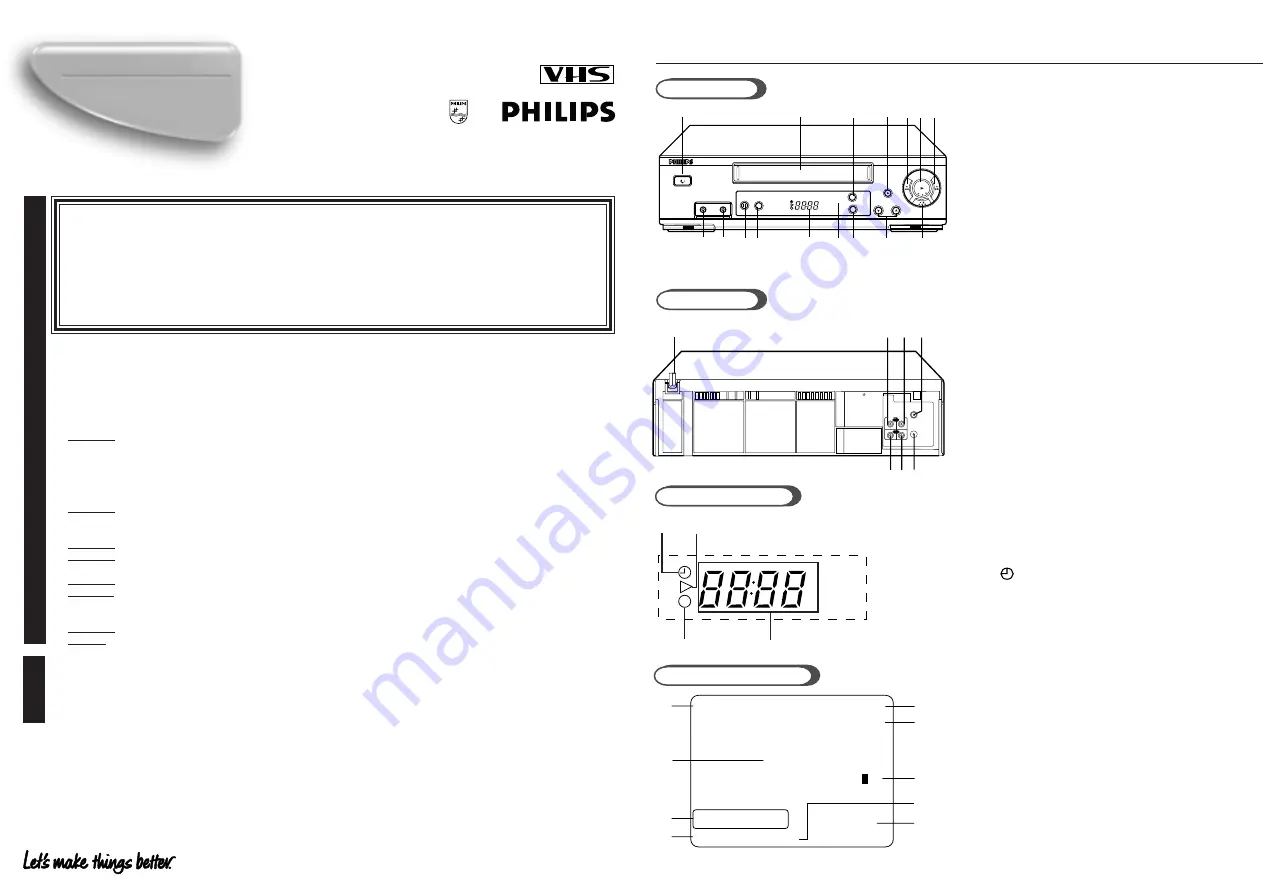
Display Window
Front panel
1
1
1
1
1
2
2
2
2
2
3
3
3
3
3
4
4
4
4
4 5
5
5
5
5 6
6
6
6
6 7
7
7
7
7
8
8
8
8
8 9
9
9
9
9
1
1
1
1
1
3
3
3
3
3
4
4
4
4
4
2
2
2
2
2
D
D
escription of
C
C
ontrols
2
0
0
0
0
0
1
1
1
1
1
Operation mode
2
2
2
2
2
SmartPicture Setting
3
3
3
3
3
Remaining tape length
4
4
4
4
4
Tape speed
5
5
5
5
5
Current time
6
6
6
6
6
Channel Number
7
7
7
7
7
Tape position indicator
8
8
8
8
8
Time counter
9
9
9
9
9
Index Number
1
1
1
1
1
3
3
3
3
3
4
4
4
4
4
2
2
2
2
2
5
5
5
5
5
6
6
6
6
6
7
7
7
7
7
8
8
8
8
8
9
9
9
9
9
1
1
1
1
1
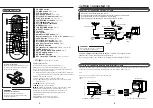
POWER button
(
✈
P.12)
2
2
2
2
2
Cassette Compartment
3
3
3
3
3
MENU button
4
4
4
4
4
REC/OTR
button
(
✈
P.7)
5
5
5
5
5 1
(Rewind) button
(
✈
P.5, P.7, P.10)
6
6
6
6
6
PLAY
3
button
(
✈
P.7, P.8, P.9)
7
7
7
7
7 ¡
(Fast Forward) button
(
✈
P.5, P.7, P.10, P.12)
8
8
8
8
8
VIDEO input jack
(
✈
P.14)
9
9
9
9
9
AUDIO input jack
(
✈
P.14)
0
0
0
0
0
STILL/PAUSE
8
button
(
✈
P.10)
!
!
!
!
!
COLOUR MODE button
(
✈
P.7)
@
@
@
@
@
Display Window (see below)
#
#
#
#
#
IR (infrared) remote sensor
$
$
$
$
$
OK/STATUS button
(
✈
P.4, P.5, P.9)
%
%
%
%
%
CHANNEL
5
5
5
5
5
/
∞
∞
∞
∞
∞
button
(
✈
P.4, P.5, P.7, P.8,
P.10, P.12, P.14)
^
^
^
^
^
STOP/EJECT
7
/
0
button
(
✈
P.4, P.7, P.9)
1
1
1
1
1
(Timer) indicator
(
✈
P.12)
2
2
2
2
2
PLAYBACK indicator
3
3
3
3
3
RECORDING indicator
4
4
4
4
4
Digital clock/Channel/Tape Speed
indicator
1
1
1
1
1
3
3
3
3
3 4
4
4
4
4
5
5
5
5
5 6
6
6
6
6 7
7
7
7
7
2
2
2
2
2
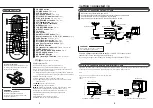
Rear panel
RF OUT
ANT.IN
IN
OUT
AUDIO
VIDEO
1
1
1
1
1
AC power cord
2
2
2
2
2
AUDIO IN (input) jack
(
✈
P.4, P.14)
3
3
3
3
3
AUDIO OUT (output) jack
(
✈
P.4, P.14)
4
4
4
4
4
ANT. (antenna) IN (input) terminal
(
✈
P.4)
5
5
5
5
5
VIDEO IN (input) jacks
(
✈
P.4, P.14)
6
6
6
6
6
VIDEO OUT (output) jack
(
✈
P.4, P.14)
7
7
7
7
7
RF OUT (output) terminal (to TV)
(
✈
P.4)
!
!
!
!
!
@
@
@
@
@
#
#
#
#
# $
$
$
$
$
%
%
%
%
%
^
^
^
^
^
CHANNEL
REC / OTR
MENU
POWER
PLAY
/
OK/
STATUS
COLOUR MODE
VIDEO AUDIO
STILL/PAUSE
STOP/EJECT
When the equipment is installed in a cabinet or a shelf, make sure that it has sufficient space on all sides
to allow for ventilation (10 cm or more on both side, on top and at the rear.)
When discarding batteries, environmental problems must be considered and the local rules or laws
governing the disposal of these batteries must be followed strictly.
Failure to heed the following precautions may result in damage to the VCR, remote control or video
cassette.
1. DO NOT place the VCR . . .
... in an environment prone to extreme temperatures or humidity.
... in direct sunlight.
... in a dusty environment.
... in an environment where strong magnetic fields are generated.
... on a surface that is unstable or subject to vibration.
2. DO NOT block the VCR's ventilation openings or holes.
(If the ventilation openings or holes are blocked by a newspaper or cloth, etc., the heat may not be able
to get out.)
3. DO NOT place heavy objects on the VCR or remote control.
4. DO NOT place anything which might spill on top of the VCR or remote control.
If water or liquid is allowed to enter this equipment, fire or electric shock may be caused.)
5. DO NOT expose the apparatus to dripping or splashing.
6. DO NOT use this equipment in a bathroom or places with water. Also DO NOT place any containers
filled with water or liquids (such as cosmetics or medicines, flower vases, potted plants, cups, etc.) on top
of this unit.
7. DO NOT place any naked flame sources, such as lighted candles, on the apparatus.
8. AVOID violent shocks to the VCR during transport.
WARNING : DANGEROUS VOLTAGE INSIDE
WARNING : TO PREVENT FIRE OR SHOCK HAZARD, DO NOT EXPOSE
THIS UNIT TO RAIN OR MOISTURE.
❒
The POWER button does not completely shut off the mains power from the unit, but
switches operating current on or off only.
❒
The rating plate is on the rear of the unit.
Safety Pr
ecaution
❍
SmartPicture
❍
One Touch Recording
❍
Child Lock
❍
On Screen Display
❍
Automatic Operations
❍
Timer Recording
❍
Index Search
❍
Digital Studio Picture Control
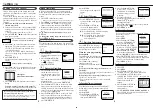
Featur
es
On- Screen Display


