Manik Radiators Pvt. Ltd.
Step 1. Using the nozzle wrench, screw in, then tighten the nozzle (3).
Caution: Do not apply excessive force when tightening the
nozzle.
Step 2. Screw on the nozzle cap (2) and hand tighten
Step 3 . Screw on the crown cap
Step 4. Hold the airbrush as shown in the diagram to complete STEPS
4 and 5. Take the auxiliary lever (13) and hold as shown in
diagram. Insert inside the opening, twist so that the hump is
towards the back and let it rest against the back of the
opening.
Step 5. Before you perform STEP 5, inspect main lever (12) Notice
there is a thinner rounded section on the flat part under the
round head. This side goes toward the back of the opening.
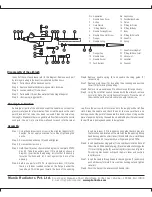
No.
1
Needle Valve Cover
2
Air Cap
3
Fluid Nozzle
4
'O' Ring Needle
5
Needle Packing Screw
6
Needle Valve Adj. Screw
7
Plunger
8
Needle Spring
9
Plunger Cap
10 Needle Valve
11 Needle Socket
12 Push Buttons
Application
No.
13 Push Buttons Guide
14 Piston
15 'O' Ring for Piston
16 'O' Ring for Body
17 Body
18 'O' Ring for Valve Pin
19 Valve Pin
20 Spring
21 Valve Pin Locking Nut
22 'O' Ring for Hose Joint
23 Hose Joint
24 Hose Nut
25 Spanner
Application
1
2
3
4
5
6
7
8
12
13
14
9
10
11
25
24
23
22
21
20
19
15
16
17
18
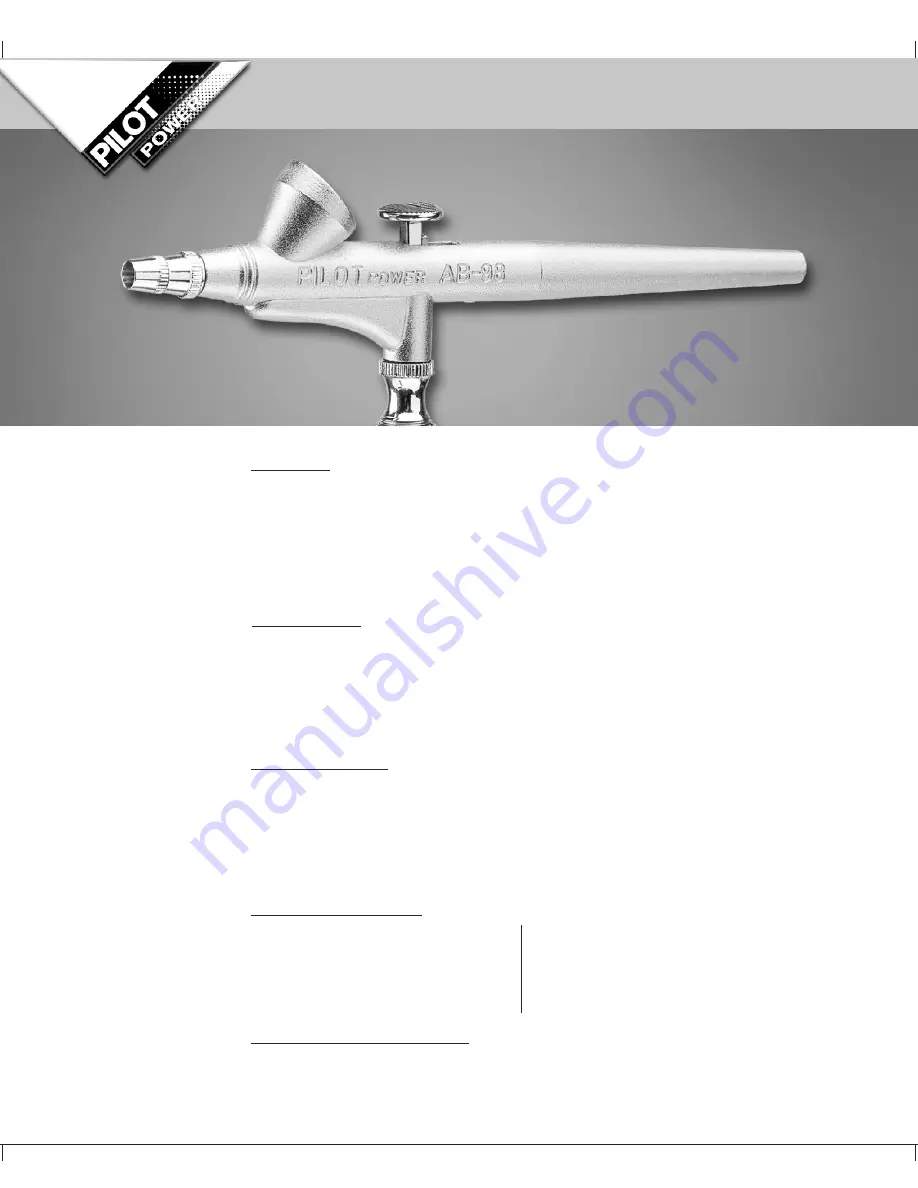
Dear Customer,
Thank you for purchasing
PILOT power AB-98. Every
PILOT product guarantees
years of customer
satisfaction. PILOT power
equipments are unique and
are designed for easy use
with simple mechanism.
PILOT power AB-98 is
manufactured using
components, which have a
very good ratio of weight
and strength. Its
sophisticated nozzle and
needle achieve a fine
uniform spray.
It is widely used by artists
for fine art work, photo
retouching etc. It is also
used for eliminating
unwanted details,
decorating tags, painting
paper cards etc. Its
simplistic operation (by
pressing the finger button)
makes it user-friendly for
professionals as well as
amateurs.
It is important to eliminate dust accumulated in the hose. You can easily do it by connecting the hose to the air
receiver at a working pressure of (0.5 to 0.8 kgs / cm2).
Hold the spray (air) brush in a similar manner as the pen. Pour the required quantity of prepared colour into the
cup and slightly depress the button, which will activate the air valve. Further depression of the button will start
the flow of colour. The movement of the hand (with the button depressed) should be continuous till the flow of
colour spreads in order to avoid surplus colour deposition at the end of each stroke.
How to use
We recommend the use of oil and water colour that’s finely ground and mixed with turpentine resulting in a free
flow. Colour containing loose particles should be used only after straining the mixture with fine muslin. This will
avoid clogging of the nozzle.
Do not allow any colour build-up on the air cap. Also take care of the needle point and prevent it from bending or
damage. It is important that colours are mixed in correct ratio of water or mixing medium.
For best results
!
Do not allow remaining colour to dry up in the cup.
!
Wash the cup & the nozzle immediately with cleaning solvent after use by spraying.
!
Never use a sharp object and the needle, instead use a soft brush.
!
Always handle the nozzle and the needle with utmost care for if this is tampered or damaged will not produced
the desired results.
For long lasting use
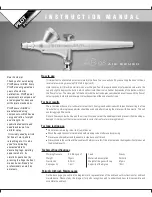
I N S T R U C T I O N M A N U A L
2
Working Pressure
0.5-0.8kgs/cm
Weight
72gms
Nozzle size
0.3 mm
Cup capacity
1.5ml
Technical Specifications
On the back page you will find the diagrammatic representation of the airbrush with instructions for airbrush
maintenance. Please study the diagram for parts recognition and to understand how to disassemble and
assemble the airbrush.
Periodic Airbrush Maintenance
In each of these steps please refer to the diagram. Remove each part
by turning or pulling in the direction indicated by the arrows.
Step 1. Pull air hose off the hose connector.
Step 2 . Remove handle (26) by turning counter clockwise.
Step 3 . Loosen needle (11) chuck nut.
Step 4 . Pull needle (10) out. Be careful not to damage the point.
Step 5 . Unscrew spring guide (9).
Disassembly of the airbrush
Submerge all parts of the airbrush except the needle in a solvent in a
glass or metal pan for a few minutes. Then scrub the parts with a small
paint brush until all colour has been removed. Clean the colour cup
thoroughly. Make sure there is a good liquid flow from where the nozzle
connects. Use a q-tip to scrub the walls and to reach into the colour
Cleaning & Lubrication
AB-98
A I R B R U S H
Feed
Gravity
Material Consumption
2ml/min
Weight of the gun with cup
87gms
Capacity of the big cup
10 ml
Step 6 . Remove needle spring (8) and needle chucking guide (7)
respectively.
Step 7 . Remove main lever (12) by pulling then twisting and auxiliary
lever (13) by twisting then pulling.
Step 8 . Remove crown needle cap (1) and nozzle cap (2) respectively.
Step 9 . Using the small flat wrench received with the airbrush, remove
nozzle (3). Note: the nozzle has two flat spots. Place the slot of
the wrench over these slots and turn counter clockwise.
cup. Rinse the parts with hot water and dry thoroughly with a lint-free
cloth. Clean the needle and check the point to make sure there is no
damage. Look at the point of the needle for a bend or hook. Using a white
piece of paper and placing the needle on it and rolling it will make it easier
to see if there is damage and needs to be replaced.
Assembly
Insert main lever (12) into opening and guide the two pins into
the two channels located on the walls inside the opening. Move
head back against auxiliary lever (13) and hold there. Hold these
parts (12) and (13) secure with your finger and go to STEP 6.
Step 6. Insert needle chucking guide (7) channel down into the back of
the airbrush. Slide needle spring (8) over needle chucking guide
(7) Insert spring guide (9) over spring(8) screw in and tighten.
This spring mechanism will push the main lever and auxiliary
lever forward.
Step 7. Insert the needle through needle chucking guide (7) and slowly
push all the way forward. Screw on the chucking nut and tighten
securely.
Step 8. Cover the back of the airbrush with handle (26).
Sonal Kamal, Makwana Road, Marol Naka, Andheri East, Mumbai - 400 059. MH. INDIA
E-mail: info@pilotindia.com
www.pilotindia.com


