background image


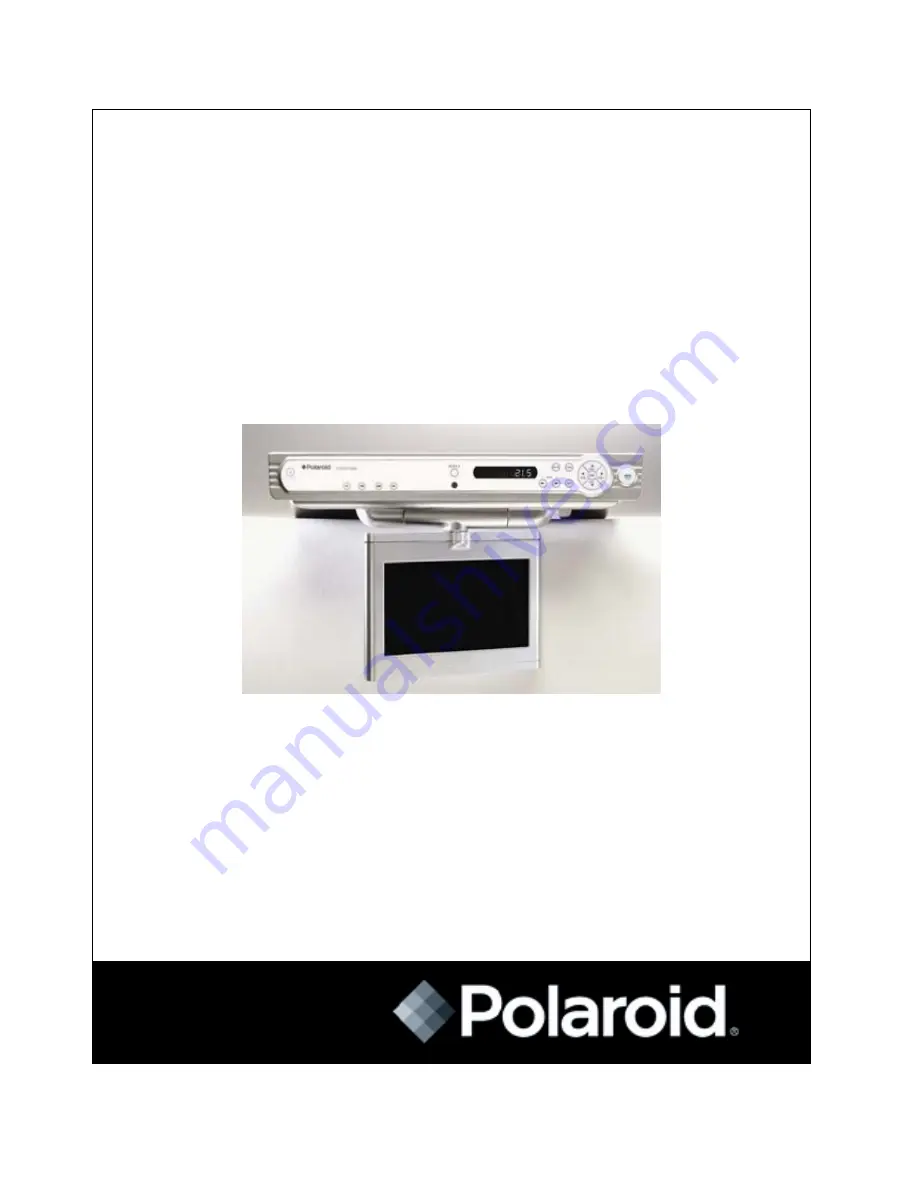
7” Under-the-Counter LCD 

FCM-0700A 


Operating Manual 


Summary of Contents for FCM-0700A

Page 1: ...7 Under the Counter LCD FCM 0700A Operating Manual ...

Page 2: ...mote Control Preparation Use of Remote Control System Connections Connecting To External AV Signal Source Connecting To TV Signal Input Source Connecting To Antenna Connecting To the Power Adapter Radio Function TV Function AV Function Installing the Unit in Kitchen Troubleshooting Specifications 2 3 5 6 7 8 9 9 9 12 12 12 13 14 15 17 20 21 23 24 ...

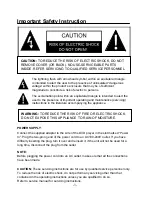
Page 3: ...the operating instructions unless you are qualified to do so Refer to service manual for servicing instructions CAUTION TO REDUCE THE RISK OF ELECTRIC SHOCK DO NOT REMOVE COVER OR BACK NO USE SERVICEABLE PARTS INSIDE REFER SERVICING TO QUALIFIED SERVICE PERSONNEL The lightning flash with arrowhead symbol within an equilateral triangle is intended to alert the user to the presence of uninsulated da...

Page 4: ... only with the cart stand tripod bracket or table specified by the manufacturer or sold with the apparatus When a cart is used use caution when moving the cart apparatus combination to avoid injury from tip over 13 Unplug this apparatus during lightning storms or when unused for long periods of time 14 Refer all servicing to qualified service personnel Servicing is required when the apparatus has ...

Page 5: ...nce to radio communications However there is no guarantee that interference will not occur in a particular installation If this equipment does cause harmful interference to radio or television reception which can be determined by turning the equipment off and on the user is encouraged to try to correct the interference by one or more of the following measures Reorient or relocate the receiving ant...

Page 6: ...n 16 9 AV Input External Audio Video input can be connected to most external AV sources LCD Liquid Crystal Display Color LCD screen clearly shows data Amplifier Function Built in 2x2 5w stereo amplifier and left and right speakers Switching Power Adapter Automatically adapts to voltage required TV Functions Receive TV signal clearly Search for TV channels automatically Memorize the channels automa...

Page 7: ...ckward automatically 10 SEEK button Under radio mode press once to fine tune frequency forward Press for about 1 5 seconds to search radio stations forward automatically 11 MUTE button Press to turn on or off the speaker output The corresponding information will be displayed on the display panel 12 TIME button Press it once to display the time on the display panel In standby status the time is sti...

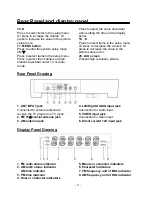
Page 8: ...se the volume Or press to decrease the value in the picture setup menu 20 LCD screen Present high resolution picture Rear Panel Drawing 1 ANT INPUT jack Connected to external antenna to receive the TV program in TV mode 2 FM 75Ωcoaxial antenna jack 3 AM antenna jack 4 Left Right AUDIO input jack Connection for audio input 5 VIDEO input jack Connection for video input 6 Direct current 12V input jac...

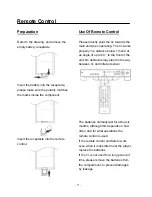
Page 9: ...g The r c works properly in a distance below 7m and at an angle of up to 60 to the front of the unit No obstacles may stand in the way between r c and infrared sensor The batteries normally last for about six months although this depends on how often and for what operations the remote control is used If the remote control unit fails to work even when it is operated near the player replace the batt...

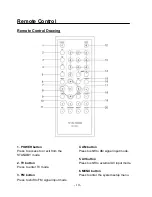
Page 10: ... to or exit from the STANDBY mode 2 TV button Press to enter TV mode 3 FM button Press to shift to FM signal input mode 4 AM button Press to shift to AM signal input mode 5 AV button Press to shift to external AV input mode 6 MENU button Press to enter the system setup menu ...

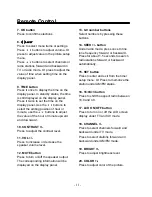
Page 11: ...vel 11 VOL Press to increase or decrease the speaker volume level 12 MUTE button Press to turn on off the speaker output The corresponding information will be displayed on the display panel 13 0 9 number buttons Select numbers by pressing these buttons 14 SEEK button Under radio mode press once to fine tune frequency forward or backward Press for about 1 5 seconds to search radio stations forward ...

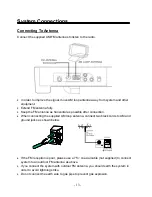
Page 12: ...the power cord until all other connections have been made Each time you restart the unit it remembers the last function used Connecting To External AV Signal Source Connections should be made as follows Connecting To TV Signal Input Source ...

Page 13: ...zontal as possible after connection When connecting the supplied AM loop antenna connect two black cords to AM and ground jacks as shown below If the FM reception is poor please use a 75Ω coaxial cable not supplied to connect system to an outdoor FM antenna as above If you connect the system with outdoor FM antenna you should earth the system in order to avoid lightning strike Do not connect the e...

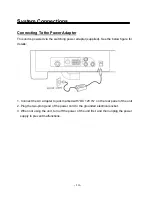
Page 14: ...d See the below figure for details 1 Connect the AC adapter to jack marked with DC 12V IN on the rear panel of the unit 2 Plug the two prong end of the power cord to the grounded electrical socket 3 When not using the unit turn off the power of the unit first and then unplug the power supply to prevent malfunctions ...

Page 15: ...morized stations Use the buttons to adjust the channel number for your preference and then press the SET button again the station will be memorized with the coded station number Press the SET button again the station will be automatically memorized with the default station number in sequence You can store radio stations from 0 to 19 total 20FM or 20AM radio stations If no buttons are pressed withi...

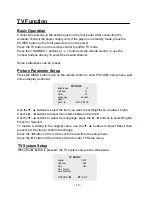
Page 16: ... setup menu and screen display as shown Use the buttons to select the item you want to set Brightness Contrast Color Use the buttons to adjust menu items between 0 and 20 Use the buttons to select the Language press the buttons to select English French or Spanish To restore a setting to the original value use the buttons to select Reset then press the OK button to confirm the change Press the butt...

Page 17: ...annel In CATV input mode you can select channels from 2 to 125 in AIR input mode you can select channels from 2 to 69 Skip When the button is pressed to turn the function ON it will skip the current channel when using CHANNEL or to select channels When the button is used to turn the function OFF it will play the channels in sequence when selecting under normal playback status Fine Tuning Use the b...

Page 18: ...se the buttons to enter the item and to select Press the SET button again on the remote control to exit from the setup menu Timer Use the direction buttons to select ON or OFF This function allows you to set the start time and end time of the desired signal source Whether the player is under TV radio or standby mode If set this function on the player will automatically start the playback of the de...

Page 19: ...ber buttons to input the desired TV channels In CATV signal input mode there are 124 channels to choose from 2 125 in AIR signal input mode there are 68 channels to choose from 2 69 Press the CHANNEL buttons or buttons on the remote control to select the desired channel or use the number buttons to input and then press the OK button to confirm Note The function is active as long as the unit is con...

Page 20: ...hown Use the buttons to select the item you want to set Brightness Contrast Color Use the buttons to adjust menu items between 0 and 20 Use the buttons to select the Language press the buttons to select English French or Spanish Select Reset to resume the original status Press the button on the remote control to exit from the setup menu Note Under AV mode if there is no signal the LCD screen will ...

Page 21: ...rs The suggested mounting position of the unit is under a wall cabinet See drawings below NOTE The dimensions of the player 355mm X 75mm x285 mm W H D There should be at least 35mm distance between the unit and the wall Installing steps 1 Mark the position of the 4 holes by using the supplied template Drill four 6 5 mm diameter holes See below ...

Page 22: ... the unit especially while the LCD screen is open for viewing Mount the unit so that its AC power cord can be plugged directly to a wall outlet Do not use a converter or extension cord Be sure that the AC power cord has no slack when the player is working because the cord acts as an FM wire antenna If the AC power cord has some slack wind it up to the cord hook until the cord has no slack The unit...

Page 23: ... is NTSC Make sure system connection is correct The remote control does not work Make sure there are no obstructions between the remote control and the player Make sure the remote control is pointing at the player Make sure batteries are inserted correctly check polarity Replace weak batteries Other Notes Static or other external interfere may cause the player to behave abnormally If this occurs u...

Page 24: ...t About 3 4kgs DESIGN AND SPECIFICATIONS ARE SUBJECT TO CHANGE WITHOUT NOTICE For service support and warranty information visit www polaroidelectronics com or in the US call 1 866 289 5168 in Canada call 1 866 301 7922 and in Mexico call 01 800 400 2443 Polaroid is a registered trademark of Polaroid Corporation of Waltham MA USA and licensed for use on the FCM 0700A to Petters Consumer Brands LLC...

Reviews: