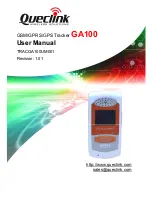
How to connect your i-Geo+
to your Pocket PC?
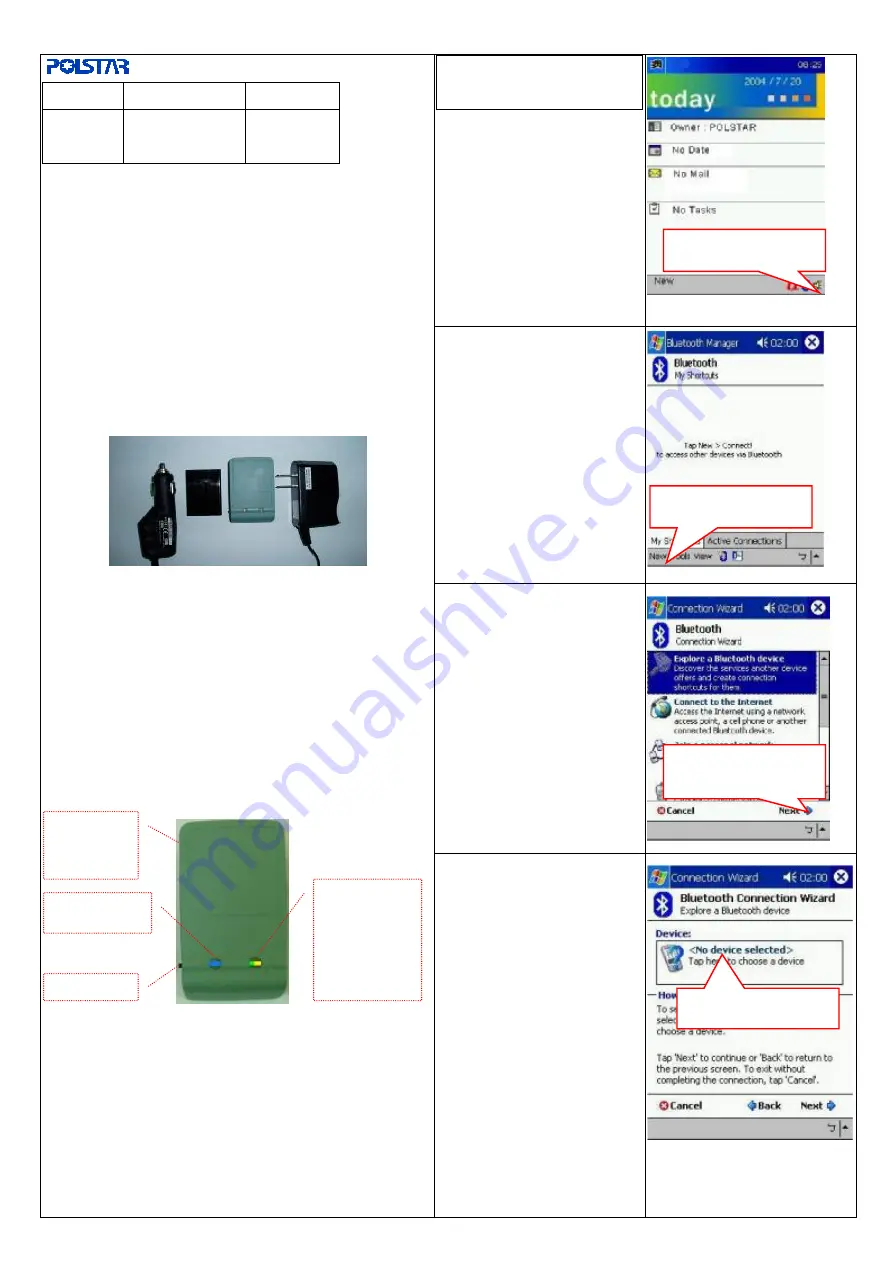
1. Keep your i-Geo+ powered on
as well as keeping it in an open
place. The flashing Red LED
indicates that the GPS is
functioning and the flashing
Blue LED indicates that the
Bluetooth is functioning.
2. Turn on the Bluetooth manager
3. Click
“
new
”
to connect
4. Select
”
Explore a Bluetooth
device
”
item and click
“
Next
”
P i-Geo+ USERS MANUAL
Version
Issue date
Description
A
14 Nov. 2005
Initial
Release
Your Polstar i-Geo+ GPS receiver uses world-class technology to
provide you with a GPS receiver with superior performance to
ensure the best possible reception wherever you go, from urban
areas to highways to inner city streets.
What
’
s in the box?
Make sure that your Bluetooth package includes the following:
Bluetooth GPS Receiver x 1
Car Charger x 1
Li-ION battery x 1
Travel Charger x 1.
Getting Started
The Li-ION battery needs to be charged for at least 2 hours
before being used for the first time. Simply place the battery into
your i-Geo unit and plug the charger into your I-Geo unit.
CAUTION:
RISK OF EXPLOSION IF BATTERY IS REPLACED BY AN
INCORRECT TYPE. DISPOSE OF USED BATTERIES ACCORDING TO
THE INSTRUCTIONS MARKED ON BATTERIES.
LED Indicators
LED Flashing
-Function needs setup.
LED On Continuously-
Function is fully working.
3 Step Quick Start Guide for Pocket PC Users
1. Turn the receiver on once the battery has been fully charged
and placed in the receiver.
2. Connect the Bluetooth GPS receiver to Pocket PC.
3. Enable GPS navigation in your Pocket PC.
5. Click
“
Tap here to choose a
device
”
Blue
LED
–
Bluetooth
Yellow
LED
–
Low battery
Green
LED
–
Battery
Charging
Red
LED
–
GPS
Operation
Power
Click on the Bluetooth
icon
Click
“
New
”
to connect
Bluetooth
Click
“
Next
”
after
selecting
“
Explore a
Bluetooth device
”
Click
“
Tap here to
choose a device
”


