

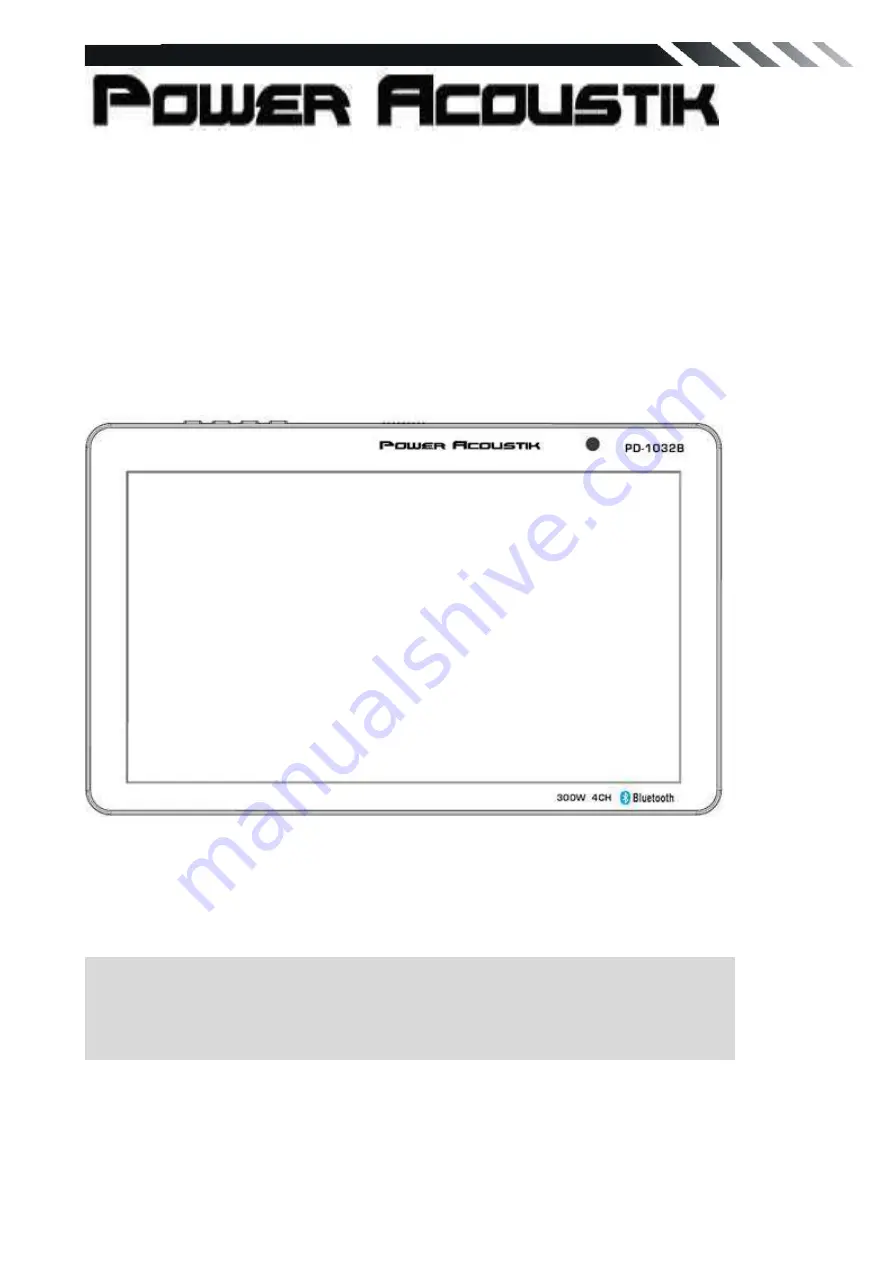
Summary of Contents for PD-1032B
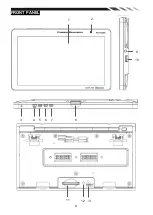
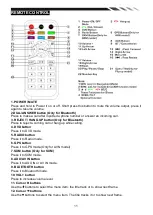
Page 9: ...9 FRONT PANEL 1 2 3 4 5 7 8 6 11 13 12 9 10...
Page 26: ...26...
Page 27: ...27...
Page 28: ...28...
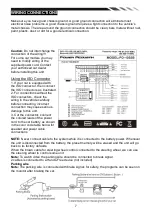
The Power Acoustik PD-1032B is a versatile and powerful multimedia receiver, offering a wide range of features for an incredible audiovisual experience. To fully understand and utilize all its functions, make sure to download the Owner's Manual for free from 88.208.23.73:8080. Find all the information you need in the manual.
Page 9: ...9 FRONT PANEL 1 2 3 4 5 7 8 6 11 13 12 9 10...
Page 26: ...26...
Page 27: ...27...
Page 28: ...28...


