background image

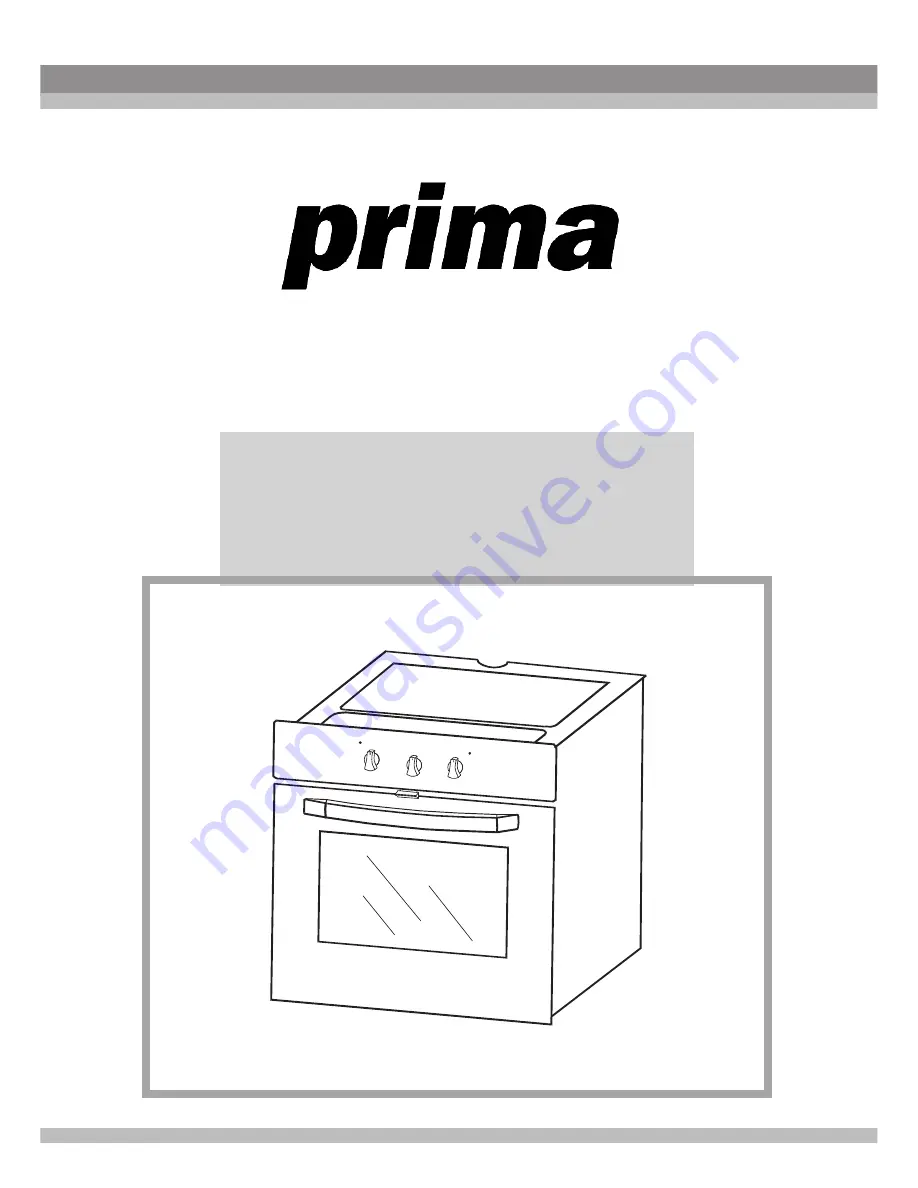
OPERATING AND INSTALLATION 

INSTRUCTIONS OF 

BUILT-IN OVEN

LPR9000

Summary of Contents for LPR9000

Page 1: ...OPERATING AND INSTALLATION INSTRUCTIONS OF BUILT IN OVEN LPR9000 ...

Page 2: ... quality Your manual is prepared in order to help you to use your appliance with confidence and maximum efficiency Before you use your new appliance for the first time please read through this manual to understand the features and controls of this product Contact your nearest Authorized ServiceAgent for the installation of your product ...

Page 3: ...ation and size of product 2 Warnings 3 Preparation for installation and use 4 Using the oven 5 Cleaning and Maintenance of your product 6 Service and Transport page 2 page 3 page 6 page 10 page 17 page 18 CONTENTS ...

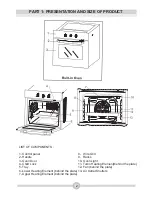
Page 4: ...1 Control panel 2 Handle 3 Oven Door 4 Child Lock 5 Tray 6 Lower Heating Element behind the plate 7 Upper Heating Element behind the plate 8 Wire Grill 9 Racks 10 Oven Light 11 Turbo Heating Element behind the plate 12 Fan behind the plate 13 Air Outlet Shutters ...

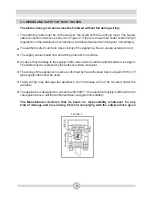
Page 5: ... and or packaging with the usage conditions available Do not operate the oven before it is fully installed Be sure that all of its buttons are turned off when the appliance is not in use Be sure that the supply cable is not wedged during the installation of the appliance If the supply cord is damaged it must be replaced by the manufacturer its service agent or similarly qualified persons in order ...

Page 6: ...power outlet or line Do not place the power cord of your appliance near any heated spot Do not pass it near the hob Contact the nearest Authorized Service in the event any damage occurs to the power cord For the models with timers make sure to adjust the time at first run or in case of a power failure Heat and moisture will form in your cooking environment Throughly ventilate your kitchen When you...

Page 7: ...es Keep children away In order to cook in your oven the oven function and temperature setting buttons need to be adjusted and the oven timer if available needs to be programmed Otherwise the oven will not operate While the oven door or drawer is open do not place anything on it You may disturb the balance of the appliance or break the door This appliance is designed for indoor use only Before inst...

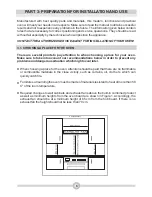
Page 8: ...ere is no exhaust fan the height should not be less than 70 cm Manufactured with best quality parts and materials this modern functional and practical oven will meet your needs in all respects Make sure to read the manual to obtain successful results and not to experience any problems in the future The information given below contain rules that are necessary for correct positioning and service ope...

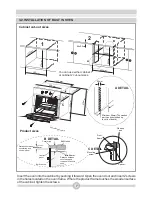
Page 9: ...t 2 cut out sizes 2 A B 595mm Min 25mm 580mm 560mm 600mm 1 555mm 575mm 560mm A DETAIL 20mm Minimum 40mm The wooden part can be extended up to cut out depth Product sizes C 555mm 555mm 570mm Mounting screws 57 0m m 59 0m m 595mm B DETAIL Countertop Built in oven Min 25mm Control panel Distance between countertop and control panel Min 50mm Built in hob Distance between countertop and top panel of bu...

Page 10: ...n a way to ensure that they cannot be removed by using any kind of tool Installing the appliance in the close vicinity of a refrigerator or a deep freezer is not recommended Otherwise the performance of the above mentioned appliances will be negatively affected due to emanating heat After removing your oven from its packaging be sure that the oven is not harmed In case you suspect any damage to th...

Page 11: ...t s hot surface In case of any damage to the supply cable make sure to call theAuthorized ServiceAgent The cable must be replaced by theAuthorized ServiceAgent The wiring of the appliance must be performed by the Authorized Service Agent H05VV F type supply cable must be used Faulty wiring may damage the appliance Such damage will not be covered under the warranty The appliance is designed to conn...

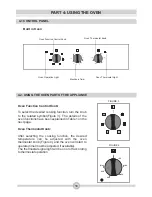
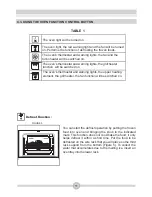
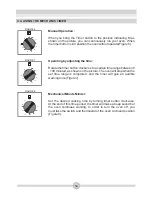
Page 12: ...desired cooking function turn the knob to the related symbol Figure 3 The details of the oven functions have been explained in Table 1 on the next page Oven Thermostat Knob After selecting the cooking function the desired temperature can be adjusted with the oven thermostat knob Figure 4 and the oven will start to operate timer must be adjusted if available The thermostat signal light will be on o...

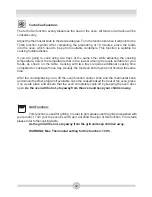
Page 13: ...the grill heater the fan function will be switched on The oven light will be turned on Defrost Function FIGURE 5 You can start the defrost operation by putting the frozen food into oven and bringing the knob to the indicated mark This function does not cook bake the food it only helps defrost it within a short time Put the food to be defrosted on the wire rack that you will place on the third rack...

Page 14: ...ys requires additional cooking time compared to cooking with one tray Usually the foods on both trays do not finish at the same time After the cooking baking turn off the oven function control knob and the thermostat knob and cancel the timer program if available Take the cooked baked food out of the oven place it on a safe place and ensure that the oven completely cools off by keeping the oven do...

Page 15: ...ete cooking For grills put the food on the grill and the grill on the highest rack After placing the oven tray on the rack you can start the grill operation The tray placed on the rack will ensure that the oil dropping from the foods will be collected The oven door must be closed and the oven temperaure should be adjusted to 190 Turn your oven s thermostat knob so it will point to this temperature...

Page 16: ... as shown on the picture The oven will stop when the set time range is completed and the timer will give an audible warning once Figure 7 Mechanical Minute Minder Set the desired cooking time by turning timer button clockwise At the end of this time period the timer will make a beep sound but the oven continues working In order to turn the oven off you must take the switch and thermostat of the ov...

Page 17: ...used place this container on the inner grill wire so it will be precisely on the middle of the wire If you are going to perform a grill operation in your oven we recommend that you use the grill on the tray supplied together with your product This way splattering and dripping oils will not make the oven interior dirty If you are going to use the large wire grill insert a tray into one of the lower...

Page 18: ...different cookware on it To locate the wire grid correctly in the cavity put it on any rack and push fully onto the rack Wire grid The grill pan set is used to grill food WARNING The grill pan has a detachable handle Ensure when using the grill pan handle that it is centralized and secure as given in picture Do not leave the handle in position when grilling Grill Pan and Handle Set ...

Page 19: ...he interior of the oven Make sure to unplug the oven before starting to clean it You will obtain best results if you clean the oven interior while the oven is slightly warm Wipe your oven with a soft piece of cloth dampened with soap water after each use Then wipe it again this time with a wet cloth and wipe it dry For product with catalytic enamel frames the rear and side walls of the inner frame...

Page 20: ...oduct please call your local Authorized ServiceAgent 6 2 INFORMATION RELATED TO TRANSPORT If you need to transport the appliance Keep the original case of the product and use this when the appliance needs to be carried Follow the transport signs on case Secure any moveable parts to the appliance in the oven or transport separately Place a paper between the upper cover and cooking panel Tape cardbo...

Page 21: ...uipment By ensuring this product is disposed of correctly you will help prevent potential negative consequences for the environment and human health which could otherwise be caused by inappropriate waste handling of this product For more detailed information about recycling of this product please contact your local city office your household waste disposal service or the shop where you purchased t...

Reviews: