P/N 510969 - 062807
Printing a Disc
Congratulations, you are now ready to start Printing discs!
•
For Instructions on printing a disc using a PC refer to section 3 in the User’s Manual.
•
For Instructions on printing a disc using a Macintosh refer to section 4 in the User’s Manual.
•
For help with problems printing discs using a PC or Macintosh please visit Primera's online
Knowledgebase at
www.primera.com/knowledgebase.html.
5c
8
Automated Optical Disc
Duplication & Printing System
AUTOPRINTER
TM
Automated Optical
Disc Printing System
Quick S
tart
© 2007 All rights reserved
6
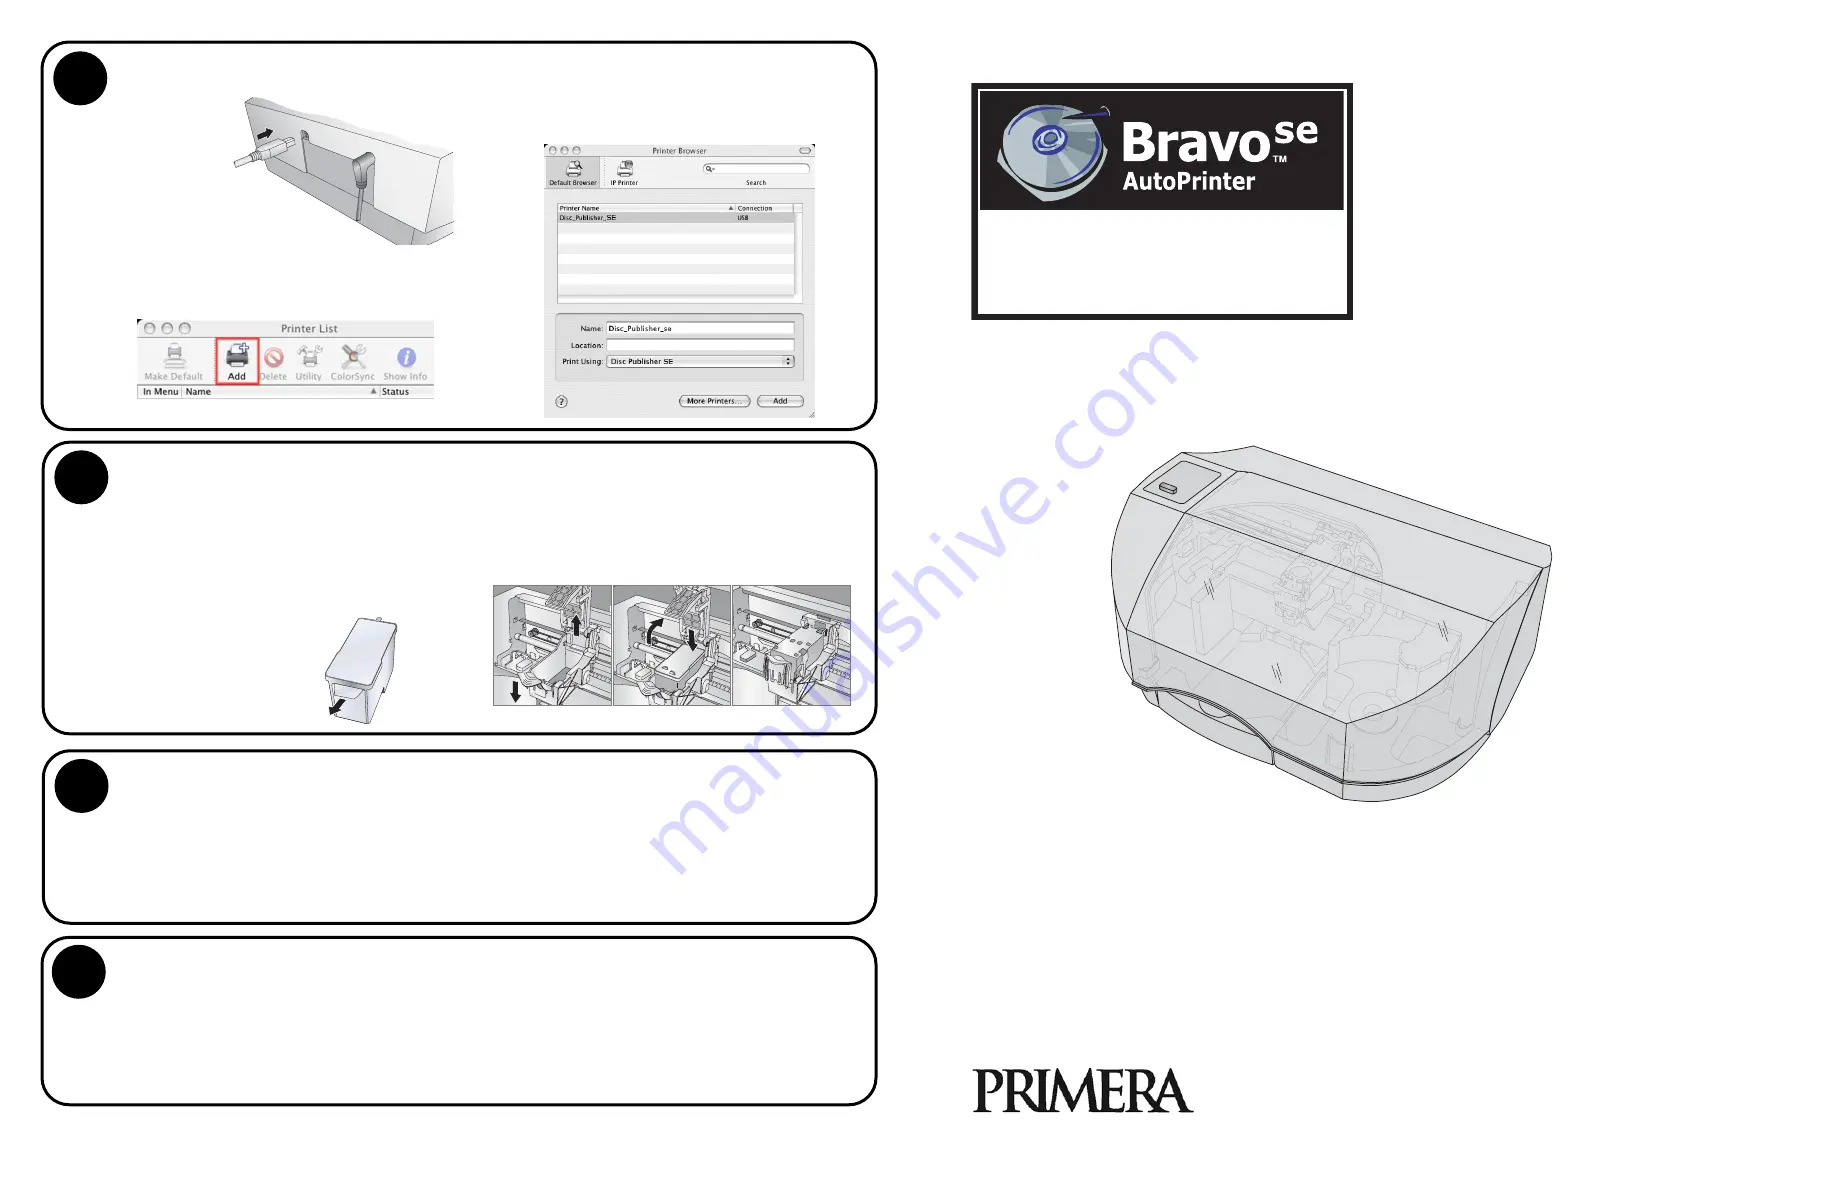
Installing the Ink Cartridge
• With the cover open, press the button on the
top of the Printer to move the Ink Cartridge
Carrier to the load position.
• Open the cartridge cover by pressing down
on the tab.
• Remove the ink cartridge from its
packaging.
• Slowly remove the tape
covering the cartridge's
print head.
DO NOT TOUCH THE
COPPER AREA!
• Insert the ink cartridge into the carrier,
copper end first and snap the cartridge
cover in place.
• Close the Printer’s front cover.
7
Aligning the Cartridge
If you are using a PC
the Installer will prompt you to align the cartridge.
If you are using a Mac
you will be prompted to align the cartridge before you print for the first time.
Note:
An alignment print is required every time you install a new cartridge. The software will always prompt you to
align the cartridges. Make sure there is an unprinted disc in the bin for this alignment.
Connect the
Printer to your
PC with your
beige USB 2.0
Cable.
Add the printer via the Printer Setup Utility.
1. Open the Printer Setup Utility located in the
Applications - Utilities folder.
2. Click
Add
. Select the Disc Publisher SE from
the list of available printers. Click
Add
again.
Installing the Printer Driver (Mac)


