background image

USER'S MANUAL

¨

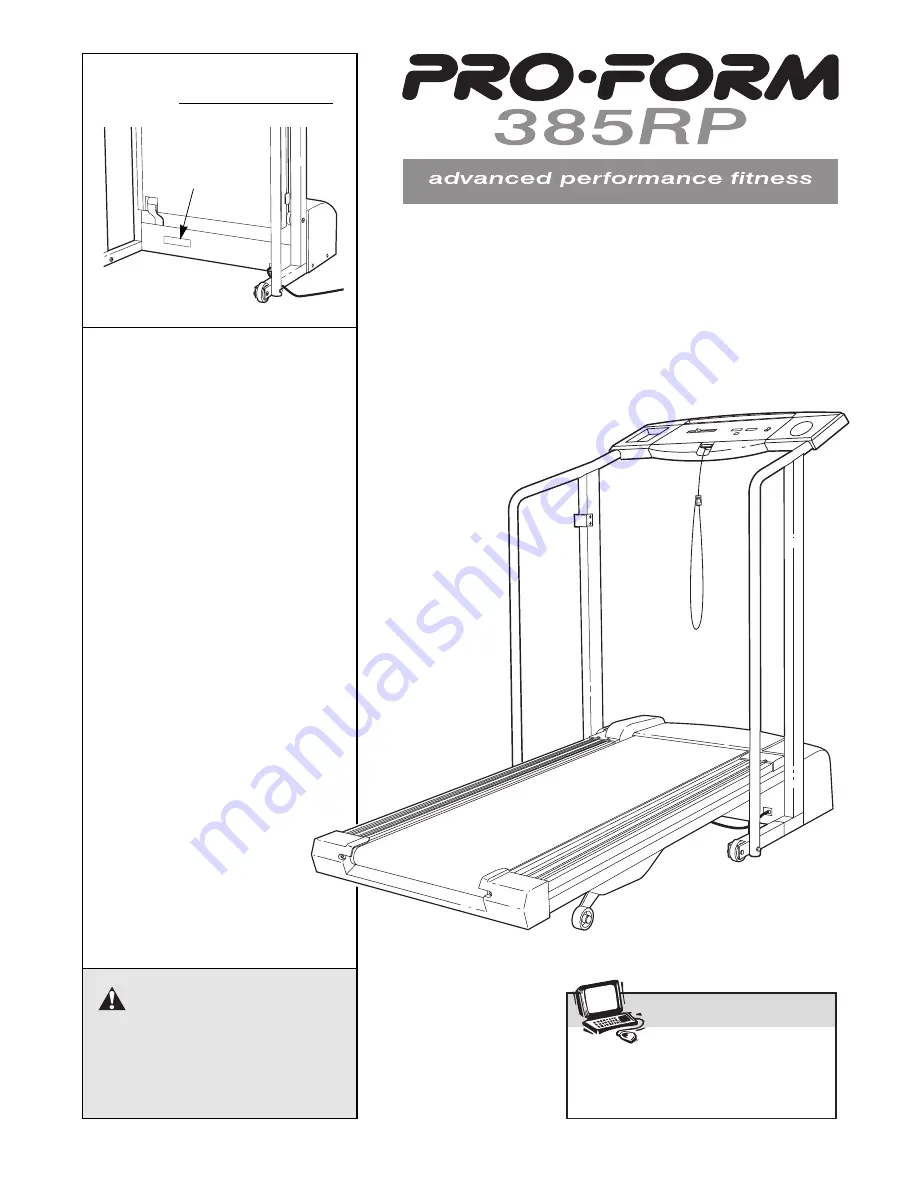
Serial
Number
Decal

Model No. PFTL39400

Serial No. 

QUESTIONS?

As a manufacturer, we are com-
mitted to providing complete
customer satisfaction. If you
have questions, or if there are
missing or damaged parts, we
will guarantee complete satis-
faction through direct assistance
from our factory.

TO AVOID UNNECESSARY DE-
LAYS, PLEASE CALL DIRECT TO
OUR TOLL-FREE CUSTOMER
HOT LINE. The trained techni-
cians on our Customer Hot Line
will provide immediate assis-
tance, free of charge to you. 

CUSTOMER HOT LINE:  

1-800-999-3756 

Mon.ÐFri., 6 a.m.Ð6 p.m. MST

CAUTION

Read all precautions and instruc-
tions in this manual before using
this equipment. Save this manual
for future reference.

Visit our website at

www.proform.com

new products, prizes,

fitness tips, and much more!

Summary of Contents for 385rp

Page 1: ...nce from our factory TO AVOID UNNECESSARY DE LAYS PLEASE CALL DIRECT TO OUR TOLL FREE CUSTOMER HOT LINE The trained techni cians on our Customer Hot Line will provide immediate assis tance free of cha...

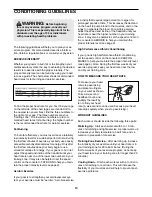
Page 2: ...othing when using the treadmill Do not wear loose cloth ing that could become caught in the treadmill Athletic support clothes are recommended for both men and women Always wear athletic shoes Never u...

Page 3: ...op or insert any object into any opening 22 DANGER Always unplug the power cord immediately after use before cleaning the treadmill and before performing the main tenance and adjustment procedures de...

Page 4: ...9 3756 Monday through Friday 6 a m until 6 p m Mountain Time excluding holidays To help us assist you please note the product model number and serial number before calling The model number of the trea...

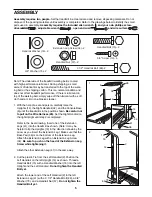
Page 5: ...the Extension Leg with an Extension Leg Screw 34 Be sure to push on the head of the Extension Leg Screw while tightening it Attach the other Extension Leg 41 in the same way 2 Cut the plastic Tie fro...

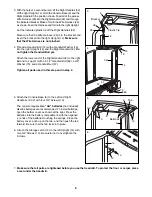
Page 6: ...yet Attach the lower end of the Right Handrail 32 to the right Extension Leg 41 with a 3 1 2 Handrail Bolt 89 a 3 8 Washer 70 and a Handrail Nut 57 Tighten all parts used in this step and in step 2 5...

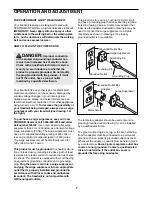
Page 7: ...nding plug Plug the power cord into a surge suppressor and plug the surge suppressor into an appropriate outlet that is properly installed and grounded in accordance with all local codes and ordinance...

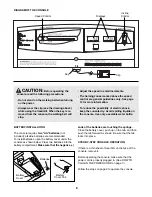
Page 8: ...ATION The console requires two AA batteries not included alkaline batteries are recommended To install batteries open the battery cover under the console as shown below Press two batteries into the ba...

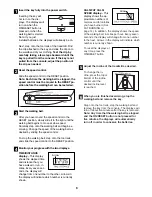
Page 9: ...e speed control to the RESET position Monitor your progress with the two displays TIME DISTANCE display This display shows the elapsed time and distance that you have walked or run in miles Every seve...

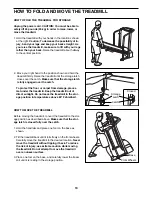
Page 10: ...TREADMILL FOR STORAGE Unplug the power cord CAUTION You must be able to safely lift 45 pounds 20 kg in order to raise lower or move the treadmill 1 Hold the treadmill with your hands in the locations...

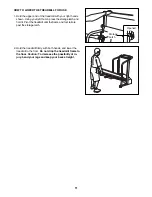
Page 11: ...orage latch and hold it Pivot the treadmill until the frame and foot rail are past the storage latch 2 Hold the treadmill firmly with both hands and lower the treadmill to the floor Do not drop the tr...

Page 12: ...he switch protrudes as shown the circuit breaker has tripped To reset the circuit breaker wait for five minutes and then press the switch back in PROBLEM The power turns off during use SOLUTION a Chec...

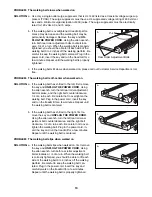
Page 13: ...o the left first remove the key and UNPLUG THE POWER CORD Using the allen wrench turn the left rear roller adjustment bolt clockwise and the right bolt counterclockwise 1 4 of a turn each Be careful n...

Page 14: ...reases the demand on the heart to pump blood to the muscles and on the lungs to oxygenate the blood For aerobic exercise adjust the speed and incline of the treadmill until your heart rate is near the...

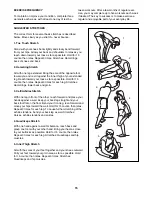
Page 15: ...d leg Reach toward your toes as far as possible Hold for 15 counts then relax Repeat 3 times for each leg Stretches Hamstrings lower back and groin 3 Calf Achilles Stretch With one leg in front of the...

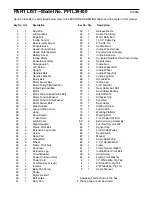
Page 16: ...rd Grommet 44 1 Power Cord 45 1 Foot Rail Cover Left 46 4 Isolator 47 6 Belly Pan Screw 48 1 Choke 49 1 Motor Locknut 50 2 Belt Guide 51 1 Belly Pan 52 1 Releasable Tie 53 5 Cable Tie Clamp 54 1 Motor...

Page 17: ...93 93 35 29 32 33 34 36 13 37 38 63 36 35 35 54 35 35 35 56 35 53 52 35 50 48 35 91 34 41 42 79 80 77 75 77 5 75 73 76 36 94 49 5 55 39 39 27 68 63 64 65 66 69 66 64 65 63 67 58 57 70 89 70 89 57 90 9...

Page 18: ...nied by sufficient proof of pur chase All returns must be pre authorized by ICON This warranty does not extend to any product or damage to a product caused by or attributable to freight damage abuse m...

Reviews: