background image

© 2015, Q-Tran Inc. 155 Hill St. Milford, CT 06460.All rights reserved  - P: 203-367-8777 - F: 203-367-8771 - E: sales@q-tran.com - www.q-tran.com

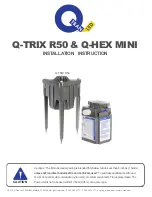
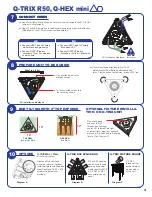
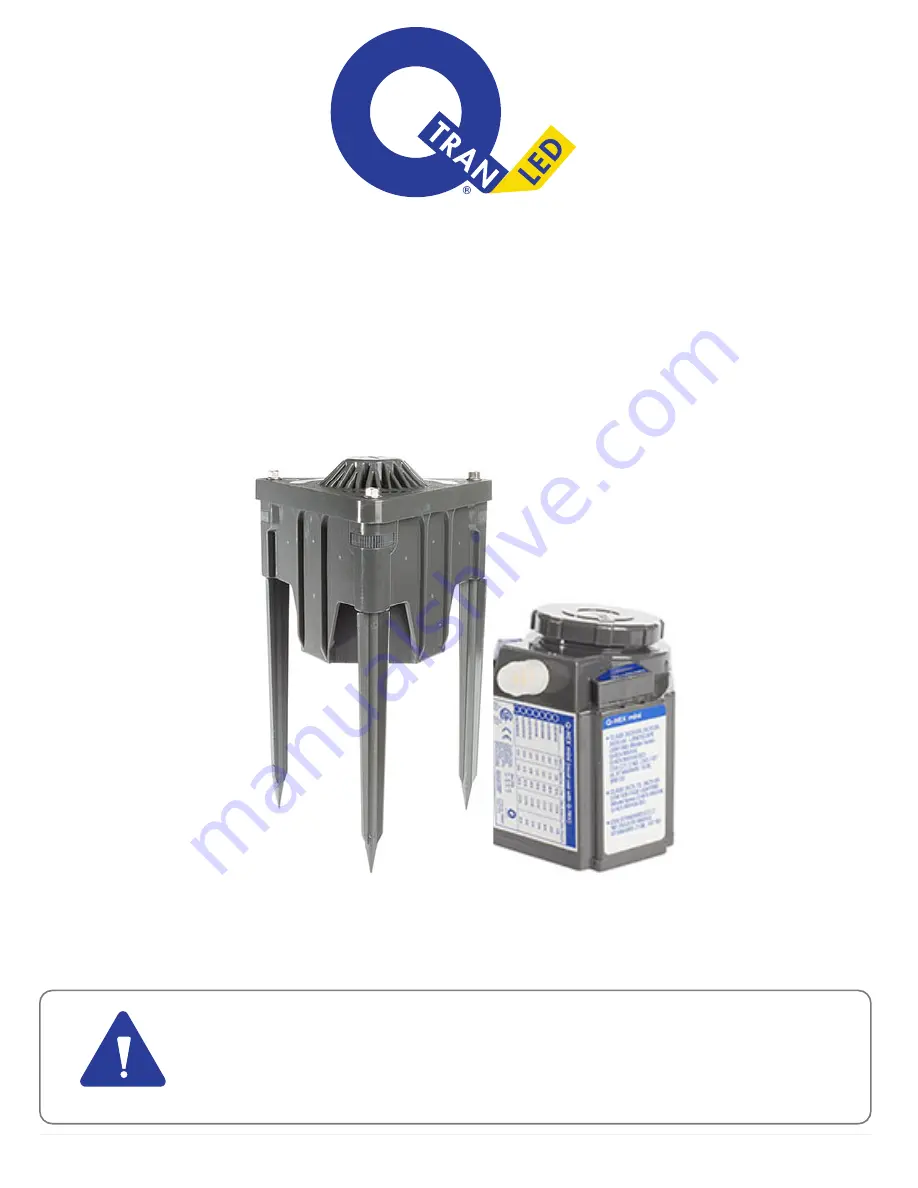
Q-TRIX R50 & Q-HEX MINI

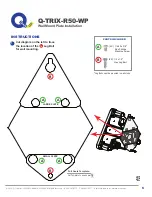
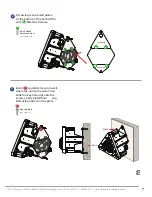
INSTALLATION   INSTRUCTION

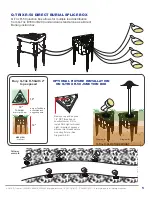
Cautions “ The Main Secondary wiring is intended for shallow burial - Less than 6 inches  (152mm) 

unless Q-Tran direct burial Q-Wire and Q-Clik are used 

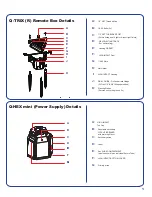
" To purchase additional Q-Wire and 

Q-Clik Connectors visit our website (q-tran.com) or contact your local Q-Tran representative. The 
Power Unit is not to be used within 10 Feet (3.05 m) of a pool or spa.

CAUTION

Q-TRIX R50

Q-HEX Mini

Summary of Contents for Q-TRIX R50

Page 1: ...ON Cautions The Main Secondary wiring is intended for shallow burial Less than 6 inches 152mm unless Q Tran direct burial Q Wire and Q Clik are used To purchase additional Q Wire and Q Clik Connectors visit our website q tran com or contact your local Q Tran representative The Power Unit is not to be used within 10 Feet 3 05 m of a pool or spa CAUTION Q TRIX R50 Q HEX Mini ...

Page 2: ...NPT Threaded Cap 1 2 NPT THREADED POST For mounting a path light or Accent light fixture HIGH IMPACT Housing Planting Stakes Secures unit to the ground 3x Housing GASKET DRILL GUIDE Drill and attach fittings Q Click 1 2 3 4 fittings permitted HIGH IMPACT Door FIELD WRITING TRACK For unit locating Q TRIX R Remote Box Details 1 4 20 Bolts 3x Nut Holder 1 4 20 Nuts A C B D E F H G I J K A B C D E F G...

Page 3: ...ni installation Q Hex Mini Q Trix R50 combination SPLICE J BOX 3 4 KO 3x Bottom 1 KO 1x 1 2 KO 3x WALL MOUNT PLATE Q TRIX WALL Installation Optional wall plate sold seperately Use water tight connectors Ex Q Clik MST NPT connectors Connectors sold seperately 1 2 2 3 x x x x Q TRIX R50 WITHOUT Q HEX MINI Do not use KO Knock Outs marked with X when installing the Q HEX MINI with the Q TRIX R50 Q TRI...

Page 4: ...onnectors of 1 2 or 3 4 on each side Use 3 4 connector on bottom Q CLIK SOLD SEPARATELY 3 4 6 5 NOTE Use Q wire Q Clik for water tight installation Q Wire Q Clik sold seperately 6 6 Field wires Pull maximum of 6 of primary and Secondary wires into Q Trix R50 housing CAUTION See Front Page 6 6 Wire Corner Breaker head corner Field wires Primary wiring side Yellow Blue Green White Black Yellow Blue ...

Page 5: ...ies 10x Cover Housing and tightened 3x 1 4 20 stainless steel Door Bolts by alternating bolt turns Tighten bolts at a Maximum torque of 25 lbs BURY Q TRIX WITH 2 TOP EXPOSED OPTIONS OPTIONAL FIXTURE INSTALLA TION ON Q TRIX UNIT Remove cap and expose 1 2 NPT threads and knockout center K O to install Path light or accent light Important squeeze silicone into threads before mounting fixture See Diag...

Page 6: ...emove cap and expose 1 2 NPT threads and knockoutcenter K O to install Path Light or Accent Light Important squeeze silicone into threads before mounting fixture See Diagram A B OPTIONAL FIXTURE INSTALLATION ON Q TRIX R 50 JUNCTION BOX Q Trix R 50 FIXTURE MOUNT Diagram B Diagram A Q TRIX R 50 DIRECT BURIAL SPLICE BOX Q Trix R 50 junction box allows for multiple load distribution from Q Trix B160 o...

Page 7: ...0 WP Wall Mount Plate Installation 1 INSTRUCTIONS Cut diagram on the left to trace the location of the Lag Bolt for wall mounting A A LARGE PLATE A A SMALL PLATE B B Full Scale Template Cut Template to use on wall Lag Bolts must be mounted to wall studs 2X 1 4 x 1 5 Hex Lag Bolt 4X 1 4 20 x 3 8 Pan Phillips Machine Screw A B PARTS INCLUDED B ...

Page 8: ... 367 8777 F 203 367 8771 E sales q tran com www q tran com 7 2 Screw large and small plates to the bottom of the Q Trix R50 with Machine Screws B 3 Install Lag Bolt screw into wall where the unit will reside Then slide the key hole unit onto the screw Lastly install final Lag Bolt at the bottom of the plate LARGE PLATE SMALL PLATE A B WALL WALL ...

Reviews: