

R
www.quadrafire.com
7037-135E
September 1, 2008
DO NOT DISCARD THIS MANUAL
CAUTION
•
Important operating
and maintenance in
-
structions included.
• Leave this manual with
party responsible for
use and operation.
• Read, understand and
follow these instructions
for safe installation and
operation.
DO NOT
DISCARD
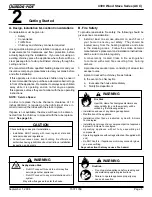
WARNING
If the information in these instruc-
tions is not followed exactly, a fire
may result causing property dam-
age, personal injury, or death.
• Do not store or use gasoline or other flam
-
mable vapors and liquids in the vicinity of
this or any other appliance.
• Do not overfire - If heater or chimney con
-
nector glows, you are overfiring. Overfiring
will void your warranty.
• Comply with all minimum clearances to
combustibles as specified. Failure to
comply may cause house fire.
Fire Risk.
WARNING
For use with solid wood fuel only.
Other fuels may overfire and generate
poisonous gases (i.e. carbon monoxide).
Installation and service of this appliance should
be performed by qualified personnel. Hearth &
Home Technologies recommends NFI certified
professionals, or technicians supervised by an
NFI certified professional.
WARNING
Hot glass will cause burns.
• Do not touch glass until it is cooled
• NEVER allow children to touch glass
• Keep children away
• CAREFULLY SUPERVISE children in same room
as fireplace.
• Alert children and adults to hazards of high
temperatures.
High temperatures may ignite clothing or other
flammable materials.
• Keep clothing, furniture, draperies and other
flammable materials away.
HOT SURFACES!
Glass and other surfaces are
hot during operation AND
cool down.
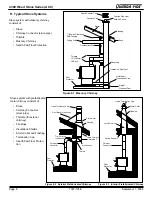
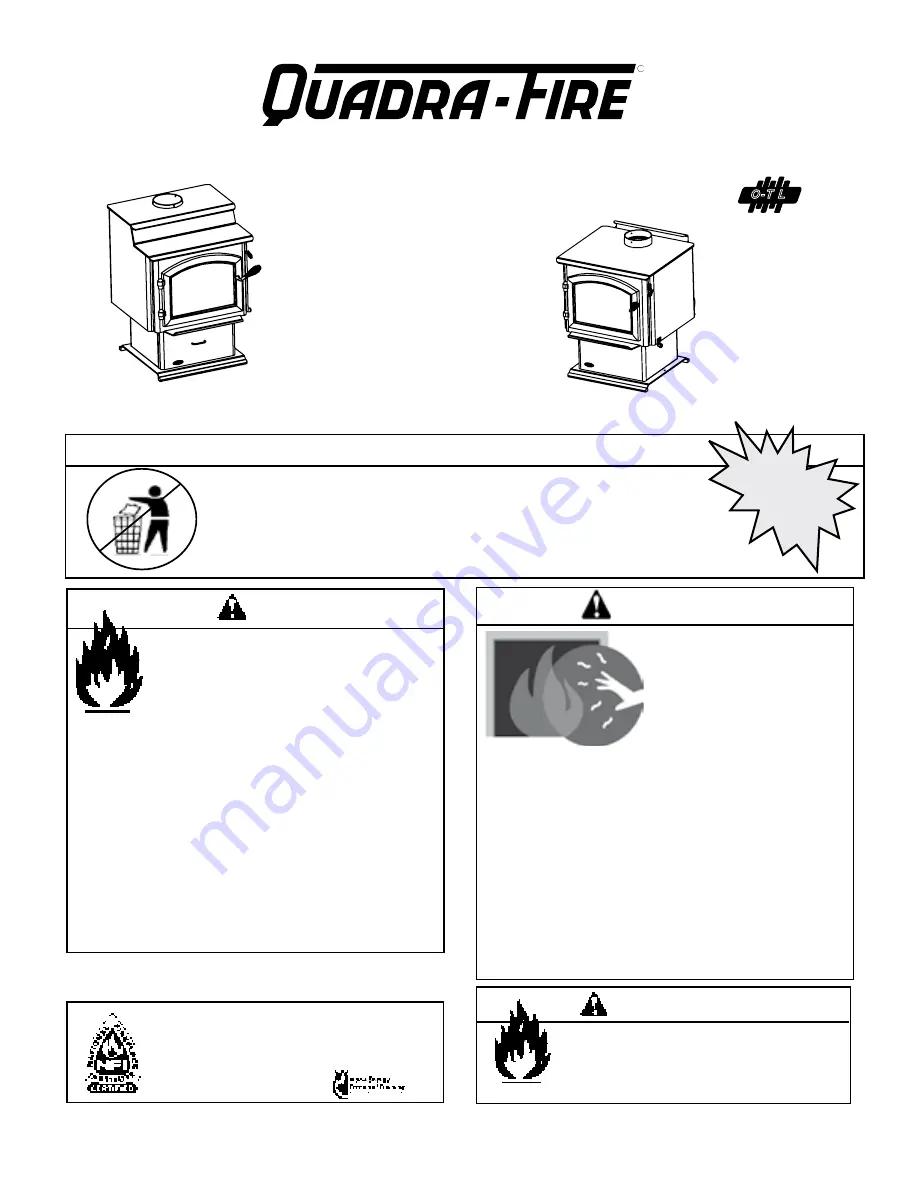
4300 WOOD STOVE SERIES
Advanced Combustion Control (ACC)
Owner’s Manual
Installation and Operation
Models:
43M-ACC-MBK
43ST-ACC
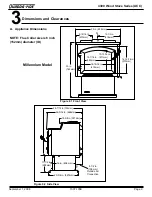
Millennium Model
Step Top Uni-Body Model
(Pedestal Model Shown)
O-T L
Tested and
Listed by
Portland
Oregon USA
OMNI-Test Laboratories, Inc.
C
US


