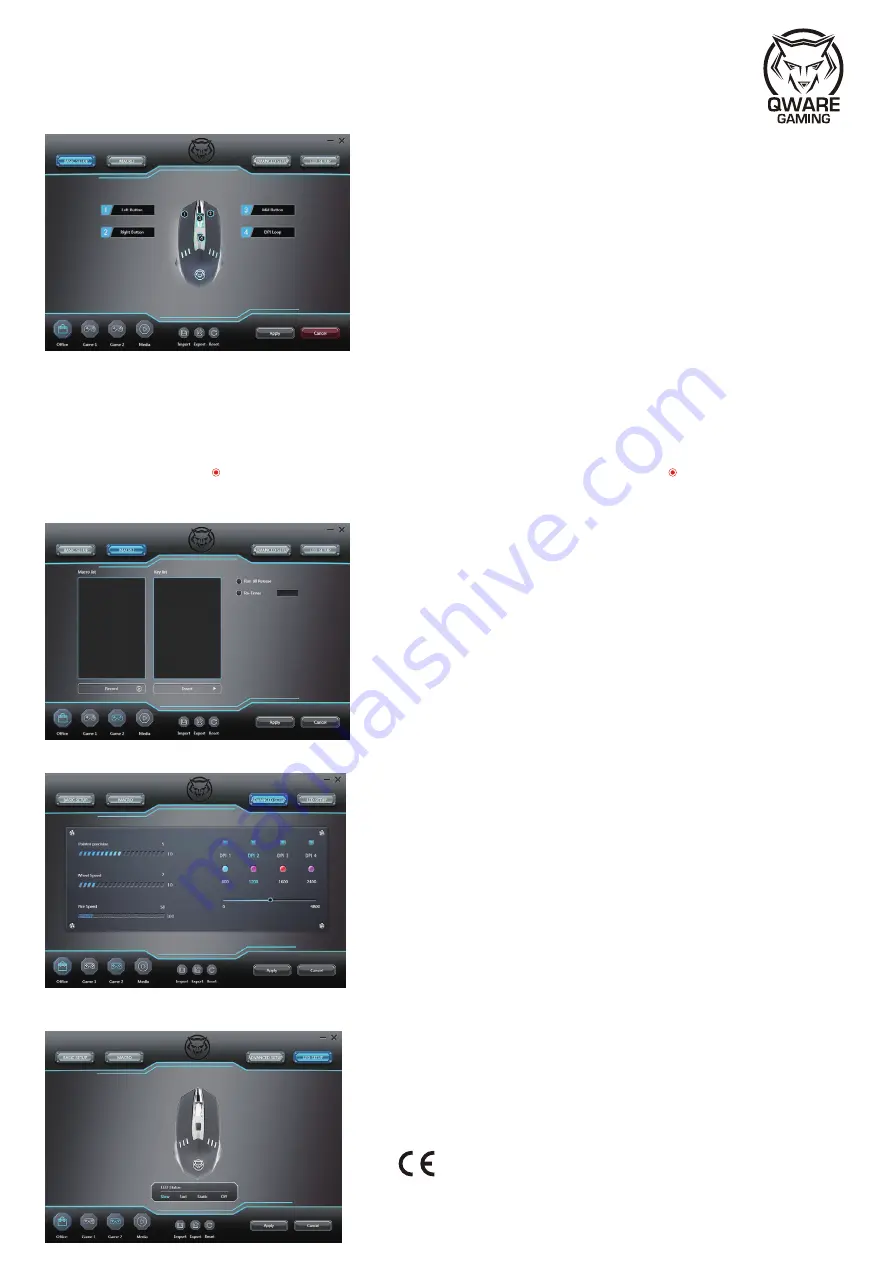
There are four different categories can be setup for this mouse. 1. Basic setup, 2. Macro, 3. Advanced setup, 4. LED setup
1.Basic setup
User can re-allocate the four standard buttons by using the basic setup page. Click the indicated button box display,
select the button you want from the list. After selection, press apply button. Now you can use the new configuration.
2.Macro
User can record a multiple macro key.
Users can according to personal preferences and practical applications to edit MACRO, which is a combination of mouse and keyboard functions. The setting steps are as follows:
1)Under the macro list bar, right-click "New Macro Group" and enter the name of the macro group (eg user).
2)Right-click "New Macro". Right-click "Rename" to name the macro name.
3)Press “Record” button, record button will change to stop button automatically, and the software is ready for recording.
4)Press “E” and “D” on keyboard, key list will show the recorded button.
5)Click “Stop” button, and complete the recording.
6)Select the delay in key list which require to modify, click the mouse right button, then software will pop up a drop-down menu, pls choose item “modify delay” to modify the delay to a desired value.
You can also insert “left button”, “right button”,” middle button” in the key list by selecting the item in the drop-down menu.
7)If you click the button “Run till Release” , and keep press your mouse button, the MACRO function can repeat cycling. If you click the button “Re-Times” ,and input the number in Re-time, it
means that the MACRO function can
repeat for the times you required.
8)Go back to the “BASIC SETUP”, choose a desired mouse button to apply MACRO Setting from function list. The name you edited (e.g. Gragas E flash) will show in list. Select it and click “Apply”
button, you can execute complex combinations with ease.
3.Advanced setup
User can select and fine tune the function of the mouse. For example, DPI, fire speed and wheel speed, etc.
4.LED setup
User can select LED status. Slow = 6 seconds to change next color, Fast = 4 seconds to change next color, Static = always on of LED (LED color will be according to different DPI with different color,
please reference to advance color page) or off = LED off.
EN
Hereby we declare that the product is in conformity with the following European standards:
-RoHS Directive 2011/65/EU
Complete declarations of conformity can be found at:www.qware.nl
QW GM-1500
Instruction manual


