background image

R

K

AIL ING

By MTH Electric Trains

®

RAILKING GALLOPING GOOSE™ 

OPERATING INSTRUCTIONS

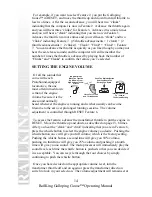
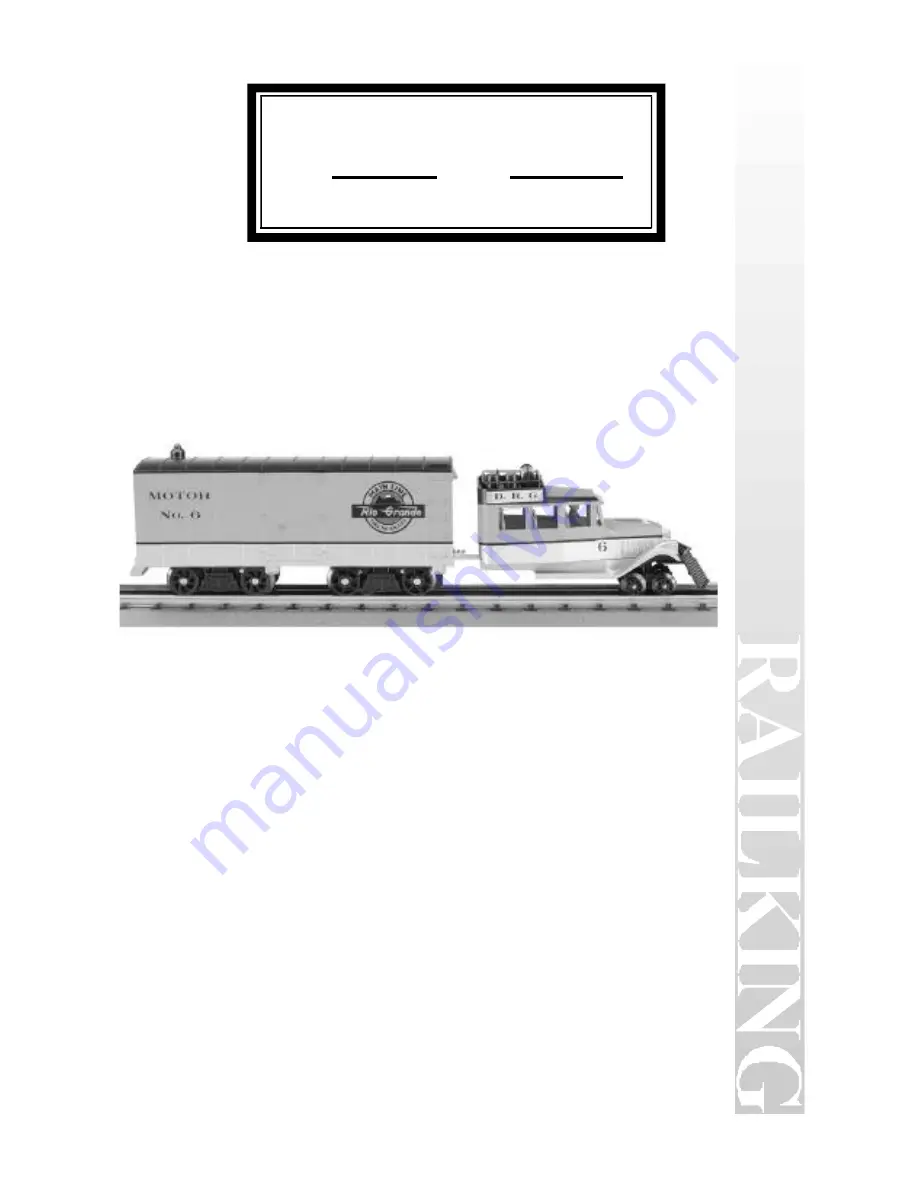
  Thank you for purchasing the RailKing Galloping Goose™ .  The car’s
durable ABS body and die-cast trucks are built to ¼ inch scale proportions
yet can provide hours of operation on O-27 Gauge track.  The car should
operate for years with most compatible AC transformer (see the chart on
page 28 for a list of compatible transformers) and is completely compatible
with most 3-rail locomotives, rolling stock and accessories.  

  The Galloping Goose™  is equipped with the Proto-Sound® Digital Sound 
and train control system which contains several deluxe features that are
simple and fun to operate.  Each feature is described among the following
pages which should be read before the car is operated.  For those of you
who can’t wait to get started, the 

Quick Start Basic Operating Instructions

found on Pages 3 and 4 should be read so that you understand the basics of
the operating system.  

Summary of Contents for RAILKING GALLOPING GOOSE

Page 1: ...a list of compatible transformers and is completely compatible with most 3 rail locomotives rolling stock and accessories The Galloping Goose is equipped with the Proto Sound Digital Sound and train control system which contains several deluxe features that are simple and fun to operate Each feature is described among the following pages which should be read before the car is operated For those of...

Page 2: ...rate Bell Button Controller 15 Programming For Squeaking Brake Operation 16 Programming For Horn In Neutral Operation 17 Programming For SAS Operation 17 Activating Reverse Unit Lock Out Control 17 Resetting All Proto Sound Options To Factory Defaults 18 Reverse Unit Lockout Control Functions 19 Locking The Engine Into Forward or Reverse 19 Unlocking The Engine 19 Locking The Engine Into Neutral 1...

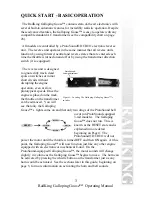
Page 3: ... the engine is placed on the track the throttle on the transformer can be advanced You will see that only the Galloping Goose s lights come on and that only two dings of the ProtoSound bell occur on ProtoSound equipped 3 rail models The Galloping Goose does not run This is known as the RESET state and is explained in more detail beginning on Page 4 The ProtoSound DCRU will not power the motor unti...

Page 4: ...rack the reverse unit begins in RESET or what seems like a neutral state Power must be interrupted again to get the car to enter the forward state It is this first RESET state that gives ProtoSound its unique remote controlled functions The system will enter RESET whenever power to the track is off for three or more seconds NEUTRAL will be referred to as the state between Forward and Reverse Proto...

Page 5: ...in forward After you leave RESET your Galloping Goose will operate normally in all the direction states of forward neutral and reverse HORN OPERATION Your RailKing ProtoSound equipped Galloping Goose features a digital recording of a Galloping Goose horn The horn sound can be activated anytime the Galloping Goose is in forward or reverse by pressing the whistle button on your transformer The horn ...

Page 6: ...kly will activate the Special Announcements Sounds feature which is described on the following pages To turn the bell on using the transformer s whistle button turn on power to the track and cycle the engine into NEUTRAL Turn the throttle to 8 volts or less and press the whistle button The bell should begin chiming To turn the bell off press the whistle button again If you want to keep the bell on...

Page 7: ...e sounds will likely continue playing even though the Galloping Goose has come to a complete stop This annoying effect can be eliminated by simply practicing with the brake feature In no time you will quickly learn how to feather the throttle to keep the Galloping Goose moving while the brake sounds play and then turning the throttle off just as the sounds stop The ProtoSound squeaking brake featu...

Page 8: ... voltages or become silent when power from the transformer is shut off the battery charge may be low Before replacing the battery you should put the engine in NEUTRAL and leave the transformer throttle at about 12 volts for fifteen minutes This should temporarily recharge the battery If the garbled or distorted sounds are reduced then your battery charge has worn down You can give your battery a f...

Page 9: ...separate bell button controller to ring your bell like the Lionel Railsounds No 5906 bell activation button you can activate the feature by entering forward or reverse and pressing and holding the bell button for one second at which time the operator will hear the driver announce the next Galloping Goose stop or location Continued holding of the bell button will be followed by a special Air Releas...

Page 10: ...of by itself after 5 seconds The SAS feature will automatically start the Galloping Goose back up in the same direction it was travelling when the SAS feature was activated So if the Galloping Goose was travelling forward before SAS was activated it will continue travelling forward once SAS has completed Option 2 Manual Mode The SAS feature is armed in the same manner as Option 1 except that the G...

Page 11: ...he 3 second push of negative DC without slowing the Galloping Goose to a complete halt It is recommended that the operator attempt to have the rear roller of the Galloping Goose leave the insulated track section shortly after the 3 second push of negative DC has been received by the ProtoSound module inside the Galloping Goose This way when SAS has completed its sequence the Galloping Goose will b...

Page 12: ...SAS however remembers what direction state the Galloping Goose was in before activation and will return the Galloping Goose to that same state upon completion of the SAS sequence skipping the next direction state normally found in the ProtoSound sequence This will allow your Galloping Goose to leave the stop in the same reverse direction that it arrived in Tip 3 In Auto Mode putting the Galloping ...

Page 13: ...ands off approach gives you unprecedented control of your railroad empire s motive power never before seen in model railroading Each programmable feature can be accessed whenever your Galloping Goose is in the RESET state as described earlier on page 4 By following the instructions below you will find the programming easy and straight forward ENTERING RESET OPTIONS ProtoSound is equipped with a fe...

Page 14: ...ing and is what usually can become tiresome to the ear over prolonged running sessions The volume adjustment is controlled through RESET Feature 6 To access the feature advance the transformer throttle to put the engine in RESET Move the throttle up and down as described on page 13 6 times After you hear the clank and clink indicating that you are in Feature 6 press the whistle button to select th...

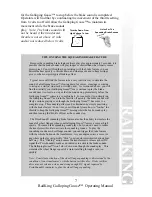
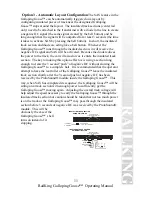
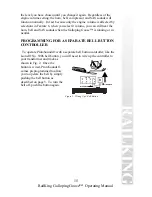
Page 15: ... when the Galloping Goose is running or in neutral PROGRAMMING FOR A SEPARATE BELL BUTTON CONTROLLER To operate ProtoSounds with a separate bell button controller like the Lionel No 5906 bell button you will need to wire up the controller to your transformer and track as shown in Fig 2 Once the button is wired ProtoSounds comes preprogrammed to allow you to operate the bell by simply pushing the b...

Page 16: ...g brakes off Once you have decided on the desired setting simply turn the throttle off and then on again to Lock In the new setting To reset the computer to its original factory default setting option 2 squeaking brakes are activated for full time operation repeat the above procedure but keep pushing the whistle button until the module only responds with two bell dings PROGRAMMING FOR HORN IN NEUT...

Page 17: ...t to configure SAS for manual operation or turn it off completely To configure SAS enter RESET and go to Feature 28 See the section on Using RESET To Program ProtoSounds on page 13 Once in Feature 28 press the transformer whistle button and wait for ProtoSounds to sound a bell ding s Continue pressing the whistle button on and off until ProtoSounds sounds one bell ding s signifying that the SAS fe...

Page 18: ...rn the throttle all the way off and then back on again To turn the Remote Lockout Control setting back off go back to Feature 40 and press the whistle button until only one bell ding sounds To lock in the setting simply turn the transformer throttle off and then back on again Alternatively you can go to RESET Feature 18 to reset all ProtoSound features back to their original factory defaults inclu...

Page 19: ... Program ProtoSounds on page 13 LOCKING THE GALLOPING GOOSE INTO FORWARD OR REVERSE To lock the Galloping Goose into Forward or Reverse use the transformer throttle to enter Forward or Reverse whichever state you want to lock the engine into and while the Galloping Goose is moving press and hold the whistle button WHILE THE HORN IS BLOWING TURN THE THROTTLE OFF AND THEN LET GO OF THE WHISTLE BUTTO...

Page 20: ...rn But when locking the engine into the NEUTRAL position the whistle button may turn on or off sounds of the bell coupler arming or coupler firing depending on the transformer throttle voltage settings prior to the user s attempt to lock out the engine Remember the horn doesn t blow in NEUTRAL unless you programmed it to do so using Feature 25 See page 17 for details only the bell rings or the cou...

Page 21: ...onal grease until after 50 hours of operation or one year whichever comes first Grease cannot be added to the internal gearing until the body is removed from the chassis which is held in place by six Phillips screws The screws are located on each end of the chassis as seen in Fig 5 on page 23 After removing the screws lift the body away from the chassis and lay the body next to the chassis Next re...

Page 22: ...g lasting there may arise a time where they will need to be replaced Should this occur you will not need to remove the power truck from the chassis in order to slip the new tire over the grooved drive wheel Before the new tire can be installed you must make sure the old tire has been completely removed from the groove in the drive wheel Use a razor blade or small flatblade screwdriver pry away any...

Page 23: ...fed under the interior down through the carbody frame and one each up under the fenders and into the headlight shells The bulbs are removed from the headlight shells by pulling from the rear of the shells and back through the frame Install the new bulbs in the reverse order Then plug the connector into the correct socket Interior Light The interior light is held into place by a rubber grommet in t...

Page 24: ...r because the signal is weaker when the whistle button is depressed fully the ProtoSound circuit may not recognize the signal Try pressing the whistle button slower taking approximately 1 second to fully depress the button BELLPROBLEMS REMEDY When I press the whistle button to activate the bell the horn sounds You are trying to ring the bell in Forward or Reverse The bell only operates in Neutral ...

Page 25: ...u will hear the SAS sounds because setting the motor volume only controls the sound of the car itself All other sounds including SAS the horn and bell will continue to play at the volume level set by the manual volume control knob located on the bottom of the chassis See the section entitled ProtoSound Volume Adjustment for more information The sounds seem distorted especially when the whistle or ...

Page 26: ... slower movement as you interrupt the power in RESET and enter the Forwaard Phase BRAKE SOUND PROBLEMS REMEDY When the transformer is throttled down the sounds won t play The brake features has not been activated See the section on activating the brake feature for more information The throttle voltage setting on the transformer is either not starting high enough or ending low enough to trigger the...

Page 27: ...automatically comes on SAS has a built in command to turn on the bell when the system enters and leaves SAS When leaving SAS the bell will ring 2 times before turning off Whenever SAS is enabled pressing the whistle and bell buttons has no affect Because SAS must control various effects in the SAS events the bell and whistle functions are disabled until either the SAS events have been completed or...

Page 28: ...4v 300 Watt Electronic Cab 1 Powerma st er A U 0 18v 135V A Electronic Dallee Hostler Left Terminal Right Terminal Lionel LW A U 8 18v 75 Watt Standard Lionel KW A or B U 6 20v 190 Watt Standard MRC Tech II Left Terminal 2nd From Left 0 15v 40V A Electronic Lionel MW not recommende d Outside Track Terminal Inside Track Terminal 5 16v 50V A Electronic R O W Red Terminal Black Terminal 0 24v 384 Wat...

Page 29: ...ET and press and hold the transformer whistle button until you hear a soft warbled bell sound RESET OPERATION DEFAULT CLANKS CLINKS 6 Engine Volume Full Volume 1 Clank 1 Clinks 10 RESERVED 2 Clanks 0 Clinks 18 Reset Default Settings 3 Clanks 3 Clinks 20 Remote Bell Button Bell Button Active 4 Clanks 0 Clinks 23 RESERVED 4 Clanks 3 Clinks 25 Horn In Neutral Horn In Neutral OFF 5 Clanks 0 Clinks 27 ...

Page 30: ...ubber band BI 4500004 33 Bulb grain of wheat CG 0000021 18V 35 0mm long wires 34 Lens front side windows FA 0000021 35 Grommet IH 0000010 36 Conductor FI 0000009 37 Interior Detail FC 2200133 38 Screw IA 0000190 M2X3 0mm Fillister head 39 PCB board AG 0000023 40 Chassis cab FC 2200134 Name and Number Part 43 Screw IA 0000055 M2 5X4 0mm flathead 44 Truck side front pilot truck DB 0000004 45 Truck 4...

Page 31: ...9 10 37 36 4 20 25 32 31 18 14 10 21 45 46 47 46 48 42 51 50 52 53 54 54 59 58 64 65 56 56 55 27 26 29 40 24 19 39 23 22 17 62 61 49 28 14 49 49 63 62 60 57 49 8 43 44 43 41 3 8 3 Galloping Goose 31 RailKing Galloping Goose Operating Manual ...

Page 32: ...A cover letter including your name address daytime phone number a copy of your sales receipt the Return Authorization number and a full description of the problem must be included to facilitate the repairs Please include the description regardless of whether or not you discussed the problem with one of our service technicians when contacting MTH for your Return Authorization number 3 Please make s...

Reviews: