background image

1

JDM 158

1/14 Overland 6x6 RTR RC Truck w/ Utility

Bed

Summary of Contents for JDM 158

Page 1: ...1 JDM 158 1 14 Overland 6x6 RTR RC Truck w Utility Bed...

Page 2: ...user s authority to operate the equipment Canada Industry Canada IC This Class B digital apparatus complies with Canadian ICES 003 and RSS 210 This device complies with Industry Canada license exempt...

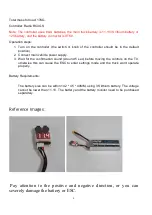
Page 3: ...ts NiMH or 11 1 volts 3s LiPo Always adhere to the minimum and maximum limitations of the ESC as stated in the specifications table Transmitter on First Switch on your transmitter first before switchi...

Page 4: ...with or around other batteries or battery packs of any type including other LiPos Store and transport your battery pack s in a cool dry place DO NOT store in direct sunlight DO NOT allow the storage...

Page 5: ...unplug the charger and disconnect the battery when not in use ALWAYS unplug the battery from the electronic speed control when the model is not in use and when it is being stored or transported DO NOT...

Page 6: ...6...

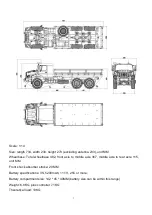
Page 7: ...heelbase 482 front axle to middle axle 367 middle axle to rear axle 115 unit MM Front shock absorber stroke 20 MM Battery specifications 3S 5200mAh 11 1V 25C or more Battery compartment size 142 45 40...

Page 8: ...in vehicle power supply 3 Wait for the confirmation sound Around 5 sec before moving the controls on the TX otherwise this can cause the ESC to enter settings mode and the truck won t operate properly...

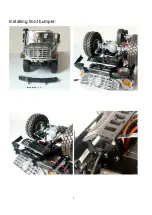
Page 9: ...9 Installing front bumper...

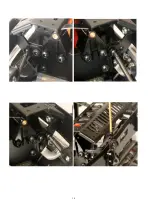
Page 10: ...10...

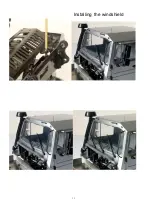
Page 11: ...11 Installing the windshield...

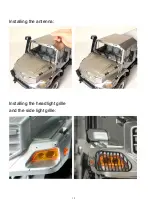
Page 12: ...12 Installing the antenna Installing the headlight grille and the side light grille...

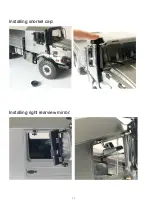
Page 13: ...13 Installing snorkel cap Installing right rearview mirror...

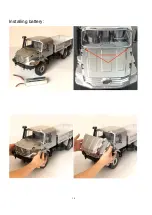
Page 14: ...14 Installing battery...

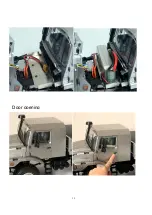
Page 15: ...15 Door opening...

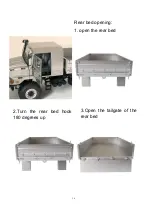
Page 16: ...16 Rear bed opening 1 open the rear bed 2 Turn the rear bed hook 180 degrees up 3 Open the tailgate of the rear bed...

Page 17: ...17 4 Open the front panel 5 Turn the rear bed hook 180 Degrees upward 6 Open the left and right Degrees upward side of the panels 7 The schematic diagram of opening...

Reviews: