background image

Summary of Contents for L2B115GEL

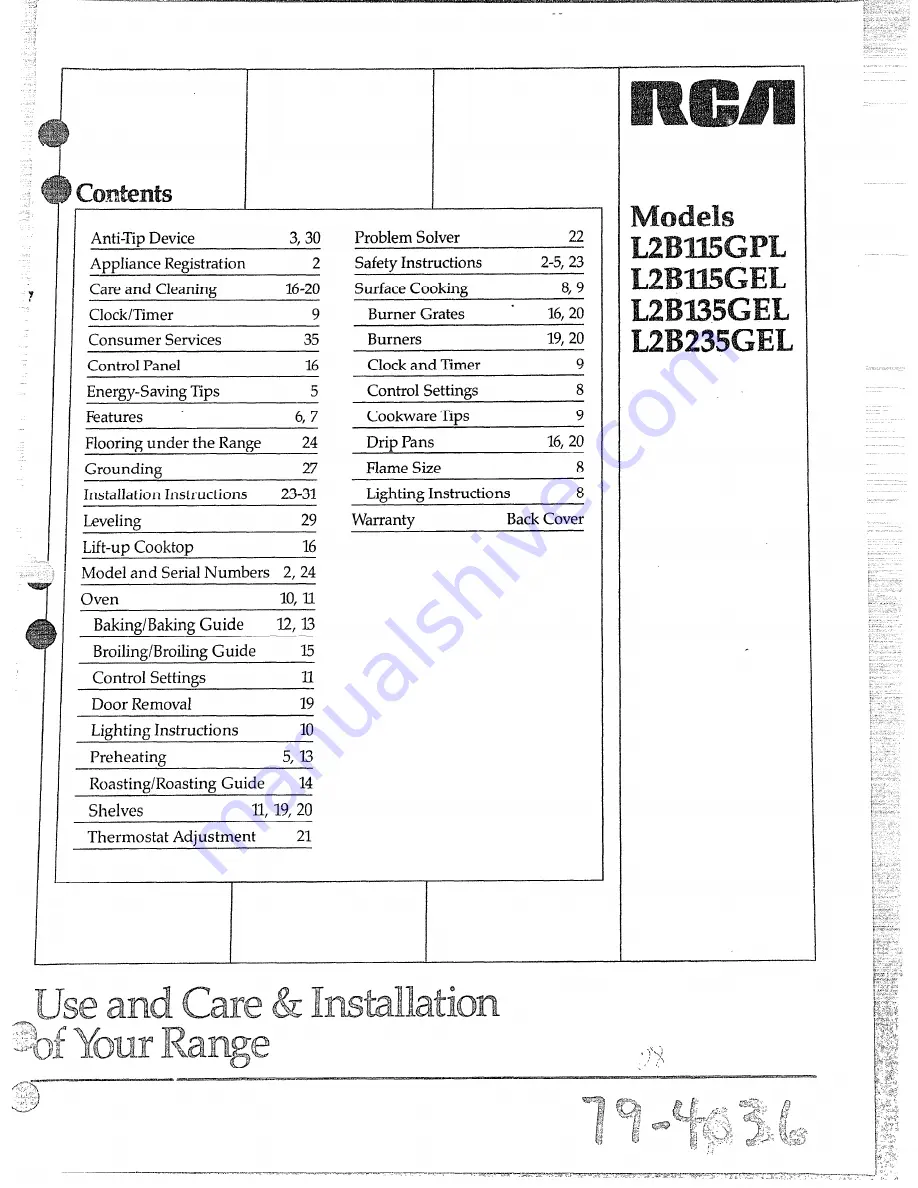
Page 1: ... 5 Control Settinm 8 Features 6 7 Cookware Titx 9 Flooring under the Range 24 Drip Pans 16 20 Grounding 27 Flame Size 8 Installation Instructions 23 31 Lighting Instructions 8 Warranty Back Cover Levelirw 29 Lift up CooktoP 16 1 Model and Serial Numbers 2 24 Oven 10 U BakindBakin Guide 12 13 Broiling Broiling Guide 15 Control Settings H Door Removal 16 Lighting Instructions 10 Preheating 5 13 Roas...

Page 2: ... dealer or builder that soldyou the range save time and money Before you request service Checkthe Problem Solveron page22 It listscauses of minor operatingproblemsthat YOUcan correct yourself Hyoll need service e Toobtain service seethe Consumer Servicespage in the back of this book Toobtainreplacementparts contactRCA GE Service Centers We reproud of our service and wantyou to be pleased If for so...

Page 3: ... show you the of theH qy gas fcmMlf valve andhowtoshut it off ii necessary your range and bya inaccordance withthektdlation Instructionsd Anyadjustment andserviceshould beperformed onlybyqualified gasrangeinstallers or service technicians withaproperly grounded three prongoutletinaccordance with theNational Electrical Code Do notuseanextension cordwith thisappliance mmtipad i uryQmnkl I W lk To pr...

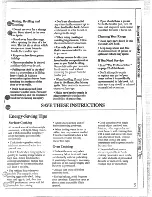
Page 4: ...en foodsormoisture onfreshfoods cancausehotf tobubbleupand oversidesofpan use least of fatfor effective or deep fat frying Ming thepantoofull offatcancausespillovers when foodisadded If of J fatswillbeusedin stir together beforeheating orasfats meltslowly s Mw ys heatM and watchasitheats F2J se deepfat toprevent fatbeyond the smoking point oUSe HWpW pan size Avoid pansthatare oreasily tipped Selec...

Page 5: ...luminum with tight fittingcovers and with bottomsthat completely coverthe heated portion of the surface unit Cook fresh vegetableswith a minimum amount of water in a covered pan wat foods when bringing them quickly to cooking temperatures at high heat When food reaches cooking temperature reduce heat immediately to lowest setting that will keep it cooking e Jse re id a heat whenever F m L i yossib...

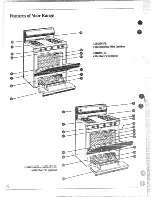
Page 6: ...L2BU5GPL with Standing PilotIgnition LL DILyi3wHMJ B J 42H JAUCJUXK JLJ L2BIEWEL withElectric Ignition t ...

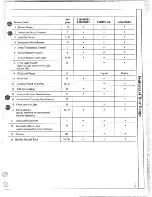
Page 7: ... letsyouturn interior ovenlight on and off 9 Clock and Timer H 9 C9 60 Digital Digital 1 10 Oven Vent 11 Chrome Plated Drip Pans al 16 20 I d 54 I 12 Lift Up Cooktop 3 e 13 Porcelain Enamel OvenInterior 14 Continuous CleaningOven Interior 1 7 11 15 Oven Interior Light 16 Oven Shelves e 2 1 11 19 2 2 xl easily removed or repositioned on shelf supports 17 Oven Shelf Supports 11 I 18 RemovableOven Do...

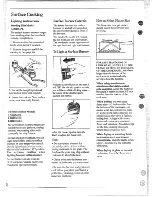
Page 8: ...RE NEVER LET THE FLAME EXTEND UP THE SIDES OF THE COOKWARE Any flame larger than the bottomof the cookwareis wastedand only servesto heat the handles Push the controlknob in andturn it When using aluminum or toUTE On electricignitionmodels almninum ckwl stainless steel youwillhear a littleclickingnoise pots and pans adjustthe flame so the soundof theelectricspark the circle it makes is about 1 2in...

Page 9: ...num or other metals for improvedheat distribution Combination metal skii etsgenerally work satisfactorily if used at medium heat as the manufacturer recommends and clack TosettheClock turntheknobto theleftuntilthewords SETTIME appearinthedisplay Thenturnthe knobineitherdirectionuntilthe correcttimeis displayed Aftera slightpause timeis set mmer Amswws Q How can I use my Minute Timerto makemysurfac...

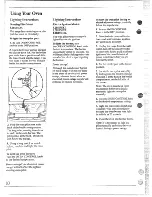
Page 10: ...he soundof the electric spark igniting the burner Power outage Althoughthe overdbroilerburner on these rangeswill not self light in the eventof an electrical power outage a burner in use when an electrical poweroutageoccurswill continueto operatenormally Tolight the ovenpilotduringan electricalpoweroutage carefully followthe stepsbelow 1 Be sure OVENCONTROL knobis in the OFF position 2 Open bothth...

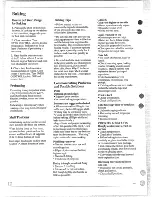
Page 11: ...ngare suggestedon Bakingand Roasting pages The shelvesare designed with stop loc ksso when placed correctly on the shelf supports they will stop beforecoming complete youtof the ovenand will not tilt when you arc removing food from them or phwingfood on them When placing cookware on a shelf pullthe shelf out to the stop pc sition Place the cookware on the she f then slidethe shelf back intothe ove...

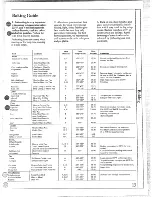
Page 12: ...ggyand unbaked A11ow crust and or fillingto COO1 sufficientlybeforefillingpie shell Fillingmaybe toothin orjuicy Fillingallowedto standinpie shell beforebaking Fillpie shellsand bakeimmediately Ingredientsandproper measuring affectthe quality ofthecrust Use a testedrecipe and goodtechnique Make sure there are no tinyholesor tears in a bottomcrust Patching a piecrust could cause soaking I filling r...

Page 13: ... for 25 minutes then at 350 F for 10to 15minutes Dark metalor glassgivesdeepest browning Cakes v ithoutshortening I Twopiece pan is convenient Line pan with waxedpaper A B A 325 3750 375 4000 325 3500 325 3500 350 3750 275 3000 350 375 350 3750 350 325 3500 350 4000 400 4250 375 4000 nyl food AluminumTube Pan Jellyroll MetalJellyRollPan Sponge Metalor Ceramic Pan Cakes Metal or CeramicPan ShinyMet...

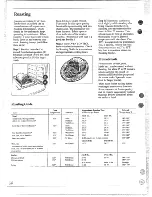
Page 14: ...gGuide I mzen Roasts Frozenroastsof beef pork lamb etc can be startedwithout thawing but allow 15to 25 minutes additionaltime per pound 15 minutesadditionaltime per pound for roastsunder 5 pounds more time for larger roasts Thawmost frozenpoultry before roastingto ensure evendoneness Somecommercialfrozenpoultry can be cooked successfullywithout thawing Followdirectionsgiven on packer slabel Rwting...

Page 15: ...Lobster tails 6to8 02 each smoking leavinga layerabout I S inchthick 2 Removebroilerpan and rack 1 Spaceevenly PlaceEnglish muffinscut side upandbrush withbutter ifdesired 2 4 slices 1pkg 2 2 split 2 4 c c Donot turn over frombroiler com artmentand B Cutthroughbackofshell spread open Brushwithmeltedbutter beforeandafterhalftime lacefoodon rac 3 Pullout drawerand position B C 5 5 Handleandturnveryc...

Page 16: ...aning the knobscan be remo ed by puHingthem offthe knobsterns Clean with mild soapand water rinse with clean waterandpolish dry with a softcloth Do notuse abrasivecleansers strongliquidcleanersor oven cleanerson the controlpanel they willdamagethe finish Lift up Clean the area under thecooktop often Built upsoil especially grease may catch fire Tomake cleaningeasier the cooktopmaybe liftedup Befor...

Page 17: ...et rangeparts cool before handling Werecommend rubber glovesbe worn when cleaning 2 Removeshelvesand cookware 3 Soilvisibilitymaybe reduced byoperatingthe ovenat 400 F Close the door and turn OVEN CONTROLknobto400 F Timefor at least4 hours Repeatedcyclesmay be necessary beforeimprovement in appearance is apparent l EMEMBER DURING THE OPERATION OFTHE OVEN THE DOOR WINDOW AND OTHER RANGE SURFACES WI...

Page 18: ...pillovers This is particularly importantwhen baking a fruit pie or other foodswith high acid content Hot fruit fillingsor foodsthat are acid in contentsuch as milk tomatoor sauerkraut and sauces with vinegar or lemonjuice maycause pittingand damageto the porcelain enamel surface Toprotectthe ovenbottomsurface place apiece of aluminumfoil slightlylarger than the bakingdish or a smallcookie sheet on...

Page 19: ...ayinto the range Then lower the drawer and push it completely closed snap back and pinch fingers ash with hot soapy water For stubborn spots use a solutionof vinegarand water Do not immerse the door in water To repIacethe door make sure the hingesare in the out position Positionthe slots in the bottomof the door squarely over the hinges Then lower the door slowly and evenlyover both hinges at the ...

Page 20: ...utesifdesiredinwarmsolutionofdishwasherdetergent Scourwithmaterialsmentionedheretoremoveburned onfoodparticles clean asdescribedbeloworindishwasher Wipedrippansaftereachcookingsounnoticed jpatter Wili not burnon nexttimeyoucook Toremove burned on spatters useanyor all cleaningmaterialsmentioned Rublightlywithscouringpadtopreventscratchingofthe urface iVipe offburnerheads Ifheavyspilloveroccurs rem...

Page 21: ...geand checkperformance Note After an adjustmenthas beenmadeto theOVENCONTROL knob OFF and BROILwillnot lineup with the indicatormark on the controlpanelas theypreviously did This conditionis normaland will not create a problem surface Burner Air shutters An air adjustmentshutterfor each surfaceburner regulatesthe flowof air to the flame When the right amount ofair flowsinto the burner the flame wi...

Page 22: ...Il l A Ye O fhlleS B YWowtips on inner c soft blue fiames CaHfor service cones Normal for LP gas Normal for naturaigas If burner flameslook like A call for service Normal burner flames shouldlook like B or C dependingon the type ofgas youuse s With LP gas someyeUowtippingon inner conesis normal If rmge is connectedto LP gas check d Steps in the installationinstructions Aluminumfoilbeing used impro...

Page 23: ... overtheopen flames ofoperating burners install ametal ventilation hoodoverthe range thatprojects forward atleast 5inches beyond thefrontofthe cabinets Theventilating hoodmustbe constructed ofsheetmetal notless than0 0122 inch thick No 28 U S Standard gauge Install above thecooking topwithaclearance of notlessthan1 4inchbetween the hoodandtheunderside ofthe combustible material ormetal cabinet The...

Page 24: ...bovethe range shouldbe avoided If cabinetstoragespace is to be providedabovethe range the risk can be reduced by installinga range hood that sticksout at least 511 beyondthe front of the cabinets Cabinetsinstalledabovea range may be no deeper than 13 See Figure 2 Protect Yim Floor Your range like many other hu whddl items iskavy and txmsewinto soft fkm Covexings such as vinyl or carpeting When mov...

Page 25: ...r columnon naturalgasor if designedfor LP gas propaneor butane 10inchesofwatercolumn Makesureyou are supplyingyour rangewith thetypeofgasforwhich it is designed The typeof gasand the operatingpressurefor which yourrangeisdesignedare identified on the modeland serial number platelocatedon the rangeframe belowthe surfaceburner knobs If at anytime in the future you decideto use this rangeon a differe...

Page 26: ... takingcare to back up the shut off valveto keep it from turning 4 Connect flexiblemetal applianceconnector to the adaptor on the range Positionrange to permit connection at the shut off valve 5 when all UNm dions have beenmade make sum aurange mm ds are inthe M position and hm on the main gas supply dve Use a liquid leak detector at alljoints and connections to check for leaks in the system CAIJT...

Page 27: ...res TEMPORARY METHOD ADAPTER PILJGS NOT PERMllTED INCANADA m ALIGN LARGE ll B PRONGS SLOfS y p m w INSURE PROPER GROUND AND VNECTION JSE rl lvl ul BEFORE I The 1argerslot in the adapter must be aligned with the larger slotin the wallreceptacleto provideproper polarity in the connection ofthe powercord Caution Attachingthe adapter ground terminal to the wall receptacle cover screw does not ground t...

Page 28: ... 4 or pilot outagemayoccur A larger than recommendedpilot flame may generatesoot carbon black on the bottomofyour cooktop Lighttheoven Pilot CAUTION Make sure the OVEN CONTROL knob is in the OFF positionbeforeattempting to light he pilot If it is not turn OVEN CONTROL to OFF and wait one minute 1 Open the lower broiler compartment and pull the door down flat Put the broiler pan in the lowestpositi...

Page 29: ... ad i Important Electricignition modelsrequireelectricalpowerto operate In the caseof a power outage the ovenburner on these modelscannotbe lit manuallywith a match Attemptsto do som ay resultin injury if electricalpower is restored 7 AdjustAir shutterifr kessary The air adjustmentshutterfor the ovenburner is locatedat theopen end of the venturitube and sitson the hood of the valve Loosen the Phil...

Page 30: ...devicewith its outsideedge at this locationand againstback wall See Figure 1 3 Determine whether youwi l anchor the deviceto the floor or wall Fasten the bracket securely with the screwsprovided Screws are self drillingin wood plywood particle and chip board and most metal framing See Figure 2 If attachingto masonry you can buy suitablescrews and anchors at hardware stores Use a masonry drill to d...

Page 31: ...flameshould notextendoutoverthe edgesofthe baffle For LP gas this should occurwhen theair adjustment shutteriscompletelyopen 5 Adjust oven Thermostat foru Gas L RemovetheOVENCONTROL knob Seefirst3 stepsunder To Adjustthe SurfaceBurner Pilots Oven Pilot Adjustment Screw 2 Locatethe thermostatadjustment screwatleftofthermostatshaft Turn screwuntilthe smallpointerisat LP 3 ReplaceOVENCONTROL ob 6 Adj...

Page 32: ... C 800 833 4322 to requestservice Youcan havethe securefeelingthat GEConsumerServicewillstillbe thereafter yourRCAproductwar rantyexpires Purchasea GEcontract whileyourwarmntyisstillin effect and you llreceivea substantialdis count Wj tha multiple year contmct you reassuredof future serviceat today s prices IndivichdsC ifkd to Setice their ownappliancescan haveneeded partsor accessories sentdirect...

Page 33: ... APPLIANCE SERVICER VVHM Is Nor CCWERED e Servicetrhmto vourhome to teach vou how I to use the p odu J Read vour Use and Care material Ifvou then have anyq estions about operating the pr duct please contact your dealeror Manager Consumer Affaks RCA Appliances Appliance Park Louisville KY40225 Improperinstallation f you have an installation problem contact your iealer or installer Youare responsibl...

Reviews: