


TF2002501-RG-01 ENG Page
1
of
14
20161123 V.3
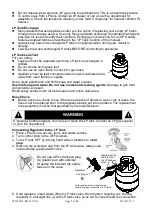
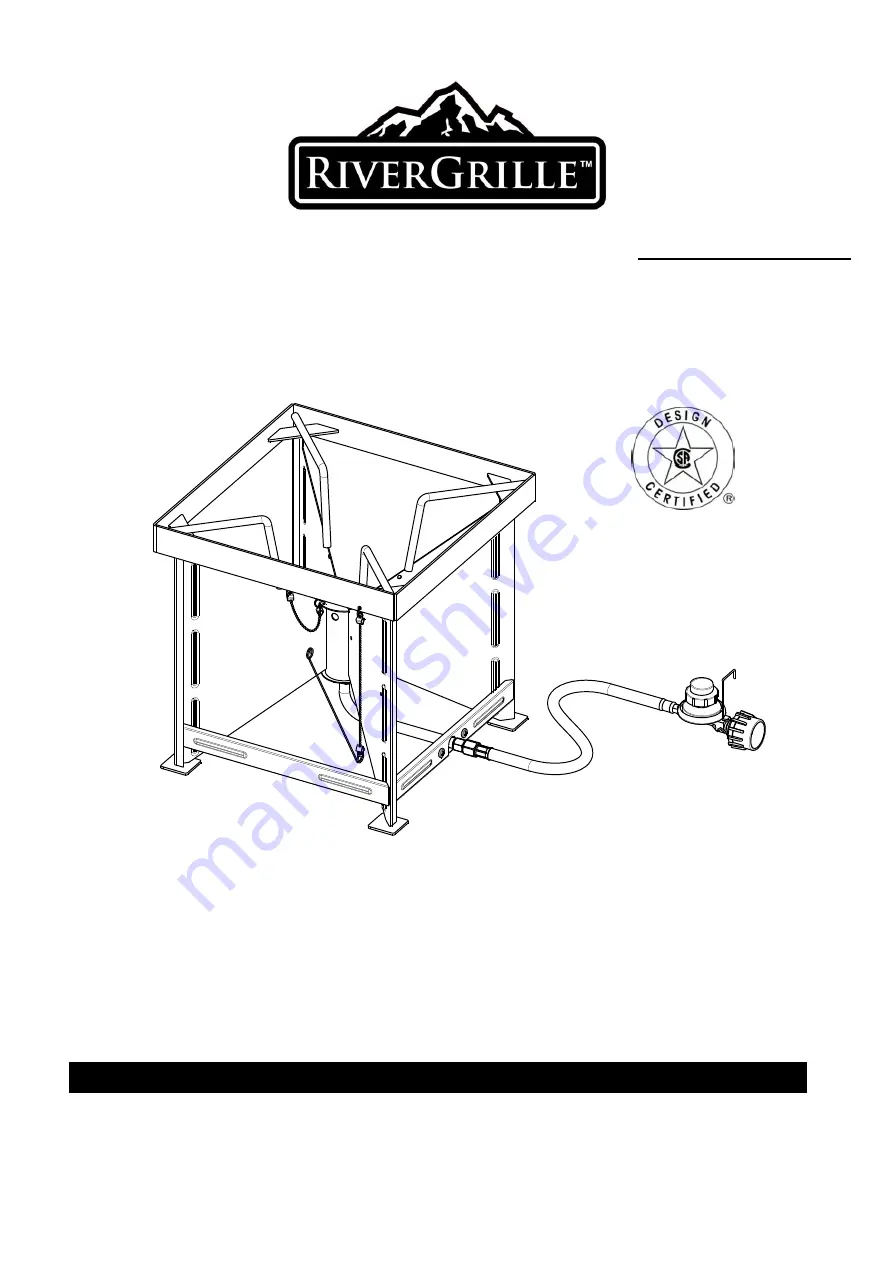
Assembly Instruction
Jet Cooker
Model: TF2002501-RG-01
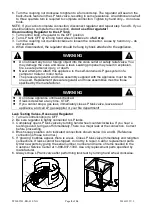
This instruction manual contains important information necessary for the proper
assembly and safe use of the appliance.
Read and follow all warnings and instructions before assembling and using the
appliance.
Follow all warnings and instructions when using the appliance.
Keep this manual for future reference.
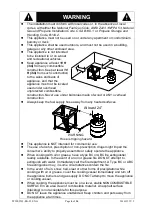
This appliance is NOT for frying turkey.
RANKAM (CHINA) MANUFACTURING COMPANY LIMITED
Toll Free 1-888-837-1380
Please keep this instruction manual for future reference
For Outdoor use only


