


The Shower Toilet is designed so that users such as elderly persons, handicapped persons, persons suffering an
illness, and children are able to use it alone. In addition, the skin of the user directly touches the toilet.
To prevent unexpected accidents and use the toilet safely and comfortably, be sure to read this “User’s Manual”
before using the Shower Toilet.
Thank you for purchasing this product. After reading this manual, keep it in a handy place where you can refer to it easily.
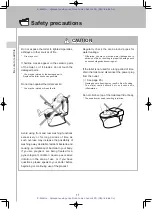
Be sure to follow the safety precautions
Failure to follow the warning and cautions described on pages 7 - 11 may result in serious accidents under some circumstances. Each of these items is extremely important for safety, and should be strictly observed.
In the event an accident occurs as a result of improper usage, we will in no case assume responsibility for damages. Give this manual to the next owner when you move or transfer the toilet to another person.
811341000, 811341092
User's Manual
LUMEN AVANT
E-Bidet.ru -
официальный
дилер
Roca Lumen Avant
в
РФ
(http://e-bidet.ru)
E-Bidet.ru -
официальный
дилер
Roca Lumen Avant
в
РФ
(http://e-bidet.ru)


