


Before using this unit, carefully read “USING THE UNIT SAFELY” and “IMP
ORTANT NOTES” (the leaflet “USING THE UNIT SAFELY” and the Owner’s
Manual (p. 28). After reading, keep the document(s) where it will be available for immediate reference.
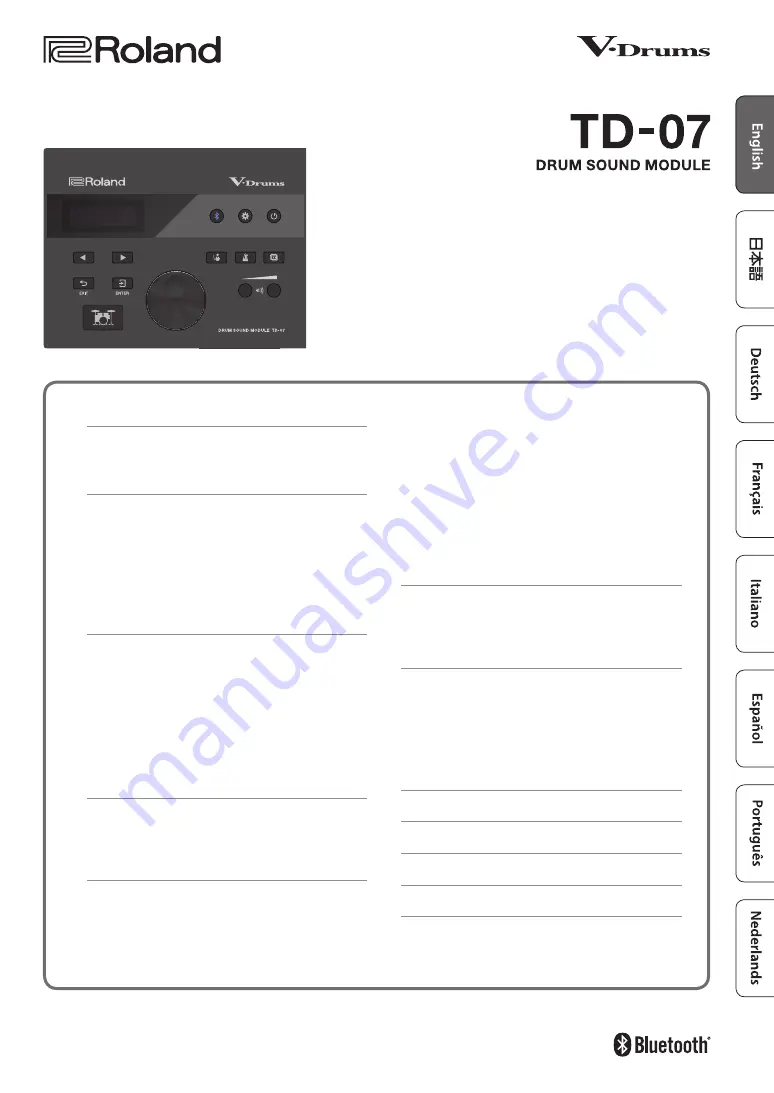
Owner’s Manual
© 2020 Roland Corporation
Contents
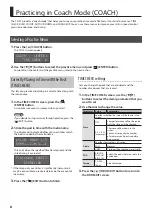
Practicing in Coach Mode (COACH)
Correctly Playing in Time with the Beat (TIME
Developing Internal Timing Sense (QUIET COUNT)
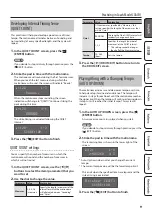
Playing Along with a Changing Tempo (AUTO
Playing Along with a Changing Rhythm
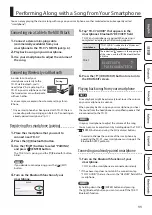
Performing Along with a Song from Your
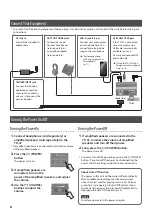
Connecting via a Cable to the MIX IN Jack
Connecting Wirelessly via Bluetooth
Customizing a Drum Kit (KIT EDIT)
Editing the Sound of Each Pad (INSTRUMENT)
Adjusting the Drum Kit’s Volume (KIT VOLUME)
Adjusting the Attack and Release (TRANSIENT)
Adjusting the Tonal Character of Each Pad (PAD EQ)
Adjusting the Stereo Feel of the Drum Kit
Adjusting the Reverberation of the Drum Kit
Applying an Effect to the Drum Kit (MFX)
Renaming the Drum Kit (KIT NAME)
Specifying MIDI Note Numbers (MIDI NOTE)
Resetting a Drum Kit's Settings (KIT RESET)
Using the TD-07 with a Computer or
Using the TD-07 with Computer Software
Using the TD-07 with a Smartphone App
Making Detailed Settings (SETUP)
Summary of Contents for TD-07
Page 30: ......


