
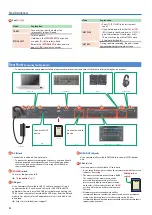
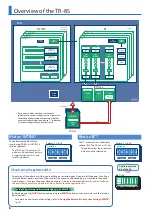
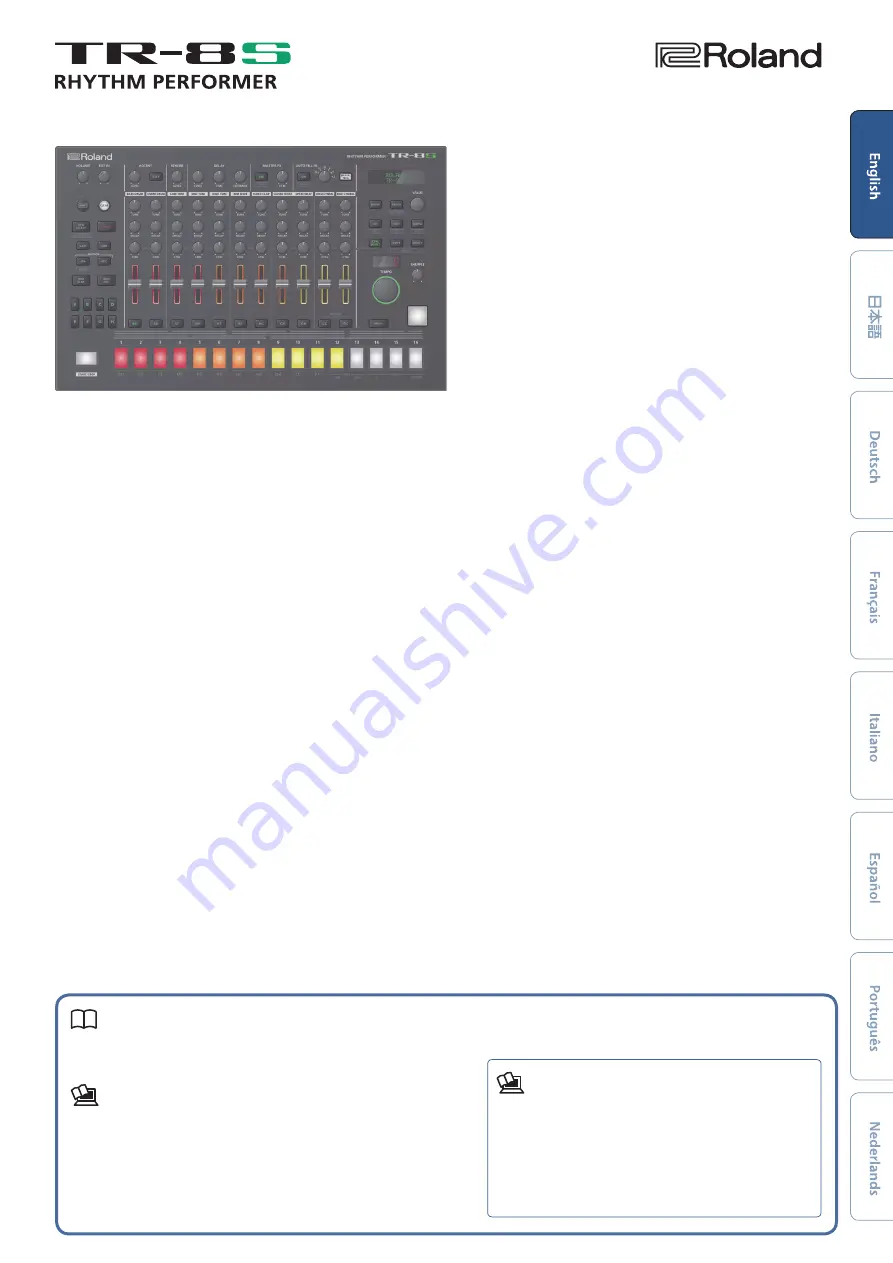
Owner’s Manual
(this document)
Read this first. It explains the basic things you need to know in order
to use the TR-8S.
PDF Manual
(download from the Web)
5
Reference Manual
This provides a detailed explanation of how to use the TR-8S.
5
MIDI Implementation
This is detailed information about MIDI messages.
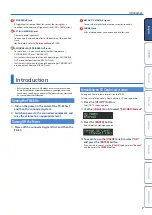
To obtain the PDF manual
1.
Enter the following URL in your computer.
https://www.roland.com/support/
2.
On the Support menu, choose
“Owner’s
Manuals.”
3.
Choose
“TR-8S”
as the product name.
Before using this unit, carefully read “USING THE UNIT
SAFELY” and “IMPORTANT NOTES” (the leaflet “USING THE
UNIT SAFELY” and the Owner’s Manual (p. 2)). After
reading, keep the document(s) where it will be available for
immediate reference.
Copyright © 2018 ROLAND CORPORATION
Owner’s Manual


