background image

Digital "Free To Air" Receiver

User Manual

ODM-300

CONTENTS

2,

Foreword, Safety, Mains Connection, Enclosed Parts.

3,

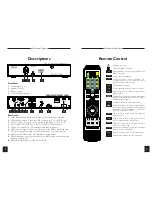
Front/Back Panel Description.

4,

Remote Control Handset Description & Functions.

5,

Connector Pin Out Details.

6,

Connection Diagram.

7,

Installation Connect Up Details.

8,

LNB Setup.

9,

Automatic Channel & Network Search.

10,

Manual Channel Input & Edit.

11/12,

Menu Flow Chart.

13,

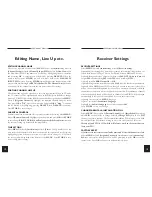
Edit Name, Line Up, Parental Control & Time.

14,

Receiver Settings.

15,

Technical Specification.

ODM-300

FOREWORD

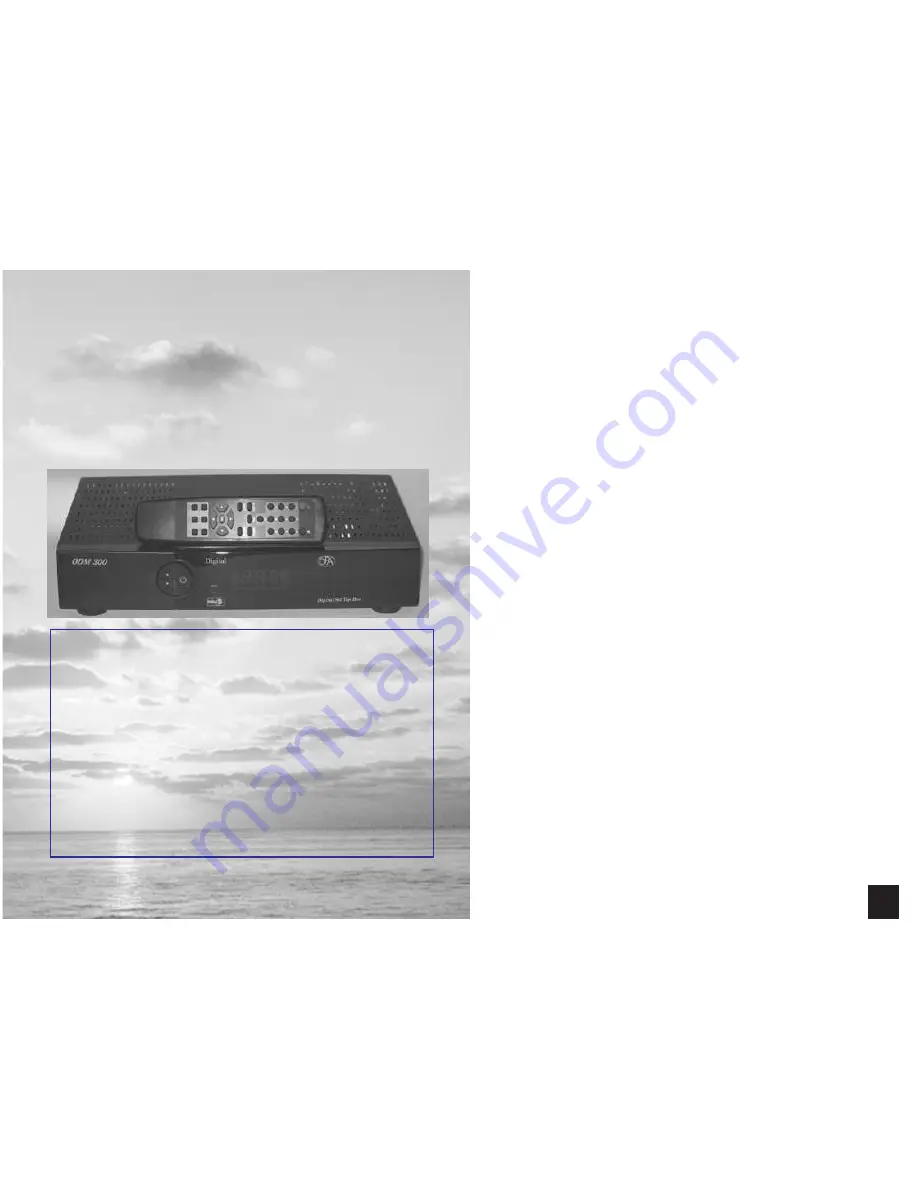
We congratulate you on your choice of  digital satellite tv receiver. The ODM300 is

manufactured in Scotland, UK by RSD Communications Ltd. to very high standards

and is continually upgraded with new software. Please consult your dealer or the

RSD WWW site at http://www.rsd-communications.co.uk for the latest details.

SAFETY INSTRUCTIONS

Place your satellite receiver on a protected, dry and well ventilated spot. Never put

anything on top of the satellite receiver as this prevents the necessary ventilation.

The satellite receiver contains sensitive, hazardous parts and should therefore be

placed away from childrens reach and so that it cannot fall down. Clean the exterior

of  your satellite receiver with a dry and soft cloth. Never let any form of  liquid

come into contact with the receiver as this can damge the components and destroy

the receiver. Never use abrasive materials to clean the receiver as this will damage

the receiver finish.

WARNING !!!

Never remove the receiver cover - risk of electric shock!.

MAINS LEAD CONNECTION

The satellite receiver should be connected directly to the mains outlet socket. The

use of a mains extension lead is not recommended.

ENCLOSED PARTS

The following parts are enclosed:

ODM300 satellite receiver.

Remote control handset.

Two LR3 (AAA) batteries.

Coaxial cable (UHF connection).

User manual.

2

Summary of Contents for ODM-300

Page 1: ... INSTRUCTIONS Place your satellite receiver on a protected dry and well ventilated spot Never put anything on top of the satellite receiver as this prevents the necessary ventilation The satellite receiver contains sensitive hazardous parts and should therefore be placed away from childrens reach and so that it cannot fall down Clean the exterior of your satellite receiver with a dry and soft clot...

Page 2: ... VIEW Digital 1 2 3 4 1 2 3 4 5 6 7 8 9 10 3 4 Remote Control Stand by on off Turns the sound off and on Select channel teletext page numbers and MENU settings Change audio soundtrack Direct Program Access Displays TV programme list in TV mode radio programme list in radio mode Select MENU function Change between teletext mix TV picture Switch between TV channel mode radio channel mode Channel up ...

Page 3: ...tor 1 Right audio out 3 Left audio out 4 Audio ground 5 Blue ground 7 Blue out 8 AV status out 0 5 12V 9 Green ground 11 Green out 13 Red ground 15 Red out 16 RGB status out 17 Video ground 18 Ground 19 Video out 21 Ground chassis No connection 2 6 10 12 14 20 Scart Connector Pin Out rear view RS232 Serial Connector 1 No connection 2 RX data input 3 TX data output 4 No connection 5 Ground 6 No con...

Page 4: ...NB s connected to the ODM300 must be set before channel search can be carried out Many LNB s have 2 LO which are switched between by a 22Khz tone signal from the ODM300 For frequencies over 11 699 the ODM300 will generate a 22Khz signal and select the HIGH LO LNB SETUP From the MAIN MENU select 4 Installation using the numeric keys direct or arrow keys up down navigation then OK to pick highlighte...

Page 5: ...mation in the table known as the NIT The Auto Scan multiple transponders can only be enabled if the information is transmitted by the broadcaster and the option can be switched toOn 10 Manual Input Edit Some channels may require manual entry either because they do not transmit the necessary tables containing the PID s or are shown as ENCRYPTED when they are not Channels which are described by the ...

Page 6: ...l POOR GOOD 1 2 3 4 5 6 7 Canal Swe Canal Fin Canal Nor Canal Dan Hallmark Nelonen Start Scan 11 Help Text 10 10 INFORMATION 1 Signal Detection 2 Decoder Information Help Text TIME INSTALL LNB 1 LNB Settings 2 Help Text TIME LNB Power 1 On RECEIVER SETUP 1 EIT Display Time 2 3 4 RGB Output Screen Format Help Text TIME Auto Update Channels 5 Scart Output Mode 6 7 8 Receiver Language Soundtrack Lang...

Page 7: ...annel up down on the receiver front panel You will be prompted to press OK to confirm factory reset Press OK on handset to perform factory reset 13 Editing Name Line Up etc EDITING CHANNEL NAME Choose the required channel Select MENU Select 4 Installation Select 4 Channel Setup Select 8 Manually Input PID s Select 5 New Name In the New Name MENU the name can be edited by highlighting the new chara...

Page 8: ...ower 95 250V AC 50 60Hz Power consumption maximum 40W Dimensions W 340mm D 256mm H 67mm Weight 2 kg Connections TV SCART video L R audio RGB out VCR SCART video L R audio out video RGB audio loop through Modulator PAL I channel 30 45 77dBuV typical Antenna F type 14 18V 400mA max 22kHz Audio 2 RCA phono L R audio connectors Serial RS232 serial connector Tuner Frequency range 950 2150 MHz Type Sing...

Reviews: