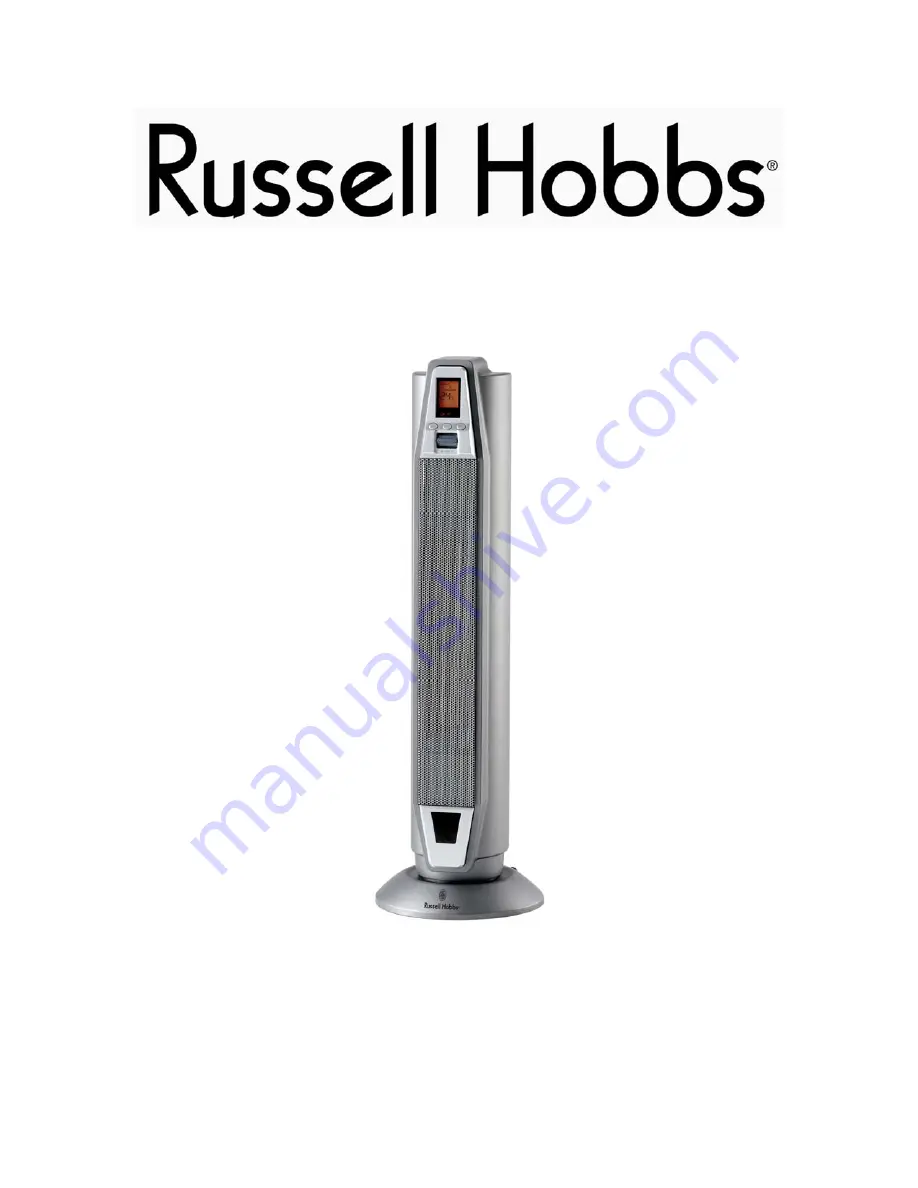
background image


INSTRUCTIONS AND WARRANTY 


MODEL NO. RHC1960 


RUSSELL HOBBS CERAMIC UPRIGHT HEATER


Summary of Contents for RHC1960

Page 1: ...INSTRUCTIONS AND WARRANTY MODEL NO RHC1960 RUSSELL HOBBS CERAMIC UPRIGHT HEATER ...

Page 2: ...ent Timer function allowing up to 8 hours Two heat settings on the heater mean that you can set the heater to LOW 1100W or HIGH 2000W The variable thermostat knob allows you to control the output of the heater according to the ambient temperature and size of the room being heated The power on indicator light will show when the heater is in use LCD Display for mode indicator temperature indicator a...

Page 3: ... dropped or damaged in any way In case of damage take the unit in for examination and or repair by an authorised service agent 8 To reduce the risk of electric shock do not immerse or expose the motor assembly plug or the power cord to water or any other liquid 9 Never immerse the unit in water or any other liquid for cleaning purposes 10 Remove the plug from the socket by firmly pulling the plug ...

Page 4: ...n the Off position after each use 20 The manufacturer does not accept responsibility for any damage or injury caused by improper or incorrect use or for repairs carried out by unauthorised personnel 21 In case of technical problems switch off the heater and do not attempt to repair it yourself Return the heater to an authorised service facility for examination adjustment or repair Always insist on...

Page 5: ...2000 watts Note that the display now displays a SET TEMP indicator see THERMOSTAT INSTRUCTION At the same time the A in the LCD will be highlighted 7 Press the POWER MODE button again and the heater will be in the FAN mode 25 watts The F in the LCD will be highlighted FAN mode is for fan only operation 8 Pressing the POWER MODE button again and the heater will go back to LOW heat mode Continuing t...

Page 6: ...on and the heater will turn on 2 Press the OSC to start and stop the oscillation function 3 Press the TIMER allowing you to program up to 8 hours 4 Press the TEMP buttons to increase or decrease temperature 5 The remote control is powered by two AAA batteries There is a cover on the back of the remote control that can be removed for replacement of the batteries as required PLEASE NOTE BATTERIES NO...

Page 7: ...ts box or in a clean dry place Never store the heater while it is still wet or dirty Never wrap the power cord around the heater SERVICING THE HEATER There are no user serviceable parts in this heater If the unit is not operating correctly please check the following You have followed the instructions correctly That the unit has been wired correctly and that the wall socket is switched on That the ...

Page 8: ...to operate on 230V current only Connecting to other power sources may damage the heater Connect a three pin plug as follows The wires in this mains lead are coloured in accordance with the following code Green Yellow Earth Blue Neutral Brown Live PLEASE NOTE THIS IS A CLASS II PRODUCT AND DOES NOT NEED TO BE EARTHED 8 ...

Page 9: ...ship or materials found to be due exclusively to any acts or omissions on the parts of the Suppliers of which defects the Supplier shall have been notified in writing by the Customer within the aforesaid warranty period The warranty provided herein and the obligations of the Supplier as aforesaid are in lieu of and the Customer waives all other warranties guarantees conditions or liabilities expre...

Reviews: