COMPOSITION
1
INSTALLATION
2
INSTRUCTION
MANUAL
CAMERA
INSTALLATION
2
COMPOSITION
1
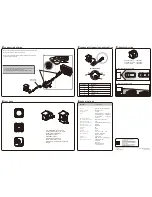
CONNECTION WIRING
3
CAMERA INPUT CONNECTOR PIN DESCRIPTION
4
LENS SPECIFICATION
5
FEATURES
6
SPECIFICATIONS
7
20M CABLE (1)
(OPTIONAL)
CAMERA
BRACKET
(1)
SUNSHIELD
MACHINE
SCREW
M5X16L
STAINLESS
(2)
TAPPING
SCREW
M5X16L
STAINLESS
(2)
MACHINE
SCREW
M2X5L
STAINLESS
(4)
NUT
M5XH5
STAINLESS
(2)
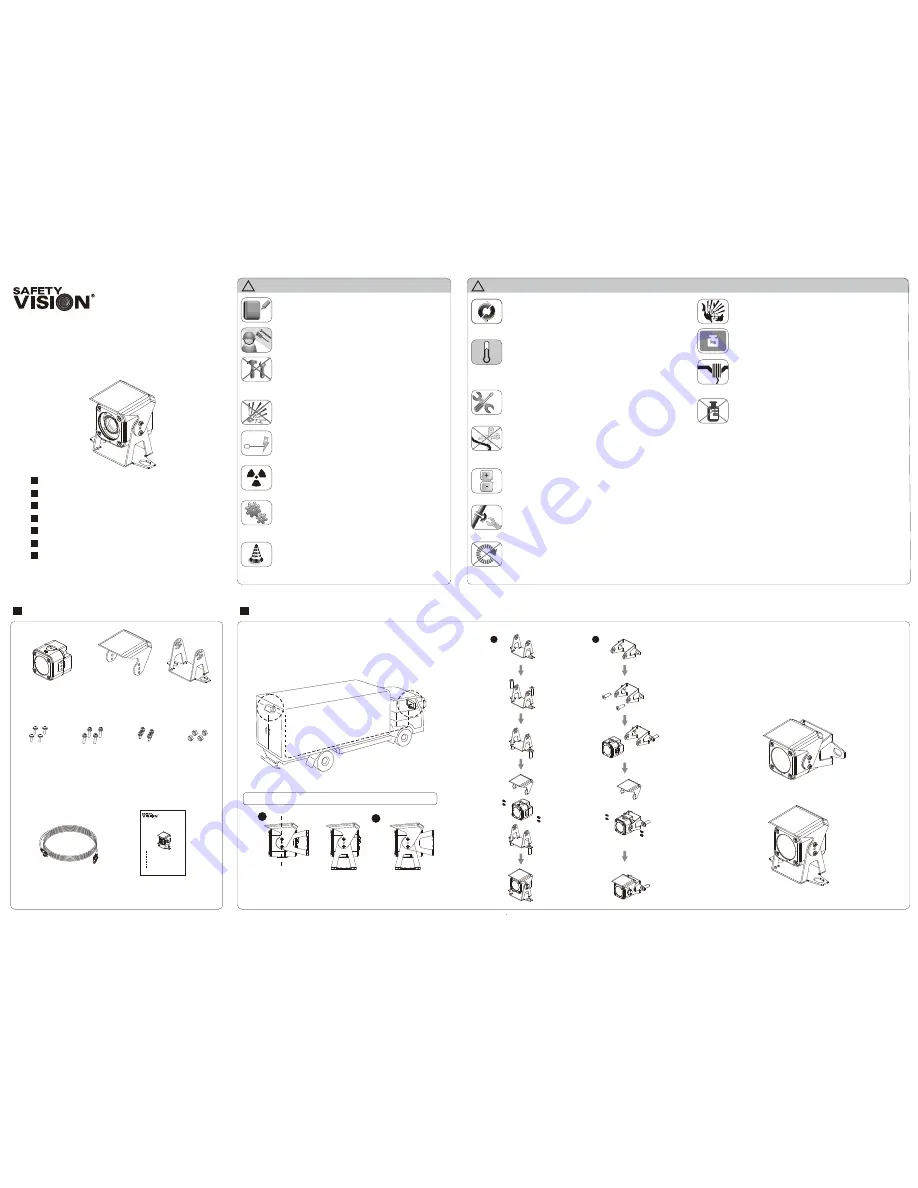
Install camera in a location that does not interfere with safe
operation of the vehicle after checking the camera's field of view.
Ask your dealer of contact Safety Vision Technical Support for
advice regarding installation of different types of vehicles.
1
2
B
A
HOW TO ADJUST CAMERA SUNSHIELD & ANGLE
A. Recommended guide line for assembling sunshield.
B. User can mount bracket vertically or horizontally.
1. Install the supplied mounting bracket to the vehicle.
2. Adjust camera's field of view.
3. Adjust sunshield and firmly fasten all screws.
* Adjust sunshield angle to protect lens from sunlight.
* Fasten all screws firmly to avoid product damage during
vehicle operation.
SV-660H-KIT
Owner’s Manual
INSTALLATION
2
COMPOSITION
1
CONNECTION WIRING
3
CAMERA INPUT CONNECTOR PIN DESCRIPTION
4
LENS SPECIFICATION
5
FEATURES
6
SPECIFICATIONS
7
SV-660H-KIT
Owner’s Manual
Manual
A/S
DC
!
CAUTION BEFORE USAGE
1. Carefully read this Owner's Manual before installing
and using this product.
2. Product should be installed by an experienced
technician.
3. Do not open or modify the product.
Electrical shock or fire may result, and may damage
a product's waterproof specification.
Contact your dealer or Safety Vision Technical
Support for repair assistance.
4. Do not drop or otherwise expose the product to
extreme shocks. Damage may result.
5. Use regulated voltage.
Safety Vision is not responsible for the application
of excess voltage.
6. Disconnect the vehicle's power during installation,
and only reapply power after the installation is
complete.
7. Only use the supplied accessories to install the
product.
Safety Vision is not responsible for damage as a
result of aftermarket accessories.
8. This product is designed for typical mobile
installations.
Please contact your dealer or Safety Vision Technical
Support regarding atypical or special case installations.
!
SAFETY & CAUTION DURING THE USAGE
8. Do not expose products to electrostatic shock.
9. Do not place excessive pressure on the product case.
10. Ensure all cable connections are free of debris
before use.
11. Do not use solvents such as paint thinner or benzene
to clean the product.
To clean, disconnect power and use only a damp cloth.
1. Ensure all mounts are secure before the vehicle is in
motion.
2. Do not operate the products immediately after
exposure to extreme temperatures.
Refer to the Specifications for proper operating
temperatures.
3. Do not use if a burning smell is sensed or the product
is hot to the touch.
4. Do not cut any cables and ensure they are properly
secured and do not interfere with safe operation of the
vehicle.
5. Ensure the camera and power cables are correctly
installed as indicated in this Owner's Manual.
6. Firmly connect all camera extension cables to ensure
a waterproof connection.
7. Do not obstruct the product's ventilation while in use.
Overheating or fire may result.


