

WASHING MACHINE (TOP-LOADING)
CONTENTS
SERVICE
Manual
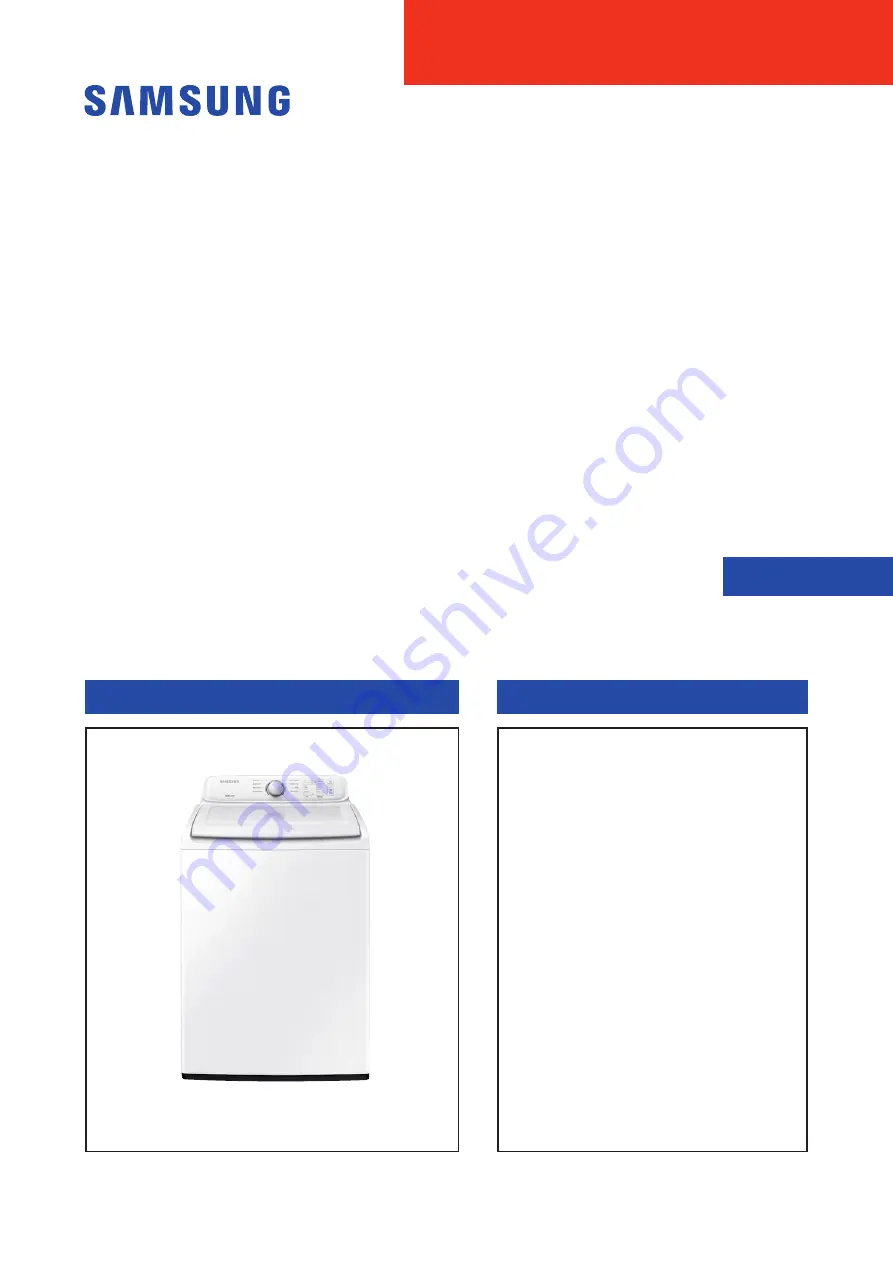
WASHING MACHINE
TOP-LOADING TYPE
BASIC NAME : WA3000J
BASIC CODE : WA40J3000AW/A2
MODEL NAME : WA3000A
MODEL CODE : WA41A3000AW/A4
WA40A3005AW/A4
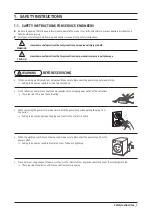
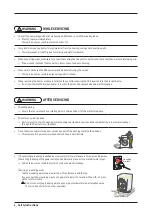
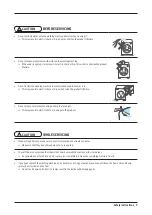
1. Safety Instructions
2. Features and Specifications
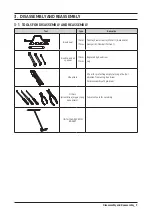
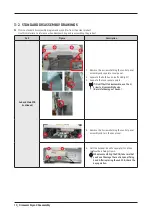
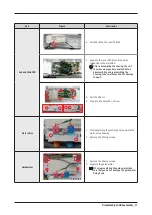
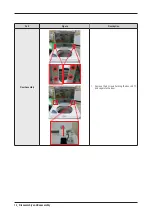
3. Disassembly and Reassembly
4. Troubleshooting
5. PCB Diagram
6. Wiring Diagram
7. Reference
WA3000A


