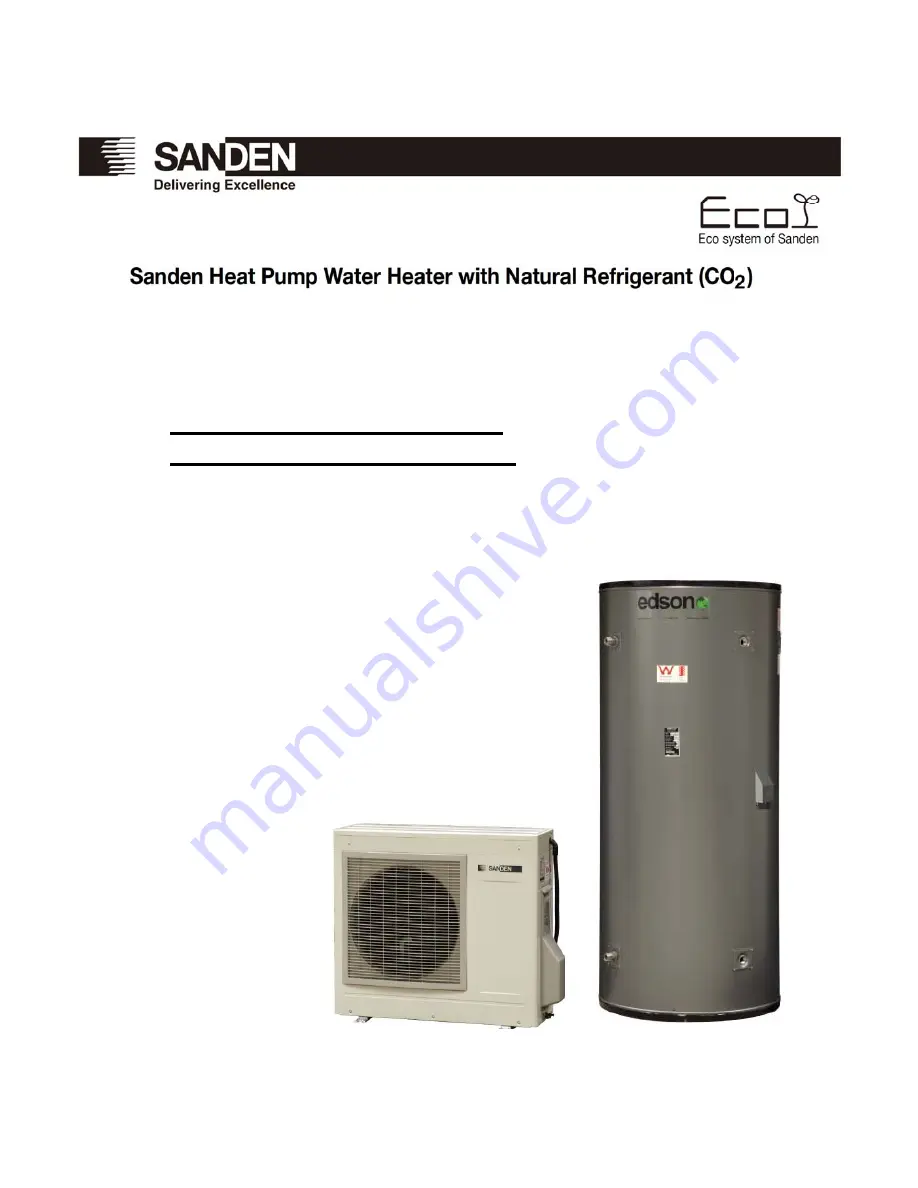
background image

Sanden

Heat

Pump

––

Service

Technical

Book

Page

1

of

48


GAUS

Ͳ

315EQTA

Heat

Pump

Unit

GAU

Ͳ

A45HPA

Tank

Unit

GAU

Ͳ

315EQTA


Service Technical Book 

Heat

Pump

Unit

GAU

Ͳ

A45HPA

Tank

Unit

GAU

Ͳ

315EQTA


Summary of Contents for GAU?A45HPA

Page 1: ...Sanden Heat Pump Service Technical Book Page 1 of 48 GAUS 315EQTA Heat Pump Unit GAU A45HPA Tank Unit GAU 315EQTA Service Technical Book Heat Pump Unit GAU A45HPA Tank Unit GAU 315EQTA...

Page 2: ...ore patents or registered designs in the name of Sanden Australia Pty Ltd TRADE MARKS Registered trademark of Sanden Australia Pty Ltd Note Every care has been taken to ensure accuracy in preparation...

Page 3: ...Sanden Heat Pump Service Technical Book Page 3 of 48 1 Product Specifications 1 1 1 Ambient Temp Dry Wet 16o C 17o C Inlet Water Temp 17o C Outlet Water Temp 65o C...

Page 4: ...Sanden Heat Pump Service Technical Book Page 4 of 48 2 Dimension Outlines Hot Water Storage Tank unit GAU 315EQTA...

Page 5: ...Sanden Heat Pump Service Technical Book Page 5 of 48 Heat Pump Unit GAU A45HPA...

Page 6: ...ater Heater System heats water by transferring the heat from the surrounding air to the water using a refrigerant The refrigerant is heated by a heat exchanger that absorbs heat from the surrounding a...

Page 7: ...or the blockout time setting HP unit starts when either of 1 2 3 4 5 or 6 above is satisfied Condition to End GC Inlet TH 50o C However operation will not be performed during the time set as the bloc...

Page 8: ...ter the compressor runs or 30min after defrost drive completes Also if GC Inlet TH 32o C defrost drive does not start End of defrost is determined either by the temperature detected by Defrost TH or b...

Page 9: ...water pump 2 8 PROPELLER FAN HP Propeller fan blade 1 9 HP THERMISTOR PT2M M51F S2 Heat pump control thermistor Pin1 2 Water inlet temperature Pin3 4 Water outlet temperature Pin5 6 Ambient temperatur...

Page 10: ...Heat Exchanger GC cooler Fan Evaporator Water Pump Compressor Main PC Board Detachable Water Filter Supplies filtration for water going into HPU It can be taken off for cleaning purpose Water Valve GC...

Page 11: ...e 11 of 48 Electrical Components Timer Setting Panel PC Board Panel Housing Front Bezel Sheet Main PC Board Terminal Block Tank Thermistor Cable Hose Timer Setting Panel Terminal Cover Top Cover Power...

Page 12: ...r Table 3 Temperature 10 0 10 20 30 40 50 60 70 80 90 100 Thermistor resistance k 276 162 98 3 61 5 39 5 26 1 17 6 12 1 8 54 6 12 4 46 3 30 Defrost thermistor Table 4 Temperature 10 0 10 20 30 40 50 6...

Page 13: ...nsion Valve Coil Specifications Part Name EX VALVE COIL UKV A12V B Dielectric strenght AC 1800V 1sec Insulation resistance DC 500 V 100M OR More Terminal Housing Rated voltage DC 12V 10 Current 0 26 A...

Page 14: ...r diameter 27 Inside diameter 18 Quick fastener type Motor type DC brushless motor Bearing type Underwater slide shaft Direction of rotation CCW Operating position Impeller shaft horizontal Driving po...

Page 15: ...refrigerant circuit such as refrigerant pipes heat exchanger compressor pressure switch are not subject for replacement 1 How to Replace Printed Circuit Board 2 How to Replace Timer Setting Panel 3 Ho...

Page 16: ...ace Printed Circuit Board Remove Case Reinforcement PS Remove Controller Case Cover 1 screw Remove Top Panel and Front Panel Retainer 6 screws Remove Front Panel 5 screws Remove Piping Cover 1 screw R...

Page 17: ...ical Book Page 17 of 48 Remove screws retaining the PCB 6 screws Pull up the PCB End of Steps To put it back on follow the same steps in back order Unplug all the necessary cable connectors and remove...

Page 18: ...Timer Setting Panel to release the snaps off the fitting on the base component Pull up Timer Setting Panel to remove it from the base Take the Timer Setting Panel cable off the PCB Note Remove the sc...

Page 19: ...er 3 screws P14 O rings also need to be replaced if a water leakage is confirmed on the joints See picture on the left P14 O ring Water Circulation Pump Pump Cable Connector P14 O ring Unplug the pump...

Page 20: ...ce before pulling the cable 2 places Remove Top Panel Front Panel Retainer and Front Panel 11 screws Remove the fan blade retainer nut Note This nut needs to be turned counter clockwise to remove Pull...

Page 21: ...ary cable connectors and remove the earth screws And remove the upper casing unit Remove Right Side Panel 8 screws Note The thermistor head touches the copper pipe side Right Side Panel Upper casing u...

Page 22: ...f 48 6 How to Replace Expansion Valve Coil Remove Top Panel Front Panel Retainer and Front Panel 11 screws Pull exp valve upwards to take it off Take the cable connector off the PCB End of Steps To pu...

Page 23: ...Page 23 of 48 7 How to Replace Drain Plugs and P3 O Rings Grab the drain plug with fingers and twist in clockwise direction Take off the O ring on the tip of the drain plug End of Steps To put it back...

Page 24: ...ow to Replace Reactor Remove Case Reinforcement PS Remove Reactor Cover 1 screw Remove Top Panel and Front Panel Retainer 6 screws Remove Reactor screws 3 screws Pull off the cable connector End of St...

Page 25: ...ble 1 in p g 12 E013 When 30degC or less is detected HP Outlet Temperature Thermistor Short Circuit Refer to Thermistor diagnostic Resistance See Table 1 in p g 12 E014 When 30degC or less is detected...

Page 26: ...rect piping and remove bends and blockings freeze on pipes Melt the freeze if any and apply insulation Water valve is closed Open water valve Stopper valve is closed Open stopper valve confirm tank is...

Page 27: ...high pressure switch open Check Items Check on HP connector filter Remove dust if any Bends or blockings on HP connection pipes CN7 White Correct piping and remove bends and blockings freeze on pipes...

Page 28: ...Fan blade do not rotate Put it back on properly if it is not in right position Fan blade rotates in higher speed than usual Replace fan motor Fan Motor Revolution Error Fan motor malfunction Replace...

Page 29: ...ent error detected in compressor operation control Check Items Check for HP control PC board connector connection Confirm connector connections Error in compressor wiring confirm connection of wire te...

Page 30: ...voltage error Confirm power supply voltage 240 14V INV Transient Over Current Error on Hardware inverter PC board malfunction PCB replacement required if same error occurs again after re run of heat...

Page 31: ...r re run of heat pump E114 Error detected inside PC board Check Items INV Converter Current detection Circuit Error PC Board malfunction PCB replacement required if same error occurs again after re ru...

Page 32: ...ctor connection Confirm connector connections Error in compressor wiring confirm connection of wire terminals to compressor is in the right order Error in connection on power supply terminal block Con...

Page 33: ...rd malfunction PCB replacement required if same error occurs again after re run of heat pump E125 Error detected inside PC board Check Items INV Control Circuit Board Power Supply Error PC Board malfu...

Page 34: ...Confirm power supply voltage 240 14V Error in connection on power supply terminal block Confirm wire connection on terminal block INV Motor Operation Detection Error PC board malfunction PCB replaceme...

Page 35: ...onfirm connector connections noise source is near harnesses Stop operation of all the surrounding electrical products and reboot Heat Pump INV Serial Communication Error PC board malfunction PCB repla...

Page 36: ...d wait for about 1 hour Consider a change of the electricity supply off peak mode Length of power supply hours may be too short for the water heating cycle to cover the hot water consumption Air remov...

Page 37: ...lace filter plug insert screw clockwise 6 Turn inlet water on check to ensure no leak around filter 7 Replace the inside cover and the end cover Removing air from the system Air Removing Process Cauti...

Page 38: ...stallation is conducted during the daylight saving period the clock setting to the ordinary time not daylight saving time is preferable 1 Switching to Clock Setting Mode Press the Enter key in the Clo...

Page 39: ...is is a mode to compulsorily operate the water heating cycle This mode is to start the Heat Pump operation immediately no matter the timer setting 6 Pump Remote Operation Mode This is a mode to run th...

Page 40: ...e start time is set the start time display stops flashing The end time display starts flashing at the same time Adjust block out end time Set to the desired end time by using Up and Down keys Setting...

Page 41: ...rized in Error History in E shows the generated error code Shown below is the list of the error codes E000 No error generated E010 HP Inlet Temperature Thermistor wire break E011 HP Inlet Temperature...

Page 42: ...ransient over current error on software converter E113 INV transient over current error on software inverter E114 INV converter current detection circuit error E115 INV inverter current detection circ...

Page 43: ...nd their corresponding item numbers no 00 Tank Thermistor A 10 times larger value to be displayed no 01 no 02 HP Ambient Temperature Thermistor 10 times larger value to be displayed no 03 HP Inlet Tem...

Page 44: ...tically goes back to the Clock Display Mode when no panel operation is performed for more than 60 seconds Settings in the Drive Setting Mode can be retained even after returning to the Clock Display M...

Page 45: ...operation command cannot be retained if returning to the Clock Display Mode The operation will be stopped also when the mode is switched to another 1 4 Programme Initialising This product contains a p...

Page 46: ...ater from a rainwater tank be conducted before connecting this type of water supply to the system In an area where the water quality is unstable it is necessary to install an anti scale water conditio...

Page 47: ...Sanden Heat Pump Service Technical Book Page 47 of 48 12 Wiring Diagram...

Page 48: ...Sanden Heat Pump Service Technical Book Page 48 of 48 Memo...

Reviews: