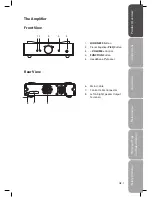
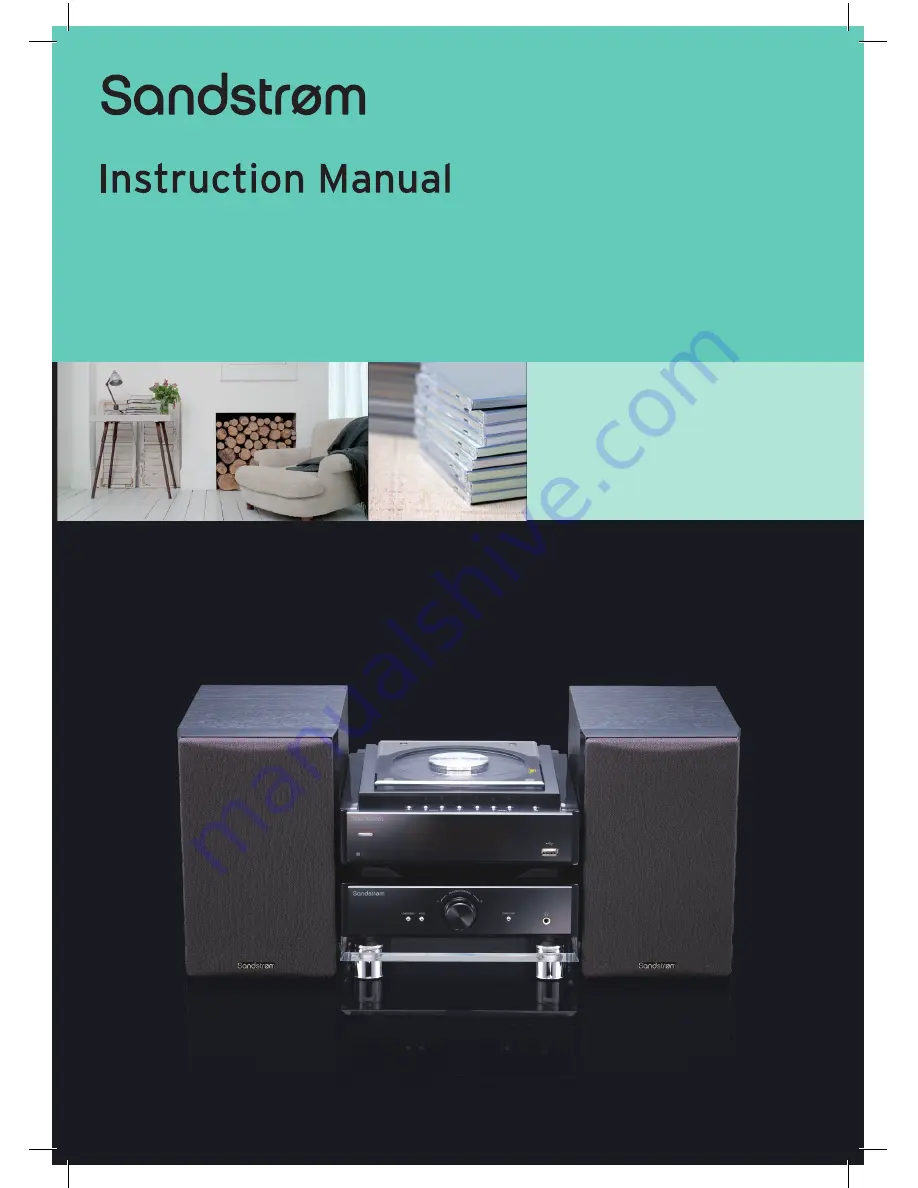
background image

100 Watts Hi-Fi Component System

SHFUSB10

Summary of Contents for SHFUSB10

Page 1: ...100 Watts Hi Fi Component System SHFUSB10...

Page 2: ......

Page 3: ...Remote Control Operation Range 10 Connections 11 Connecting the FM Aerial 11 Speaker Connections 11 Connecting Auxiliary Equipment 11 Connecting Control Cable 12 Connecting to the Mains Supply 12 ECO...

Page 4: ...s 17 Playing the Beginning Intro of each Track 17 Playing Repeatedly 17 MP3 Disc Playing 18 Playing Repeatedly 18 Using the USB 19 Setting the Clock Automatically 19 Setting the Clock Manually 19 Sett...

Page 5: ...UK only Tel 0844 800 3456 for assistance Unpacking Remove all packaging from the unit Retain the packaging If you dispose of it please do so according to local regulations The following items are incl...

Page 6: ...t View 1 Standby Button 2 Remote Sensor 3 Display 4 USB Port 6 7 8 9 10 11 12 13 5 Disc Door 5 3 1 4 2 14 Control Cable Connector 15 Line Out Terminals L R 16 AUX Input Terminals L R 17 FM Aerial Sock...

Page 7: ...ion Hints and Tips and Specification The Amplifier 2 1 3 4 5 1 LOUDNESS Button 2 Preset Equalizer P EQ Button 3 VOLUME Control 4 FUNCTION Button 5 Headphone Socket 6 Mains Cable 7 Control Cable Connec...

Page 8: ...et Button 12 Play Pause Button 13 Album Up Button ALB 14 Album Down Button ALB 15 MUTE Button 16 Number Buttons 17 Open Close Button 18 USB Function Button 19 AUX Function Button 20 Repeat A B Button...

Page 9: ...ompartment When the battery is exhausted the remote control will not function Only use the battery type indicated in this manual Do not dispose of the used battery as domestic waste Dispose of it in a...

Page 10: ...t object Do not place the remote control under direct sunlight or near sources of excessive heat Remove the battery from the remote control when not in use for a long period of time as it could cause...

Page 11: ...below Auxiliary equipment The CD Player 2 Speaker Connections Connect the speaker cables at the back of the speakers to the speaker sockets L R at the rear side of the amplifier 1 FM Aerial 2 FM Aeri...

Page 12: ...below 5 Connecting to the Mains Supply Insert the mains plug into a wall socket Your system is now ready to use 4 Connecting Control Cable Connect the control cable between the CD player and the ampli...

Page 13: ...olume the higher the volume the smaller the bass increase Press the LOUDNESS button on the remote control to obtain the loudness function The LOUD will show on the display Preset Equalizer You can adj...

Page 14: ...equency changes down or up automatically until a station is found Preset Tuning Possible only after presetting stations Press the PRESET button repeatedly to select the desired preset number Its band...

Page 15: ...d data compatible with RDS This radio set offers convenient functions using such data PS Program Service Name When an RDS station is received the RDS and the name of that station will be displayed Whe...

Page 16: ...close the disc door the unit will read the disc and play it automatically 4 Press the button to pause the playback the time elapsed indicator will flash 5 To resume playback press the button again To...

Page 17: ...the Beginning Intro of each Track Press the INTRO button on the remote control to play the beginning of each track consecutively The playing time of each track is 10 seconds When you hear the desired...

Page 18: ...ward or forward 5 Press the ALB button on the remote control to select the next previous album and play the first track of the album If playing has ended press the ALB button on the remote control to...

Page 19: ...cable to the USB output terminal of the USB device For memory cards 1 Insert the memory card into a card reader not supplied to the front of the CD player 2 Use a USB cable not supplied to connect th...

Page 20: ...the remaining sleep time is displayed Wait for a second until the display returns to the original display To cancel the sleep timer setting Press the SLEEP TIMER button repeatedly on the remote contro...

Page 21: ...flashing Press the VOL button to set the daily timer to OFF Press the SLEEP TIMER button again to finish Disconnecting the mains from the unit also cancels the daily timer AUX Input There is a RCA L R...

Page 22: ...ou cannot wipe off the dust with a soft cloth wipe the disc lightly with a slightly moistened soft cloth and finish with a dry cloth Do not use any type of solvent such as thinner benzine commercially...

Page 23: ...s power Make sure you ve selected CD mode Disc in place but the unit won t play Make sure the disc label is facing up Make sure the disc is clean PAUSE mode may be activated deactivate it Disc may be...

Page 24: ...put Power 50 Watts x 2 Unit Dimension 192 W x 250 D x 130 H mm Speaker Box Dimension 127 W x 195 D x 200 H mm N W 6 kg Radio Section Frequency Range FM 87 5 108 MHz Compact Disc Section Optical Pickup...

Page 25: ...ely Withdraw the mains plug and consult your dealer Ventilation To prevent the risk of electric shock or fire hazard due to overheating ensure that curtains and other materials do not obstruct the ven...

Page 26: ...ty Always remove the disc when the unit is not in use Failure to do so will risk severely damaging the disc and the unit Do not stack devices heat from other devices may affect the performance of the...

Page 27: ...lease contact the local authority or your retailer where you purchased the product NOTE If you require a replacement for any of the items listed below please quote their corresponding part numbers Rep...

Page 28: ......

Page 29: ......

Page 30: ......

Page 31: ......

Page 32: ......

Reviews: