background image

Summary of Contents for HDLCDVD220

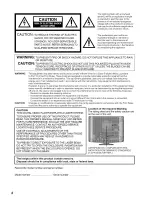
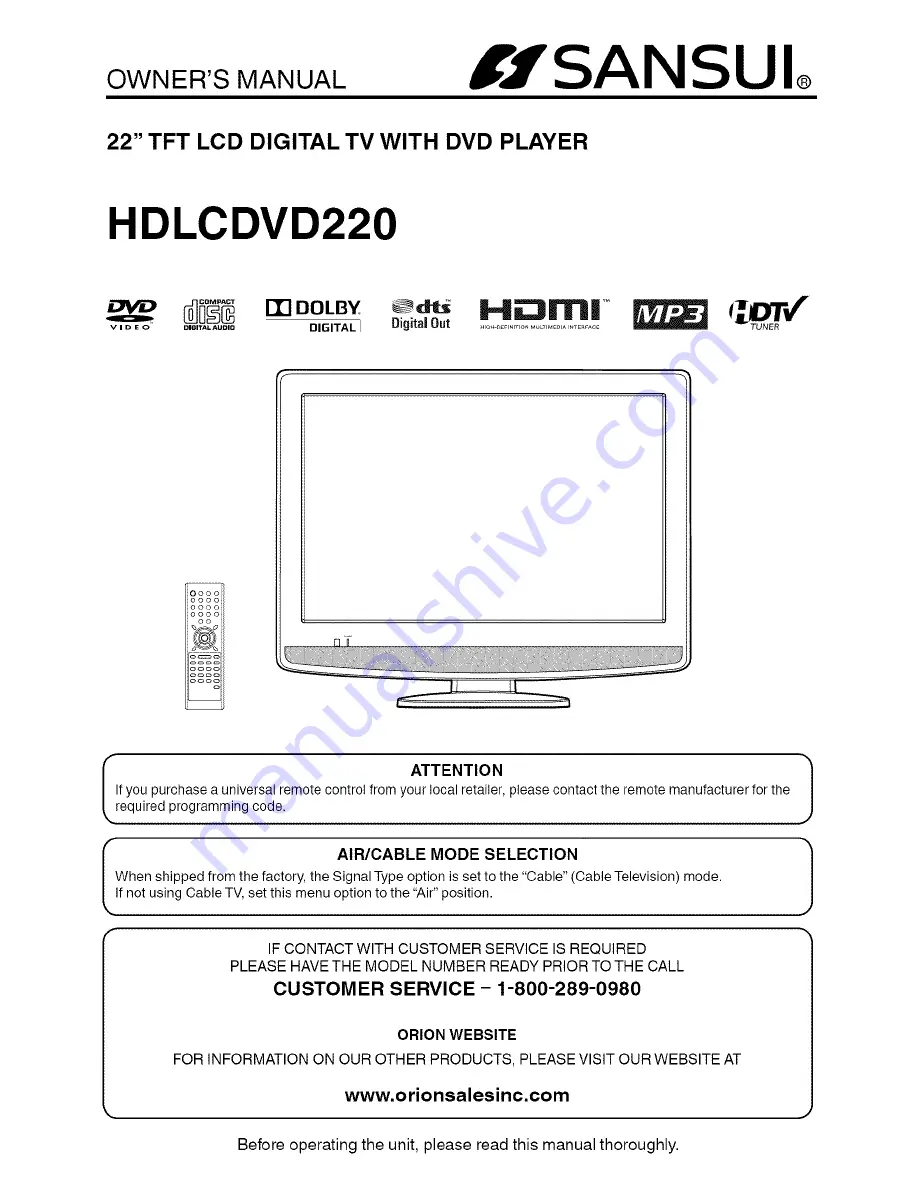
Page 1: ...g code I AIR CABLE MODE SELECTION When shipped from the factory the Signal Type option is set to the Cable Cable Television mode If not using Cable TV set this menu option to the Air position IF CONTA...

Page 2: ...SURE IS OPENED DO NOT STARE INTO THE BEAM This equipment has been tested and found to comply with the limits for a Class B digital device pursuant to Part 15 of the FCC Rules These limits are designed...

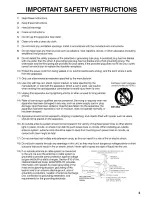
Page 3: ...lled or objects have fallen into the apparatus the apparatus has been exposed to rain or moisture does not operate normally or has been dropped PORTABLE CART WARNING symbol provided by RETAC 15 Appara...

Page 4: ...ning of the product to see the source of the laser beam It may cause eye damage Do not use a cracked deformed or repaired disc These discs are easily broken and may cause serious personal injury and p...

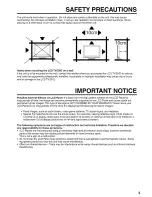
Page 5: ...ANTY Never leave your LCD Panel on for long periods of time while it is displaying the following formats or images Fixed Images such as stock tickers video game patterns TV station Iogos and websites...

Page 6: ...ns Multi Language Maximum 32 language subtitles and maximum 8 language soundtracks can be played back for movies or programs Multi Angle Pictures of Sports or a Live Concert are recorded with many cam...

Page 7: ...cting the HDMI audio input source 24 Adjusting the back lighting 24 Setting the Auto Shut Off 24 Resetting your settings 25 Preparation 25 Status display of disc 25 Playback procedure 26 Special playb...

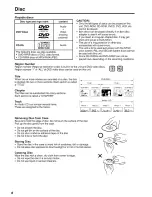
Page 8: ...discs _ Region number 1 or ALl of DVD video discs can be used on this unit Title When two or more movies are recorded on a disc the disc is divided into two or more sections Each section is called a T...

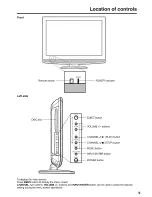
Page 9: ...T button VOLUME buttons CHANNELA I_ PLAY button CHANNELV II STOP button MENU button INPUT ENTER button POWER button To display the menu screen Press MENU button to display the menu screen CHANNEL A V...

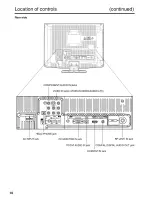
Page 10: ...r side continued COMPONENT AUDIO IN jacks VIDEO IN jacks VIDEO S VIDEO AUDIO L R 1111111111 HEAD PHONE jack AC INPUT jack PC MONITOR IN jack RF ANT IN jack PC DVI AUDIO IN jack COAXIAL DIGITAL AUDIO O...

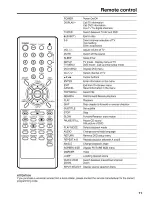
Page 11: ...lect channel of TV D Cursor buttons ENTER Enter information in the menu EXIT Exit from On Screen menu CANCEL Reset information in the menu TOP MENU Select title SEARCH Fast Forward Review playback PLA...

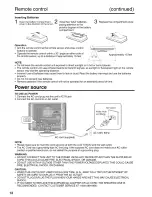
Page 12: ...ot be operated for an extended period of time Power source TO USE AC POWER 1 Connect the AC cord plug into this unit s AC IN jack 2 Connect the AC cord into an AC outlet AC Outtet Wider Hole and_ I 12...

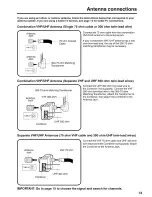
Page 13: ...0 75 ohm matching transformer may be necessary Combination VHF UHF Antenna Separate VHF and UHF 300 ohm twin lead wires 300 75 ohm Matching Transformer Antenkna VHF 300 ohm UHF 300 ohm Combiner Connec...

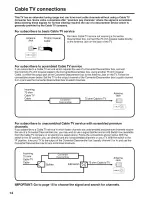
Page 14: ...llow the connections shown below Set the TV to the output channel of the Converter Descrambler box usually channel 3 or 4 and use the Converter Descrambler box to select channels Incoming 75 ohm Anten...

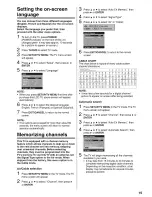
Page 15: ...Press SETUP TV MENU in the TV mode The TV menu screen will appear 2 Press or to select Channel then press or ENTER 3 Press or to select Auto Ch Memory then press or ENTER 4 Press or to select Signal T...

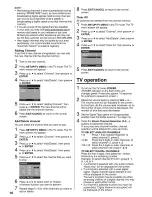
Page 16: ...screen Clear All All channels are deleted from the channel memory Press SETUP TV MENU in the TV mode The TV 2 3 4 menu screen will appear Press or to select Channel then press or ENTER Press or to sel...

Page 17: ...r Channel label if preset V Chip rating Signal type Sleep timer Picture size Audio information Resolution Stereo or SAP Press DISPLAY again to clear the call display NOTE After a few seconds DISPLAY s...

Page 18: ...the desired label for that input source 6 Uses the default label name VCR Video cassette recorder DVD DVD video DTV Digital TV set top box SAT Satellite box CBL Cable box HD HDMI device only for HDMI...

Page 19: ...en press or ENTER The Change Password screen will appear Enter a new password using Number buttons 0 9 then press ENTER Enter the same password again to confirm then press ENTER The password is now re...

Page 20: ...cting Closed Captions the captioning will be delayed approx 10 seconds If no caption signal is received no captions will appear but the television will remain in the Caption Mode Misspellings or unusu...

Page 21: ...Picture Setting menu will appear 4 Press or to select the item you want to adjust Press or to adjust the setting 5 ili ii iii _ _ ii i i i_ ii_ i _ _ _i ii i i_i iii _i_ ii i i ii iii iiiiiiii ii iiii...

Page 22: ...e center of the picture remains near its former ratio The top and bottom edges of the picture may be hidden Cinema Wide2 picture size for letter box programs with subtitles To fill the width of the sc...

Page 23: ...er input modes DNR DNR Digital Noise Reduction can reduce the roughness of the picture This function is available only for analog broadcast 1 Press SETUP TV MENU in the TV mode The TV menu screen will...

Page 24: ...or DVI device you must select HDMI audio input source from HDMI or DVI 4 Press SETUP TV MENU in the TV mode The TV menu screen will appear Press or to select Audio then press or ENTER Press or to sel...

Page 25: ...the AC cord plug is plugged in for the first time wait for about 5 seconds before pressing POWER NOTE When connecting to other equipment unplug the unit from the AC outlet 2 Press POWER on the unit o...

Page 26: ...place a single faced disc label backwards i e the wrong way Reading will appear in the display and then Incorrect Disc will be displayed Some playback operations of DVDs may be intentionally fixed by...

Page 27: ...e digit number e g 01 02 or 001 002 3 Refrain from making too many sub folders CAUTION Some MP3 WMA JPEG CDs cannot be played back depending on the recording conditions The CD R RW that has no music d...

Page 28: ...ously play back all JPEG files automatically 1 2 3 Press SETUP TV MENU in the stop mode Press or to select option then press _ or ENTER Press or to select 3PEG Interval then press _ or ENTER Press or...

Page 29: ...used See A B Repeat playback on page 30 Random playback CD 1 In the file browser press A v _l to select Mode 2 Press ENTER to select Random 3 Press PLAY The Random playback will start To resume norma...

Page 30: ...k with the repeat operation In A B repeat mode subtitles near point A or B may not appear During the A B Repeat Playback the ANGLE feature will not operate You may not be able to set A B Repeat depend...

Page 31: ...ses the subtitle language is not changed to the selected one immediately Changing angles When playing back a disc recorded with multi angle facility you can change the view angle 1 Press ANGLE during...

Page 32: ...picture with black bands at the top and bottom of screen 4 3 E1 Panscan It displays the wide picture on the whole screen with left and right edges automatically cut off 16 9 r Wide A wide screen pict...

Page 33: ...reen Digital Out You can select the digital output sound format corresponding to your system connection 1 Press SETUP TV MENU in the stop mode or No Disc Press or to select ij_ option then press 4 _ o...

Page 34: ...Current Password screen will appear Press Number buttons 0 9 to enter the password you have stored If you input a wrong number press CANCEL 4 Then press ENTER Enter New Password screen will appear Pr...

Page 35: ...Bengali Bangla 1224 Hebrew 1933 Nepali 2415 Telugu 3015 Bhutani 1436 Hindi 1819 Norwegian 2425 Thai 3018 Bihari 1218 Hungarian 1831 Oriya 2528 Tibetan 1225 Breton 1228 Icelandic 1929 Panjabi 2611 Tig...

Page 36: ...o cable only carries the video signal The audio signal is separate NOTE When the S Video cable and the standard video cable are connected at the same time the S Video cable takes precedence Rear of th...

Page 37: ...ou must change the output resolution on the external component Should you require further instruction please contact the manufacturer of the external component Using an AV Amplifier with built in digi...

Page 38: ...he video card of the computer and the other end to the VGA connector PC MONITOR on the rear of the TV DVD Attach the connectors firmly with the screws on the plug In case of a Multimedia computer conn...

Page 39: ...le ignition systems neon lamps or AC powered tools and appliances such as drills or hair dryers GHOSTS Ghosts are caused by the television signal following two paths One is the direct path and the oth...

Page 40: ...eck picture control adjustments 21 Check antenna or Cable TV connections reorient antenna 13 14 Check for sources of possible interference 39 Station or Cable TV experiencing problems tune to another...

Page 41: ...k does not start Check the Parental setup 33 when the title is selected Audio soundtrack and or subtitle language is not Multilingual language is not recorded on the DVD disc 31 changed when you play...

Page 42: ...5 100 125 01 5A S Video Y Input 1 0V p p 75 ohms C Input 0 3 V p p 75 ohms Video RCA 1 V p p 75 ohms Audio RCA 8 dBm 50K ohms Component video Y 1 V p p 75 ohms Pb Pr 0 7 V p p 75 ohms HDMI HDMI compli...

Page 43: ...maged because it is improperly connected to the equipment of other manufacturers This warranty does not cover a Damage tovideo disc b Damage to equipment not properly connected to the product c Costs...

Page 44: ...IIIIIIIIIIIIIIIIMHIIIIIIIII J51H0201A S H 08 04 Printed in Thailand...

Reviews: