background image

Before connecting, operating or adjusting this product, please read the manual completely.

Please keep this manual for future reference.


INSTRUCTION MANUAL


PDP-50XR9DA

PDP TV

Summary of Contents for PDP-50XR9DA

Page 1: ...Before connecting operating or adjusting this product please read the manual completely Please keep this manual for future reference INSTRUCTION MANUAL PDP 50XR9DA PDP TV ...

Page 2: ...y using furniture that can safety support the television Ensuring the television is not overhanging the edge of the supporting furniture Not placing the television on tall furniture for example cupboards or bookcases without anchoring both the furniture and the television to a suitable support Not standing the televisions on cloth or other materials placed between the television and supporting fur...

Page 3: ...nections 9 Basic Operations 13 Memorizing the Channels 16 Channel and Program Selection 20 Timer Setup 27 EPG Operation 29 Teletext Subtitle Troubleshooting 33 Specifications 35 Picture Adjustment 21 Sound Adjustment 22 System Setup 24 Rating and Lock Setup 25 30 Screen setup for D SUB PC Mode 31 Hotel Mode Setup 32 ...

Page 4: ...et and disconnect the cable system 9 Entering of objects and liquids Never insert an object into the product through vents or openings High voltages are present in the product and inserting an object can cause electric shock and or short internal parts For the same reason do not spill water or liquid on the product 10 Servicing Refer all servicing to qualified service personnel Servicing is requir...

Page 5: ...l not be exposed to dripping or splashing and that no objects filled with liquids such as vases shall be placed on the apparatus 19 Clean only with dry cloth Unplug this product from the wall outlet before cleaning Do not use liquid cleaners or aerosol cleaners Use a damp cloth for cleaning 20 Ventilation Do not block any ventilation openings Install in accordance with the manufacturer instruction...

Page 6: ...play the fixed image for extended periods of time C Turn the power off when not in actual use Important Information Regarding Use of Video Games Computers Captions or Other Fixed Image Displays after image Do not allow a still picture to be displayed for an extended period as this can cause a permanent after image to remain on the screen Examples of still pictures include logos video games compute...

Page 7: ...n a leakage of chemicals and or explosion Be sure to follow the instructions below Place batteries with their terminals corresponding to the and indications Different types of batteries have different characteristics Do not mix batteries of different types Do not mix old and new batteries Mixing old and new batteries can shorten the life of new batteries and or cause old batteries to leak chemical...

Page 8: ...mended that the 75 ohm coaxial cable be used to eliminate interference and noise which may occur due to radio wave conditions The antenna cable should not be bundled with the power cord TV REAR RF Antenna Connection Note Power Connection This product should be operated only from the type of power source indicated on the marking label Always unplug the AC cord from power outlet when not using for a...

Page 9: ...ss these two buttons to directly change the TV channel In OSD menu press these buttons to choose the OSD items 4 VOL Press the VOL or VOL button to directly increase or decrease the sound volume level In OSD menu press these buttons to adjust the value or setting of each item 5 MENU Press this button to access Menu main page To access input source select menu POWER 6 SOURCE 7 Press this button to ...

Page 10: ...inputs Video Audio L R Receive video audio signal from external sources such as VCR or DVD player 6 Headphone jack Connect to your headphones 7 COMPONENT 1 2 inputs Connect to the audio and component output jacks of a DVD player or Set Top Box 8 D SUB input Connect to the D SUB AUDIO output jack on your computer 9 HDMI 1 2 3 interface To connect with those equipments with HDMI or DVI interface for...

Page 11: ...splays input source menu LIST Displays the channel list P MODE Selects picture mode 1 2 3 4 5 6 7 8 9 10 11 12 13 14 15 16 17 18 19 20 21 22 Below is teletext control buttons CH Changes channel up and down 8 1 3 4 6 7 8 9 17 18 19 21 2 5 10 12 16 15 14 23 24 25 27 29 31 11 30 26 13 20 22 28 23 24 25 26 27 28 31 Colored buttons RED GREEN YELLOW BLUE Direct access to the colored items or correspondi...

Page 12: ... a Camcorder TV Side or Camcorder PlayStation Cables are often color coded to connectors Connect red to red white to white etc AV cable Connect the Audio Video cables between the Audio L R Video jacks on the unit and camcorder To playback Camcorder The operations of the camcorder may be different and is dependent on your model Please read the user manual of your camcorder to confirm operation 1 Tu...

Page 13: ... the AUDIO input jacks on the unit and AUDIO output jacks on the device TV Side Component video cable Audio cable Cables are often color coded to connectors Connect red to red white to white etc DVD Player Connecting a Computer How to connect 1 Turn on your TV then press SOURCE button The Input Source menu opens 2 Press5 or6 to select D SUB then press OK to confirm 3 Turn on your computer and adju...

Page 14: ...I output only use a DVI to HDMI adapter cable to connect to the HDMI terminal Connect the audio cable to the D SUB AUDIO IN jack on the TV rear Note HDMI cable HDMI output Equipment with TV Side Connecting a VCR for Recording Connect the Audio Video cables between the Audio L R Video jacks on the unit and VCR How to connect 1 Turn on your TV select a program you wish to record 2 Turn on your VCR i...

Page 15: ...excessive levels as hearing damage may result Connecting Headphones TV Left Side Headphones TV Side The S PDIF OUT jack is available only when a digital TV channel is received Note S PDIF IN Coaxial Coaxial audio cable Audio Processor HIFi System or For a full Home Theater sound experience you must connect your Hi Fi or Audio processor to the S PDIF OUT Coaxial terminal on the TV side ...

Page 16: ...u Return Picture Sound Time Option Lock Channel Select Move Menu Return OPTION menu LOCK menu CHANNEL menu Tint 0 Sound Mode User Treble 50 Bass 50 Auto Volume Balance 0 Spatial Off Off Picture Sound Time Option Lock Channel Select Move Menu Return Clock 28 Sep 2008 15 30 Off Time On Time Auto Sleep Sleep Timer Time Zone Off VIC GMT 10 Off Off Off Set Password Block Program Parental Guidance No Bl...

Page 17: ...y Save or Store Dynamic Press OK to confirm the selection The first time you use the TV you need to set up the TV You have installed the batteries in the remote control You have connected the TV to an antenna or cable TV outlet You have connected the power cord 2 Press POWER to turn on the TV After a few seconds the Energy Save Mode screen opens 4 Now the Installation Guide screen will display Hig...

Page 18: ...resolution Subtitle teletext Selecting the Input Signal Source 1 2 3 Press SOURCE button Press 3 4 or OK to confirm the selection Press 6 or 5 to select the input source Options include DTV Watch the DTV signal ATV Watch the ATV signal AV Watch the signal from the AV input terminals Component 1 Watch the signal from the COMPONENT 1 input terminals Component 2 Watch the signal from the COMPONENT 2 ...

Page 19: ...ory 1 Press MENU and the main menu screen displays And before you start Auto Tuning it is necessary to select a country firstly Then the TV begins memorizing all ATV DTV channels available in your area During the process you can press MENU to skip the search or EXIT to stop Auto Tuning Country Selection Australia Cancel Start 3 Highlight Auto Tuning item and press 4 or OK to access 2 Press 3 or4 t...

Page 20: ... picture and sound effect use Fine Tune Navigate to ATV Manual Tuning submenu highlight Current CH item press 3 or4 to select a channel you want to perform fine tune 1 Press 6 to select Fine Tune item and then use 3 or4 button to fine tune until the best possible picture and sound are obtained 2 During the process press EXIT to exit and RED button to save the effect 3 Note Fine Tune is only for an...

Page 21: ...NAME 18 Setting Favorite Channels You can set up favorite channels list so that you can quickly browse through your favorite channels by using Favorite button 1 Navigate to the Channel menu press 5 or6 to select Programme Edit item press 4 or OK to open the Programme Edit menu 2 Use 6 or5 to select your favorite program use AV LIST button to mark the selected program as favorite a favorite symbol ...

Page 22: ...mbol Note 2 3 To skip unnecessary channels After auto search you can skip unnecessary channels so that only the channels you want to watch can be selected by CH CH 1 Select the channel you want to move in the Programme Edit menu To sort channels This function allows you to arrange the channel order Repeat the above steps for each channel you wish to move 2 3 If the Programme Edit menu has more tha...

Page 23: ...seconds or press OK to go directly to that channel When selecting the TV will indicate the channel through the information banner Method 4 Using channel list Press LIST button to display the channel list Use 5 or6 to select a channel and then press OK button If the channel list has more than one page you may press 5 or6 to scroll the page upward or downward Note Method 5 Using favorite channel lis...

Page 24: ...ear Picture Mode Contrast Brightness Sharpness Adjusts image contrast Color Temperature Adjusts screen brightness for easier viewing of dark picture such as night scenes and black hair Adjusts image sharpness and displays a sharp image Selects one of three automatic color adjustments Sets to Warm to enhance hotter colors such as red or set to Cool to see less intense colors with more blue You can ...

Page 25: ...s 50 Auto Volume Balance 0 Spatial Off Off Option Description Sound Mode Selectsadesiredsoundmode YoucanselectfromStandard Music Movie SportsandUser Standard Select for normal programs Note To quickly change the sound mode press the S MODE button repeatedly Movie Select for a movie program Sports Select for a sports program Treble Bass Balance Adjusts Bass low sounds Adjusts Treble high sounds Adj...

Page 26: ...ing a stereo broadcast press the STEREO button to select Stereo or Mono When Mono is selected the TV sound is output monaurally When the TV set is receiving bilingual program press the STEREO button to select DUAL A or DUAL B Bilingual This enables the selection of the reception mode when receiving an IGR signal To let you enjoy IGR broadcasting this TV set receives IGR system stereo and bilingual...

Page 27: ...ce Dolby Digital If the program has MPEG and Dolby Digital tracks select Dolby Digital to output Dolby Digital track in preference PCM Output audio signal by PCM format Audio Preference Only for digital programs Selects the audio track to output You can select MPEG or Dolby Digital Selects the digital audio output mode for S PDIF You can select Auto or PCM Note To select Auto is recommended Note Y...

Page 28: ...d is 0000 2 The Password setup sub menu is used to set a new system password or to change an existing system password By default the system password is 0000 and you may change it To access Parental Guidance to lock or unlock channels to view locked channels etc the system password is required To create a new password Use the number buttons to input a new password 4 digit 5 Input the new password a...

Page 29: ...such that parents may not want their children to view the program M Mature Audience Suitable for mature audience MA Mature Adult Audience May contain mature themes profane language graphic violence and sexual situations AV Adult Audience Strong violence R Restricted viewing Not for children under age 17 Strong elements of sex and or violence Picture Sound Time Option Lock Channel Select Move Menu ...

Page 30: ...ime Press 5 or6 to select Hour or Minute item and press 3 or4 to adjust the value 4 Option Description Volume Mode Program Number Sets desired volume for the On program Selects one source to be viewed through On timer Selects a broadcasting program for On timer After setting On Timer you can press 5 6 3 or4 to navigate through the following three options and adjust the options 5 When finished use ...

Page 31: ... menu press 6 to access Press 3 or4 to select On or Off Press 5 or6 to select Auto Sleep item 2 When there is no signal input for a certain time the unit will turn off automatically You may directly press SLEEP button on the remote control to set sleep timer After you have set sleep timer when the last 30 seconds have come up the Power Off screen will appear to remind you after how many seconds th...

Page 32: ...YELLOW button again to exit Use 5 6 3 or4 to navigate among the channels and program events and press INFO button to get more detailed information if available about the programme you choose If you want to switch between TV and Radio programmes please press TV Radio 2 3 Operation Press OK to tune to the channel you have selected To clear the EPG window press EXIT button or EPG button Note The EPG ...

Page 33: ...n sub pages which are automatically displayed successively This button is used to stop or resume sub page acquisition Reveal button Press the button to reveal the concealed information such as games solutions Press the button again to hide the information Size button Press this button several times to display the upper then the lower part of the screen and then return to the normal size teletext p...

Page 34: ...ust an option To confirm press OK Press MENU and the main menu screen displays 2 5 Vertical Position Moves the image on the screen up or down Press MENU to return to previous menu Press EXIT to exit the menu screen directly 3 Within the menu press 5 or 6 to scroll through the page upward or downward until you select the Screen item then press 4 or OK to access Press 3 or4 to select the Picture men...

Page 35: ...o select On to lock the Channel menu and Lock Tuning item in Lock menu Select Off to release Press 3 4 to select On to lock the input source of the unit to AV Select Off to return to normal operation Press 3 4 to select On or Off When the Panel Lock is set to On buttons on the control panel on the main unit are not active To restore please set it to Off Note When the item is set to On the Channel ...

Page 36: ...ges Make sure the power cord is plugged in Press POWER on the TV or on the remote control Try another channel it could be station trouble Select a proper picture mode Adjust the brightness in the video setting Check the antenna connections Adjust the color saturation in the video setting Check the antenna connections Try another channel it could be station trouble Adjustthe antenna Movethe TVawayf...

Page 37: ...act and may be accompanied by a slight creaking noise This is not a malfunction Control buttons do not operate Disconnect the power cord and wait for a few seconds Then re plug the power cord and turn on the unit again If your problem is not solved turn your unit off and then on again Never attempt to repair a defective TV yourself Cautions Note Some settings such as volume setting etc may not be ...

Page 38: ...y AC220 240V 50 60Hz Power Consumption 350W Dimensions mm 1220 W x 867 H x 370 D Unit Weight kg 46 Specifications Design and specifications are subject to change without notice Note 35 TV System Analogue CCIR PAL B G NTSC AV Digital DVB T 2K 8K OFDM ...

Page 39: ... display Do not move or handle this product from the speaker whichcancausedamagetothedisplaynotcoveredunderthemanufacturer swarranty Install the Stand 1 Place carefully the display on its front side using a soft cloth blanket or cushion to protect its surface from scratching Only use a stable table counter or stand to perform this work 2 Align the holes on the stand with the holes in the stand col...

Page 40: ...5944036070 Ver 1 0 ...
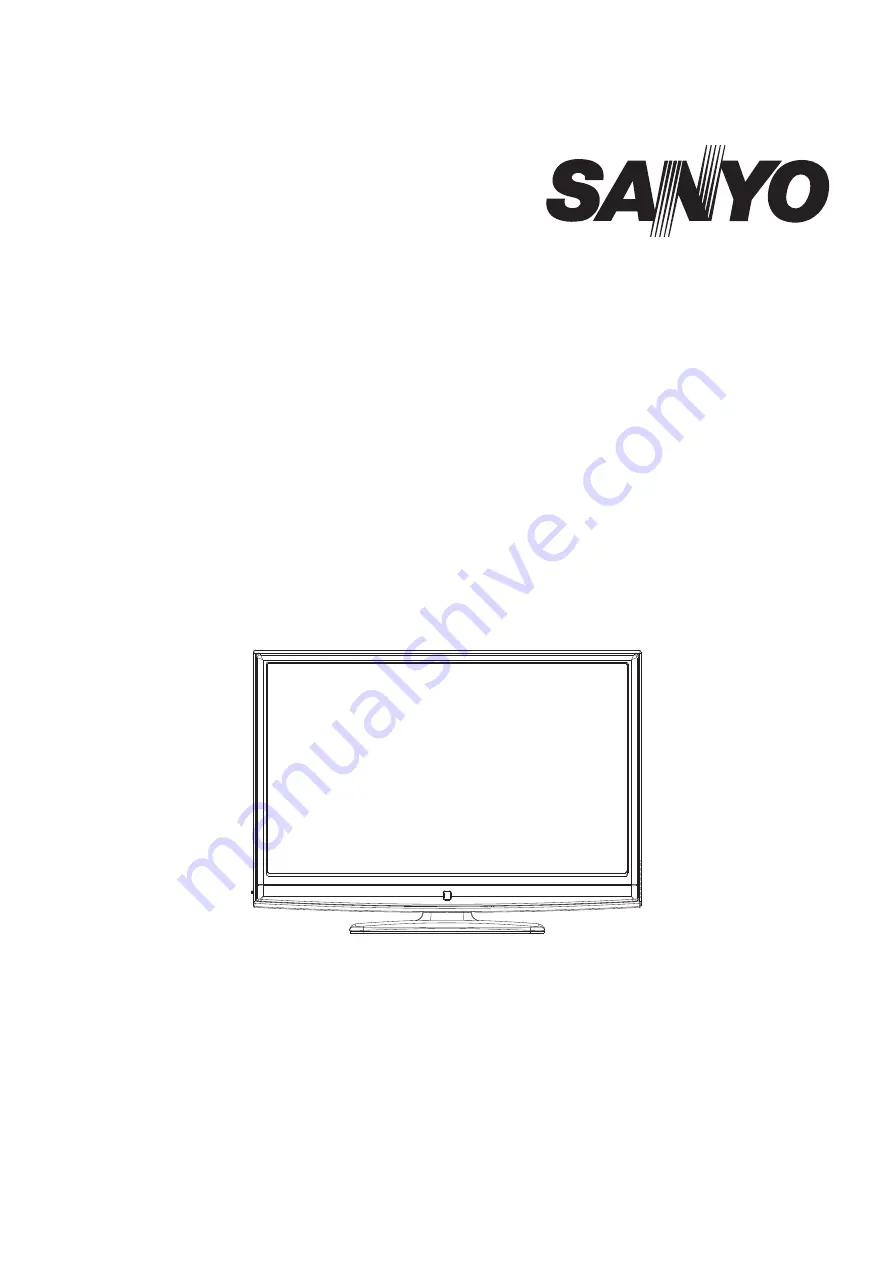
Reviews: