Contents
Page
IMPORTANT!
Please Read Before Starting
..................................
2
1. GENERAL
..........................................................
3
1-1. Tools Required for Installation (not supplied)
1-2. Accessories Supplied with Unit
1-3. Optional Copper Tubing Kit
1-4. Type of Copper Tube and Insulation Material
1-5. Additional Materials Required for Installation
2. INSTALLATION SITE SELECTION
...................
4
2-1. Indoor Unit
2-2. Connecting Indoor Units
2-3. Outdoor Unit
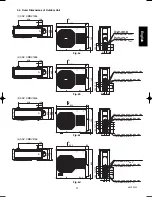
2-4. Outer Dimensions of Outdoor Unit
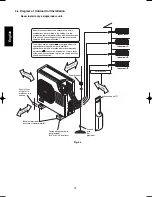
2-5. Diagram of Outdoor Unit Installation
3. INSTALLATION PROCESS
..............................
13
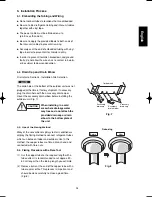
3-1. Embedding the Tubing and Wiring
3-2. Drain Cap and Drain Elbow
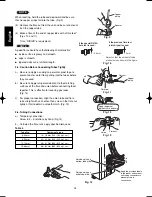
3-3. Use of the Flaring Method
3-4. Flaring Procedure with a Flare Tool
3-5. Caution Before Connecting Tubes Tightly
3-6. Tubing Connections
3-7. Insulation of Refrigerant Tubing
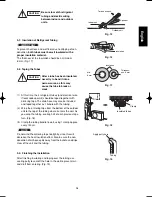
3-8. Taping the Tubes
3-9. Finishing the Installation
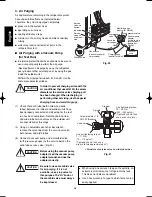
4. AIR PURGING
...................................................
16
!
Air Purging with a Vacuum Pump (for Test Run)
!
Pump Down
5. WIRING INSTRUCTIONS
.................................
19
5-1. General Precautions on Wiring
5-2. Recommended Wire Length and Diameter
5-3. Wiring System Diagram
5-4. How to Connect Wiring to the Terminal
5-5. Wiring Instructions for the Outdoor Unit
6. TEST RUN
.........................................................
23
7. CONNECTING A HOME AUTOMATION
DEVICE
.............................................................
24
8. INSTALLATION CHECK SHEET
......................
24
9. ELECTRIC WIRING DIAGRAM
.........................
24
INSTALLATION INSTRUCTIONS
Model Combinations
Combine indoor and outdoor units only as listed below.
Indoor Unit
Outdoor Unit
Combine indoor and outdoor units only as listed in
the combination tables for 2-room, 3-room or
4-room outdoor unit as shown in its respective
manual.
Power Source:
50 Hz, single-phase, 220 – 240 VAC
– Inverter Multi Split System Air Conditioner –
COOL/DRY/HEAT Model
This air conditioner uses the new refrigerant R410A.
Be sure to read the yellow instruction sheet
attached to the outdoor unit for models using the
new refrigerant R410A.
The illustrations are based on the typical appearance of
a standard model. Consequently, the shape may differ
from that of the air conditioner that you are installing.
NOTE
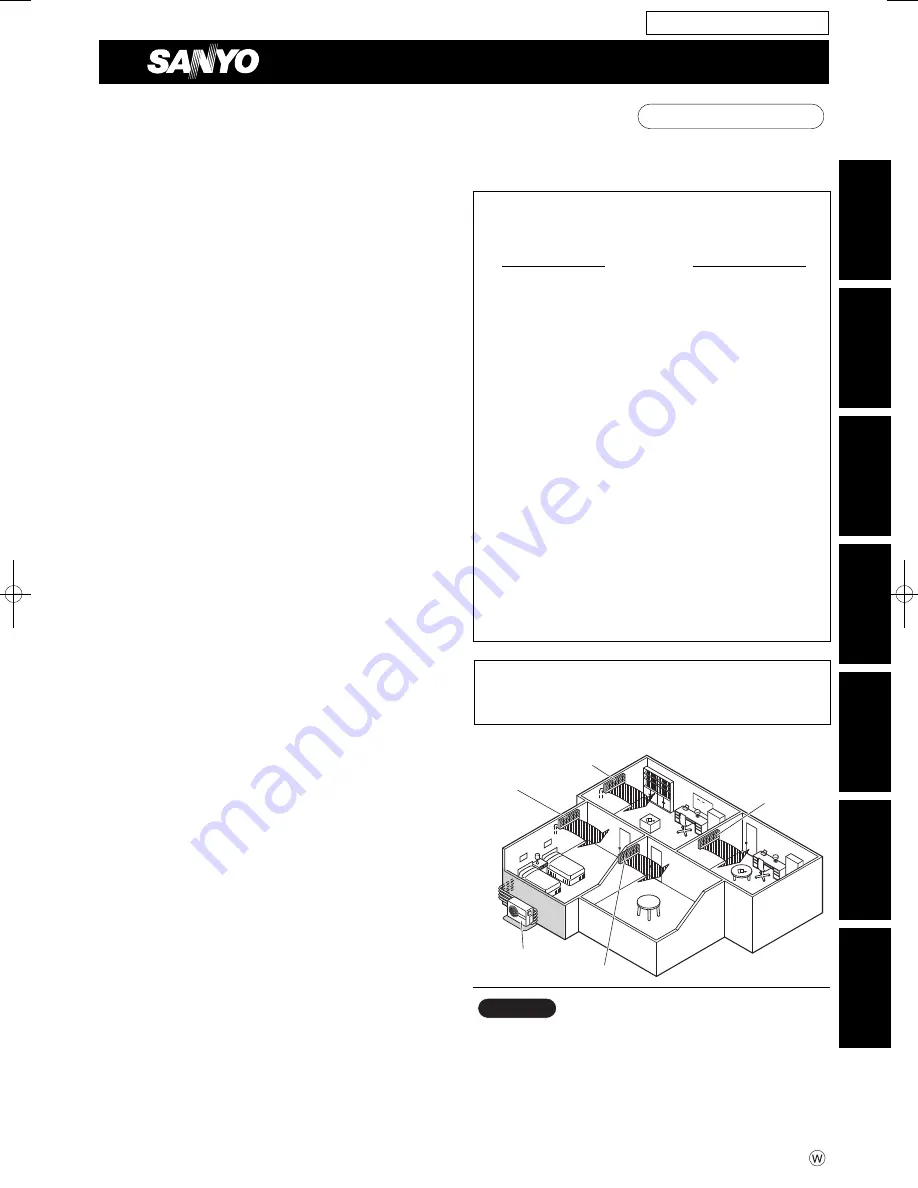
Indoor unit A
Indoor unit B
Indoor unit C
Indoor unit D
Outdoor unit
Combination example
For Outdoor Unit
85264190
442
002 © SANYO 2008
SANYO Electric Co., Ltd.
Osaka, Japan
Español
Français
Deutsc
h
Italiano
Po
rtu
g
u
ês
EE
ÏÏ
ÏÏ
ËË
ÓÓ
ÈÈÎÎ
¿¿
English
SAP-KMRV74EH
SAP-KMRV94EH
SAP-KMRV124EH
SAP-KMRV76EH
SAP-KMRV96EH
SAP-KMRV126EH
SAP-KRV96EHDS
SAP-KRV126EHDS
SAP-KRV184EH
SAP-KRV244EH
SAP-KRV186EH
SAP-KRV246EH
SAP-CMRV1926EH
SAP-CMRV1936EH
SAP-CMRV2446EH
SAP-CMRV3146EH
08-253 CMRV3146EH_OU EN 10/14/08 2:39 PM Page a


