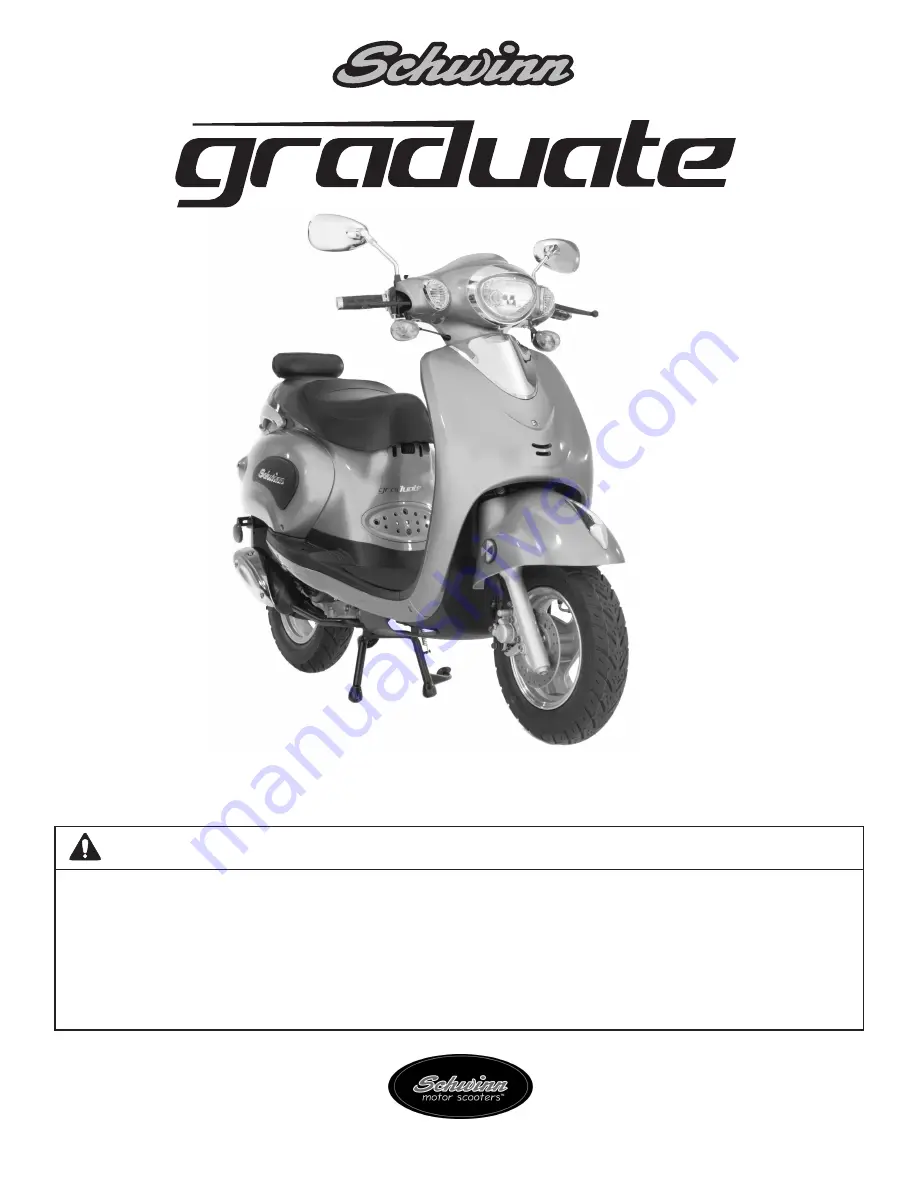
background image

Gas-powered Scooter

Model 50GR06BL and 50GR06SV

WARNING

• READ ALL WARNINGS AND ASSEMBLY/USE INSTRUCTIONS. KEEP THIS MANUAL WITH THE SCOOTER FOR FUTURE

REFERENCE. 

• SEVERE INJURY OR DEATH can result if you do not follow the instructions in this manual.
• Maximum loading: 225 lbs. (102 kg).
• ALWAYS wear a Department of Transportation (DOT) approved motorcycle helmet when operating this scooter. 
• This scooter is designed to hold only the driver. NEVER carry a passenger on the scooter.   
• THIS SCOOTER HAS A 4-STROKE ENGINE AND REQUIRES UNLEADED 90 OCTANE OR HIGHER GASOLINE, WITHOUT

METHANOL ADDITIVES. 

®

www.schwinnscooters.com

®

Summary of Contents for Graduate 50GR06BL

Page 1: ...o not follow the instructions in this manual Maximum loading 225 lbs 102 kg ALWAYS wear a Department of Transportation DOT approved motorcycle helmet when operating this scooter This scooter is designed to hold only the driver NEVER carry a passenger on the scooter THIS SCOOTER HAS A 4 STROKE ENGINE AND REQUIRES UNLEADED 90 OCTANE OR HIGHER GASOLINE WITHOUT METHANOL ADDITIVES www schwinnscooters c...

Page 2: ... Electric Start 9 Breaking In the Scooter 10 Riding the Scooter 10 Entering Roadways 10 Acceleration and Deceleration 10 Braking 10 Parking 10 Routine Care and Maintenance 11 Refueling 11 Tire Maintenance 11 Rear Drum Brake Adjustment 12 Check Rear Drum Brake Shoe Wear 12 Check Front Disc Brake Fluid Level 12 Check Front Disc Brake Pad Wear 12 Adding Engine Oil 13 Changing Engine Oil 13 Adding Tra...

Page 3: ...____________________ If you experience problems are missing parts or need service or repairs for your scooter contact your local dealer Engine 4 Stroke Air Cooled Dispacement 49 5 cc Cylinders 1 Starter Electric and Kick Transmission Automatic CVT Transmission Oil Multi weight SAE 85 90 Transmission Oil Capacity 4 1 oz 0 12 liter Front and Rear Tires 3 50 10 Tire Pressure 26 psi Front 29 psi Rear ...

Page 4: ...ct the scooter before riding to make sure it is in safe operating condition Refer to Before Every Ride on page 8 and Routine Care and Maintenance on page 11 NEVER leave the key in the ignition after riding the scooter Keep the key in a safe place to prevent unauthorized use of the scooter NEVER modify the scooter Modification of this scooter could lead to an accident resulting in SERIOUS INJURY OR...

Page 5: ...shoes when driving the scooter Wear long sleeves and pants to cover arms and legs for protection Avoid loose clothing that could get caught in the scooter Use gloves designed for use on motorcycles They will offer protection to your hands and allow the full use of all controls STAY VISIBLE ON THE ROAD ALWAYS be aware of other vehicles on public roads Many accidents are caused when drivers of cars ...

Page 6: ...Features 4 CONTROLS Headlight Seat Lock left side Seat Storage Compartment under seat Spark Plug Access Panel Muffler Battery Fuse Compartment Engine Oil Cap and Dipstick Engine Oil Drain Plug Center Stand Rear View Mirror High Beam Low Beam Rear Brake Lever Horn Button Turn Signal Switch ...

Page 7: ... Filter Housing Kickstarter Brake Master Cylinder Right Turn Signal Fuel Cap Tail Light Right Turn Signal License Plate Bracket Transmission Oil Cap Transmission Drain Plug Rear Drum Brake Adjustment Nut INSTRUMENTATION High Beam Indicator Right Turn Signal Indicator Fuel Gauge Left Turn Signal Indicator Speedometer Odometer ...

Page 8: ...way Insert the ignition key and turn to the left counter clockwise To lock the fuel cap turn the key to the right clockwise ENGINE STOP SWITCH AND STARTER BUTTON RIGHT HANDLEBAR ON Move the switch to the ON position to allow the engine to start The engine will not start in the OFF position OFF Move the switch to the OFF position to shut down power to the electrical system Use this feature only whe...

Page 9: ...end the center stand and park the scooter grasp the left handlebar grip and the luggage rack with your right hand Place your right foot on the foot peg of the center stand and push straight down The rear wheel will raise slightly as the scooter comes to rest on the center stand To retract the center stand grasp both handlebar grips and push the scooter forward NOTE Be sure your feet and legs are c...

Page 10: ...s the front tire should be inflated to 26 PSI and the rear tire should be inflated to 29 PSI Make sure there are no cuts punctures or excessively worn tread on the tires Refer to Tire Maintenance on page 11 for details CHECK THE REAR VIEW MIRRORS Make sure the mirrors are clean secured and adjusted properly so you can have a clear view of vehicles behind the scooter 8 Starting the Scooter WARNING ...

Page 11: ...ally takes about 2 to 3 minutes Retract the kick starter foot peg to its original position before driving Grasp both handlebar grips and push the scooter forward to retract the center stand under the scooter Mount the scooter Use the kick starter to start the scooter or prime the engine in the following situations If the scooter has been driven less than 100 miles 160 kilometers In cold or wet wea...

Page 12: ...ear flammable materials Engage the steering lock to prevent theft see instructions on page 6 Breaking In the Scooter For the first 100 miles 160 kilometers it is recommended that you kick start the scooter or use the kick starter to prime the engine force fuel into the carburetor prior to using the electric starter This preserves battery life and reduces wear to the electric starter during the bre...

Page 13: ... ARE EXTREMELY FLAMMABLE AND EXPLOSIVE AND CAN CAUSE SEVERE BURNS OR DEATH Keep gasoline away from open flames sparks pilot lights or other sources of ignition NEVER smoke while refueling the scooter Fill fuel tank outdoors or in a well ventilated area If fuel spills DO NOT start engine until the spilled fuel has evaporated and vapors have dissipated Make sure the fuel lines tank and cap do not ha...

Page 14: ...e minimum allowed thickness of 0 06 1 5 mm The brake drum must never measure larger than 3 892 99 0 mm in diameter CHECK FRONT DISC BRAKE FLUID LEVEL Locate the front brake master cylinder under the housing near the right handlebar Fig 4 If the fluid level in the window is at or below the low level mark take the scooter to your dealer for service CHECK FRONT DISC BRAKE PAD WEAR As the disc brake p...

Page 15: ...ructions on the proper disposal of used oil ADDING TRANSMISSION OIL Inspect the rear drive area for signs of oil leakage If you suspect the level is low you may need to add transmission oil Using a wrench unscrew the transmission oil cap found on top of rear drive assembly beside the rear wheel refer to photo on page 5 There is no gauge or dip stick to measure the transmission oil level The transm...

Page 16: ... secure it with the screws REPLACING THE BATTERY The scooter battery will need to be replaced if The battery has completely discharged The battery has leaked The battery casing is cracked or damaged Contact your dealer to purchase a new battery Use of an unauthorized battery will void the warranty Follow the instructions above for accessing and removing the battery Lower the new battery into the c...

Page 17: ...he battery door Locate and open the fuse case You will see two fuses one is in use and the other is a spare Inspect the fuse for broken wires If you find a blown fuse remove it Insert a new fuse making sure it fits snugly into the socket A loose connection will cause electrical problems and possibly overheat the fuse contacts ALWAYS replace the fuse with a new fuse of the same amperage rating DO N...

Page 18: ... attempting to restart the scooter 8 The battery may be discharged Use the kick starter see Starting the Scooter page 9 or charge or replace the battery see Replacing the Battery page 14 Poor engine power or poor fuel economy 1 The air filter may be dirty see Cleaning or Replacing the Air Filter page 15 2 The spark plug may need to be adjusted or replaced see Replacing the Spark Plug page 15 3 The...

Page 19: ... X X Turn Signal X X X Brake Light X X X Headlight X X X Nuts Bolts and Screws X X X EMISSION CONTROL DEVICES AND SYSTEMS Contact your dealer for all inspections repairs and major routine maintenance of the follwing items at the recommended intervals 600 miles At 2 500 miles 4 000 km At 5 000 miles 8 000 km Item 960 km or 6 months or 6 months Fuel System Carburetor Assembly X X X Intake System Air...

Page 20: ... from state to state Limited Warranty TAMPERING WITH THE NOISE CONTROL SYSTEM IS PROHIBITED Federal law prohibits the following acts or the causing thereof 1 The removal or rendering inoperative by any person other than for purposes of maintenance repair or replacement of any device or element of design incorporated into any new vehicle for the purpose of noise control prior to its sale or deliver...

Reviews: