For the full manual, visit the link below:
sealite.com/3-5nm-stand-alone-marine-lantern/
Quick Start Guide
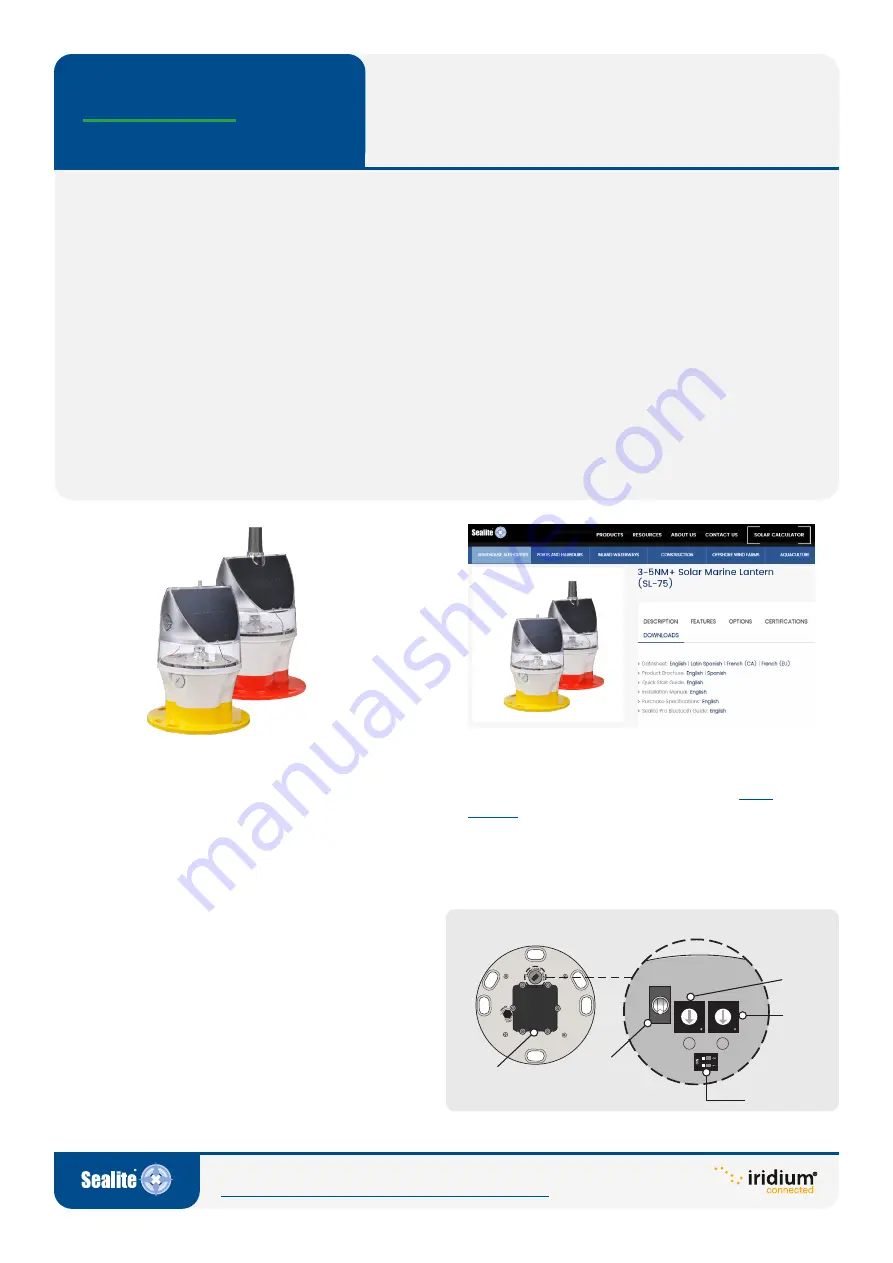
SL-75
Thank you for purchasing this product.
This guide will
provide you with a brief summary of the steps involved in
successfully installing the SL-75 compact marine lantern.
Your system will consist of:
1 x SL-75 marine lantern, switch key and IR Programmer.
Other tools required to successfully set up this product, are:
• Internet connection
• Star2M
®
portal access for GSM & satellite devices
• SealitePro for Bluetooth Connectivity
Introduction
The purpose of this quick start guide is to present a brief summary of the steps involved in the installation
of the SL-75 compact marine lantern, from the physical installation of the product itself to configuration into
Star2M for GSM and satellite connected devices.
Step 1: Installing the SL-75 lantern
Remove the SL-75 marine lantern, switch key and
IR programmer from the packaging.
Carefully place on a solid work surface.
Step 2: Visit Sealite website
Visit www.sealite.com and download the
User
from the Sealite website. This document
provides in depth information on how to fully
configure your SL-75 compact marine lantern.
Step 3: Power the unit
Use the switch key to remove the SL-75 bung to
access the ON/OFF toggle switch.
Refer to Diagram 1.
Use the switch key to switch ON the SL-75 and
place the SL-75 bung back on the base.
4
5
6 7
8 9 A
B
C
D
EF0
12
3
4
5
6 7
8 9 A
B
C
D
EF0
12
3
A
B
ON
OFF
Rotary
Switch A
Rotary
Switch B
Intensity Setting
ON / OFF
Switch
User Replaceable Battery
Diagram 1 - Lantern Base


