GUARDING SYSTEM
INSTALLATION MANUAL
600, 900, 1200 GUARDING
Patented Design
AS/NZS
4024.3610
STRENGTH
TESTED
EASY
INSTALLATION
MODULAR
SYSTEM
COST SAVING
UP TO 30%
A PRODUCT OF
Safety & General
Information
This Installation Manual is provided as an assembly guide for the Sentry Guarding System. Refer to the
Design Guide for recommended layouts for various job site conditions. The product may be unstable
during installation until fully assembled. Proper safety measures must be taken at all times. Product may
fail and void warranty if installation does not comply with standards, design guide and drawings.
Sentry Guarding System has been designed and tested to comply with:
AS/NZS 4024.3610 - Safety of Machinery - Conveyors.
Tools
• 17mm ring spanner
• Riveter Blindnut Kit (M10)
• Rivet Gun
• 6mm Hex Key
Personal Protective Equipment
• Safety Glasses
• Protective Gloves
• Safety Footware
Equipment Required:
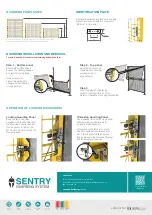
Step 1
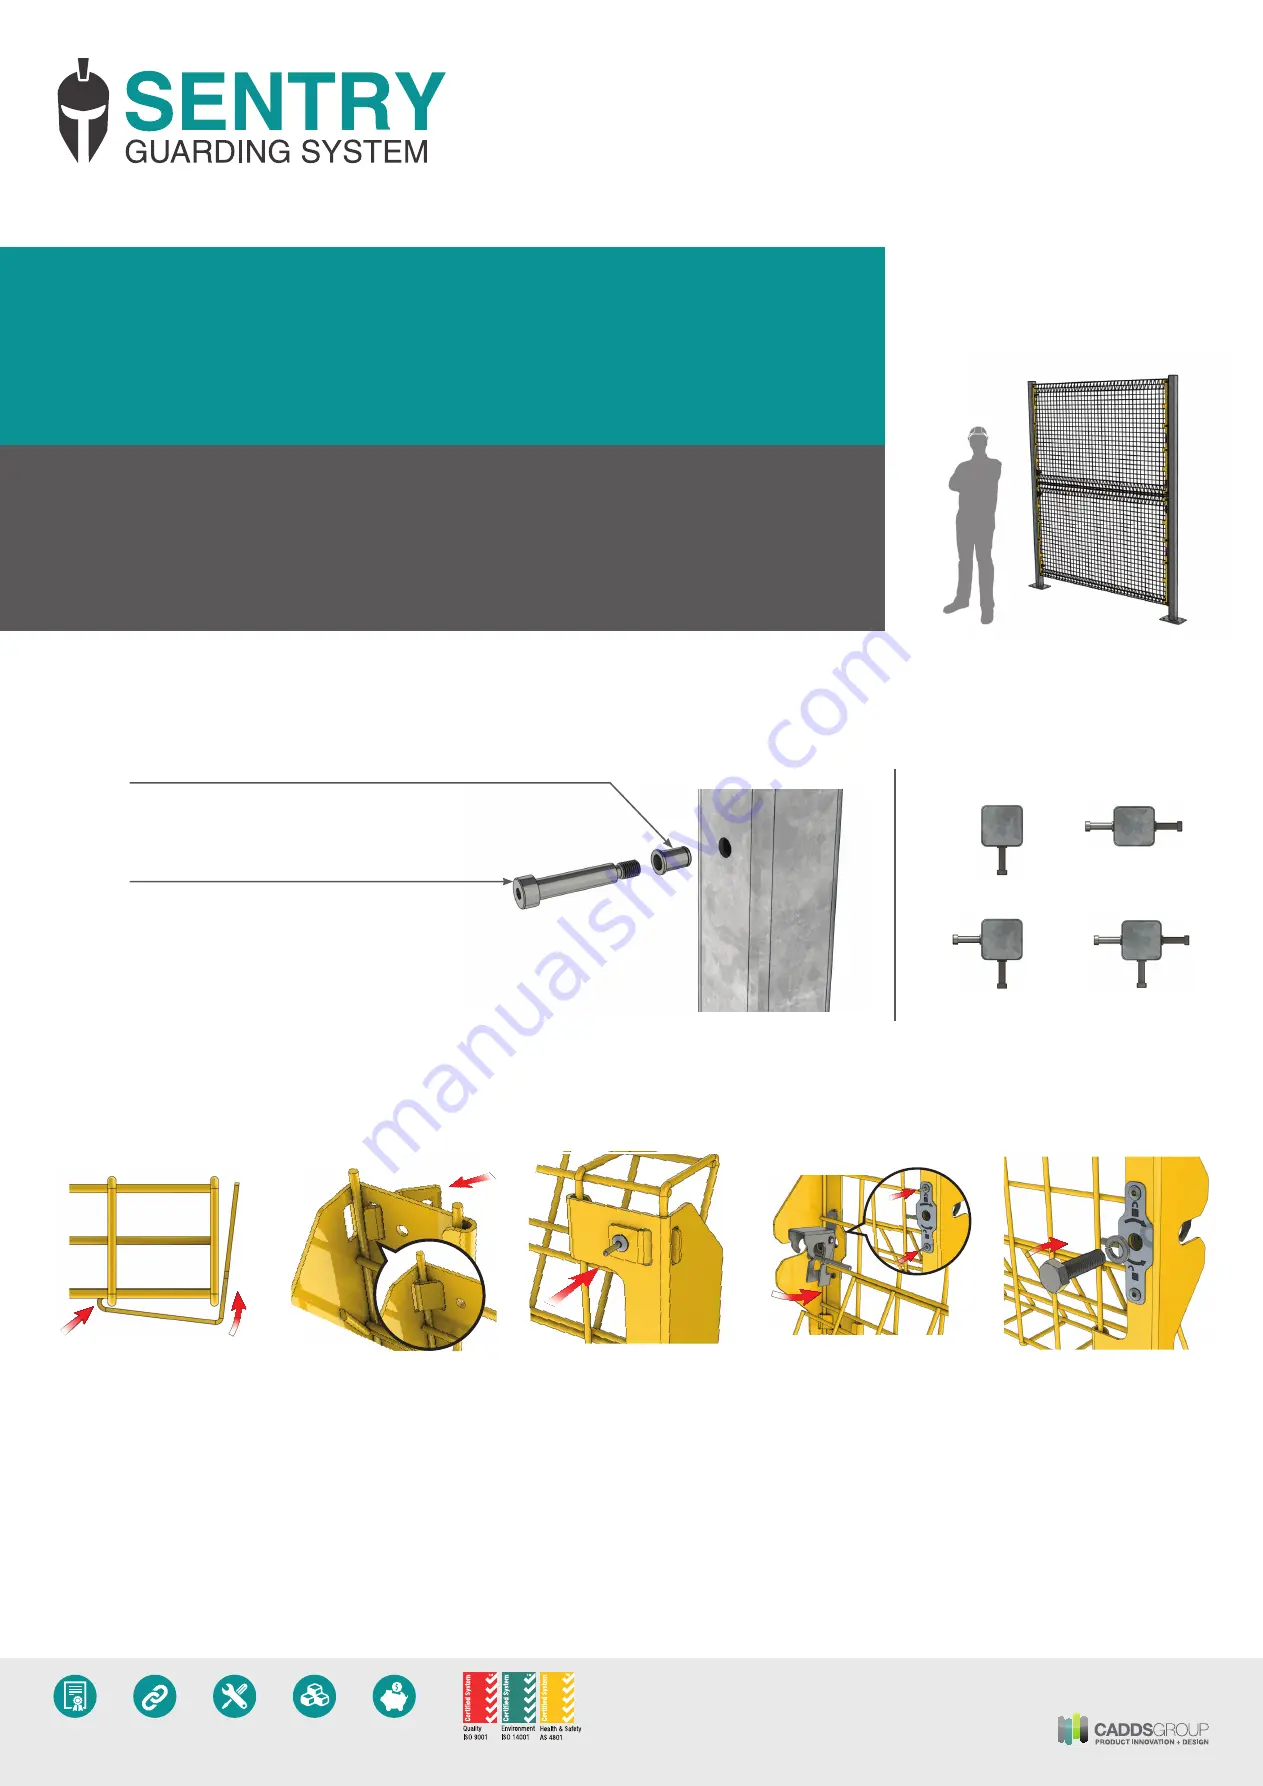
Install M10 Rivet nut using Blindnut Riveter.
Step 2
Tighten mild steel shoulder bolt M10 x 12 x 50LG /
Stainless Steel shoulder bolt (Part No:
SGS10-12-50SS
)
to 44.7Nm using hex key.
Note: Mild Steel shoulder bolt should be hot dip
galvanised in place with post.
POST ASSEMbLY
GUARDING ASSEMbLY
Post Configurations:
90
°
layout
180
°
layout
T - layout
Single layout
b
A
Step 1
Engage all bracket hooks
onto wire mesh B and
swing bracket to align
with the side of the mesh
panel.
Step 3
Secure mesh locking tabs
using 6.4 stainless steel
rivets (Ø4.8mm, 6.4mm
grip).
Step 4
Slide top tab of latch
assembly between wire
mesh and bracket.
Locate front washer on
front face and secure with
6.4 stainless steel rivets.
Step 5
Screw M10 bolt with
spring washer, half way
into latch assembly.
Step 2
Insert all four mesh
locking tabs into allocated
slots.


