1
Rear Outlet Toilet Installation Instructions
INSTRUCTIONS
For the following installation instructions for your
new toilet it is assumed that any old fixtures have
been removed and that the toilet flange is in the
proper location for installation (refer to
specification sheet).
Unpack and inspect the product for any shipping
damages. If you find damages, do not install.
Contact Customer Service at 1-866-855-2284.
If you need assistance or have questions while
installing your toilet, contact Customer Service.
We recommend consulting a professional if you
are unfamiliar with installing bathroom fixtures.
Signature Hardware accepts no liability for any
damage to the floor, walls, plumbing or for
personal injury during installation.
Shut off the water supply lines where the new
toilet is being installed.
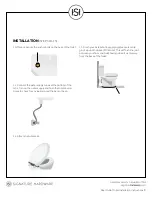
1. If you are installing a two-piece toilet, slide the tank bolts
through the mounting holes on the top of the base of the
toilet and thread the washers and nuts onto the tank bolts.
Verify that the tank is level and alternately tighten the
washers and nuts until the tank is resting firmly on the bowl.
If your toilet is one piece only, move on to the next step.
2. Place the toilet in the location where it will be installed.
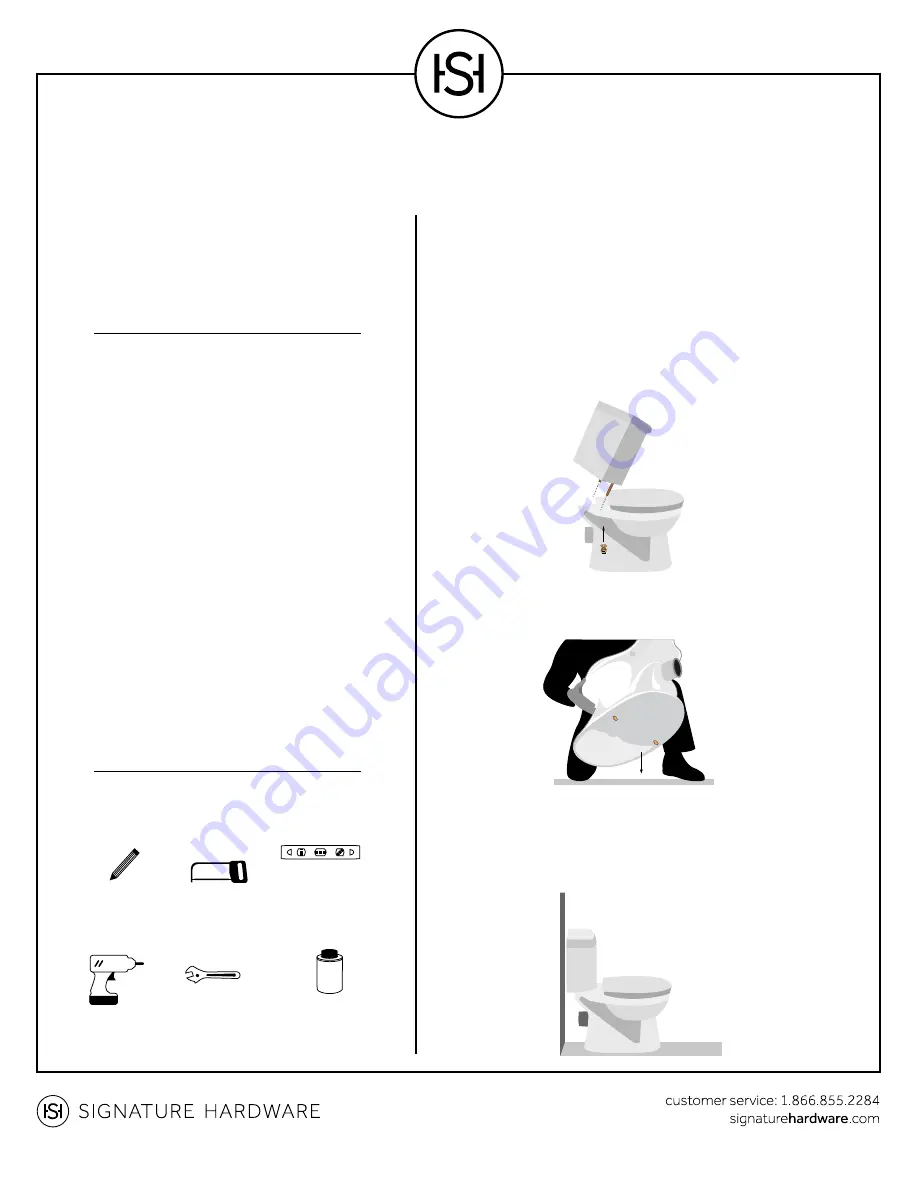
3. Measure the distance from the back of the waste outlet
on the toilet to the wall hub fitting to determine the length
of the p-trap connector. The connector should extend
approximately 1-1/2" into the hub fitting.
TOOLS AND MATERIALS:
INSTALLATION
Read entire Rear Outlet Toilet Installation
Instructions. Observe all local building and
safety codes.
BEFORE INSTALLING
REAR OUTLET TOILET
Pencil
Drill
Level
Adjustable
Wrench
Hacksaw
PVC Glue