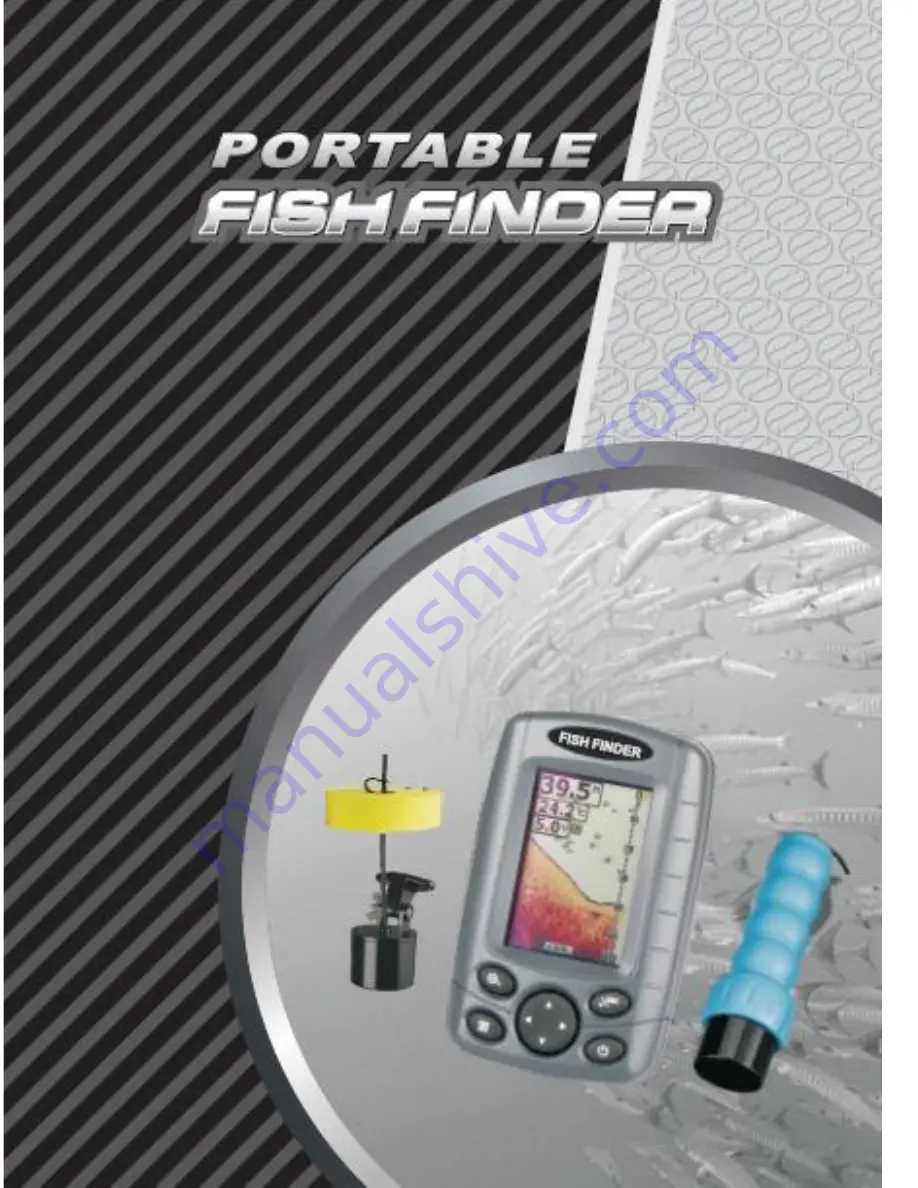
background image


Summary of Contents for FF-003

Page 1: ......

Page 2: ......

Page 3: ...r On Off 6 Sonar View 7 Sonar View 200KHz 7 Sonar View 83KHz 8 Split Sonar View 200 83KHz 9 Sonar Zoom View 9 Sonar Zoom View 200KHz or 83KHz 9 Split Zoom Sonar View 200 83KHz 10 Manual Zoom 11 Auto Z...

Page 4: ...ry Alarm 19 Transparency 19 Volume 20 Keel Offset 20 Sonar Chart Mode 20 Surface Clarity 21 Noise Rejection 22 Language 22 Floating Transducer 23 Fixing the Transducer 23 Fishing at the Boat 25 Fishin...

Page 5: ...gy this fish finder is the ideal tool to bring the fish to you How Sonar Works Sonar technology is based on sound waves The system uses sonar to locate and define structure bottom contour and composit...

Page 6: ...in V240xH160 White LED 240ft 73M 2ft 0 6M Sonar Frequency 200 83KHz Duel Beam Power Input 4 AAA Alkaline Batteries Audible Alarms Fish Shallow Low Battery Operational 20 70 C Water Temperature Indicat...

Page 7: ...e the battery door and insert 4 AAA batteries to the battery compartment Be certain to align the batteries as per the diagram within the battery compartment Connecting the Transducer Cable Align the p...

Page 8: ...Key Up Lower Left Right Power On Off Press and release Power Key to power the unit On the Loading Page is displayed first After a few seconds the unit start to work Press and hold Power Key until the...

Page 9: ...s Sonar View When the unit starts working you can press the View Esc Key to switch between different frequencies 200KHz 83KHz 200KHz 83KHz Sonar View 200KHz 4 5 1 2 6 3 7 8 11 10 9 1 Water Depth Reado...

Page 10: ...t Singal Graph The CSG window always updates at the fastest rate possible for all echoes to short horizontal lines on the display s far right side Sonar View 83KHz 1 2 3 6 4 5 1 Water Depth Readout 83...

Page 11: ...ed the normal operation Sonar Zoom View 200KHz or 83KHz In the 200KHz or 83KHz Sonar Zoom View the display is split to show the full range view on the right and the zoomed view on the left The full ra...

Page 12: ...onar Zoom View 83KHz Split Sonar Zoom View 200KHz 83KHz In the 200KHz 83KHz Sonar Zoom View the display is split to show the 200KHz zoomed view on the right and the 83KHz zoomed view on the left The f...

Page 13: ...in screen Press the Down or Up Key can manually adjust the Zoom Preview Box changes up or down along Auto Zoom When the Depth Range is set to Auto then press the Zoom Key the Zoom Preview Box are auto...

Page 14: ...he Power Key again the screen chart will be recovered Accessing Menu Features The Menu Key is used to access the menu system When you press the Menu Key once the menu system immediately appears on the...

Page 15: ...u want to see more detail try increasing the sensitivity a little at a time There are situations when too much clutter appears on the screen Decreasing the sensitivity can reduce the clutter and show...

Page 16: ...cific value to locks the depth range to a specific setting NOTE In manual operation if the depth is greater than the depth range setting the bottom will not be visible on screen You can select Auto to...

Page 17: ...On Off Off Off This feature identifies targets that meet certain conditions as fish The microcomputer analyzes all echoes and eliminates surface clutter thermoclines and other undesirable signals In m...

Page 18: ...nded objects such as trotlines turtles submerged floats air bubbles etc Depth Cursor Settings On Off The depth cursor consists of a horizontal line with a digital depth box on the right side The numbe...

Page 19: ...king your boat on the water The Simulator Indicator will visible on screen when Simulator is setting to On Simulator Indicator Frontlight Fishing at Night Settings Off 10 to 100 User can switch the Fr...

Page 20: ...elect Off for no fish alarm or select one of the following symbols to set the alarm Large fish only Large Medium fish only All fish Depth Alarm Settings Off 1ft to 99ft 1M to 30M The Depth Alarms soun...

Page 21: ...Battery Voltage Readout will blink when the input battery voltage is equal to or less than the menu setting Transparency Blink Settings 0 to 70 Transparency setting allows you to change the transpare...

Page 22: ...3m Keel Offset will adjust the digital depth readout to indicate depth from the waterline or boat s keel Enter a positive vertical measurement from the transducer to the waterline to read the depth fr...

Page 23: ...eferences White Background Blue Background Surface Clarity Gray Scale Settings Off High Medium Low Surface Clarity adjusts the filter that removes surface clutter noise caused by algae and aeration Th...

Page 24: ...conditions If you have high noise levels try using the High setting However if you are having trouble with noise we suggest that you take steps to find the interference source and fix it rather than c...

Page 25: ...r stopper by pressing it firmly into the float The sensor float must be adjusted so that it is a minimum of 18 cm away from the sensor 2 Toss the sonar sensor and float assembly into water at your des...

Page 26: ...ation adapter mounting bracket for the sonar sensor The adapter includes mounting taps so that you can attach it to any flat surface or boat hull and appropriate rod the Adapter is removable and adjus...

Page 27: ...CORRECT The float can be removed as follows if you do not need it cutting off the rubber stopper from the cable and sliding the safety strap and the float towards the plug and gently take it out from...

Page 28: ...fy that the fish finder is operating properly If it operates properly while directly in the water reposition the sensor in a new location in the hull if it still doesn t work on all hulls and you may...

Page 29: ...properly and will require you to try another spot or cut a hole in the ice to use NOTE To remove the sonar sensor from the frozen ice gently tap sonar sensor at the base with your hand If it will not...

Page 30: ...temperatures above 0 degrees Fahrenheit 17degrees Celsius during operation Remove the batteries from the fish finder to prevent battery leakage and corrosion Clean the sonar sensor and cable with fres...

Page 31: ...s 1 Connect the transducer cable to the main unit and turn power On 2 Place the transducer perpendicular to the water to obtain a correct depth reading 3 Move the transducer in a scanning motion simil...

Page 32: ...isplay if you use this Side Scan Transducer in the place like the picture below So you must judge the result by yourself at there position So you shall judge the information by yourself according to y...

Page 33: ...oat the face of the transducer with petroleum jelly and press it against the hull bottom with a twisting motion c place the transducer in a plastic bag that is full of water and place against the hull...

Page 34: ...before cutting the hole Clear away snow to expose the ice surface making sure the surface is smooth Place a small amount of liquid water on the ice and set the sonar sensor on the water allowing the...

Page 35: ...cause damage to the sensitive internal electronics Cold weather is extremely hard on the electrical components within the display housing It is suggested that you keep the unit in temperatures above...

Page 36: ......

Reviews: