

Summary of Contents for Enduracut
Page 1: ......
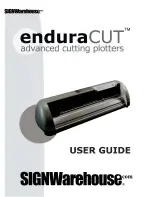
The SignWarehouse.com Enduracut is a high-quality vinyl cutter that is designed for precision cutting. For detailed instructions on how to use this product, download the free User Manual from SignWarehouse.com. Make sure to have the manual on hand for easy reference while working with the Enduracut.
Page 1: ......