background image

MANUAL 

FORTRESS SERIES


FT01 

Summary of Contents for SST-FT01B

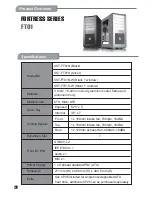
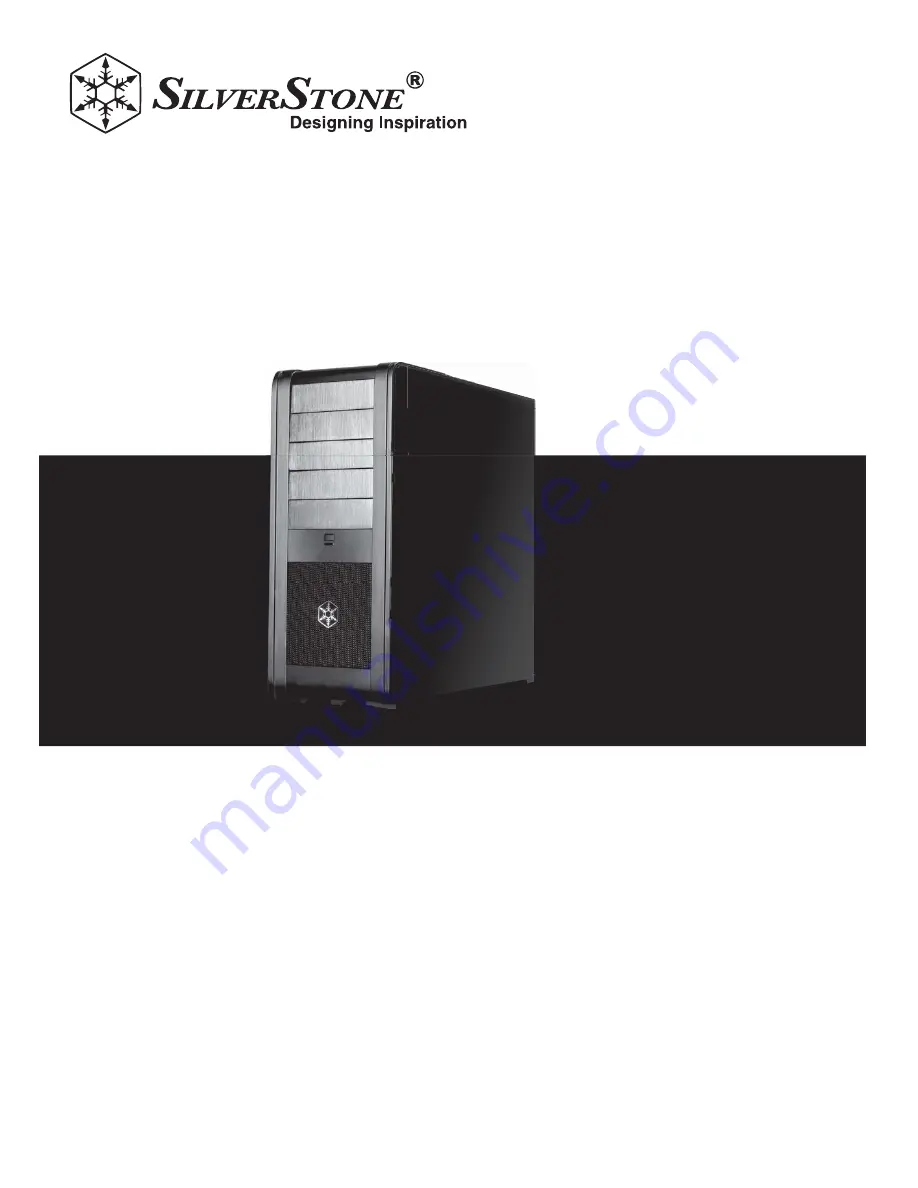
Page 1: ...MANUAL FORTRESS SERIES FT01...

Page 2: ...2 IEEE1394 x 1 audio x 1 MIC x 1 Power Supply 1 x Optional standard PS2 ATX Dimension 211 mm W x 486 mm H x 494 5 mm D One CP05 included for single hot swappable SATA hard drive additional CP05 can b...

Page 3: ...TER 3 5 HDD TRAY PS2 PSU OPTION ATX MB OPTION 12025 FAN 18032 FAN FRONT I O USB2 0 2 SPK MIC IEEE 1394 RESET SW 5 25 5 DRIVE BAY POWER SW 3 5 7 DRIVE BAY HIDDEN LEFT SIDE PANEL RIGHT SIDE PANEL NOISE...

Page 4: ...REW C MOTHERBOARD STANDOFF USB 5V LP LP GND NC USB 5V LP LP GND Pin Pin Pin AGNU NC NC PIN Pin Pin AUD GND PRESENCE SENSE1_RETURN SENSE2_RETURN NO PIN PORTIL PORTIR PORTZR SENSE_SEND PORT2L NC MIC2 MI...

Page 5: ...rales para quitarlos del chasis Rimuovere con un cacciavite le sei viti dai pannelli e spostare la leva di apertura come mostrato rimuovere in seguito i pannelli dal telaio Please release the screws o...

Page 6: ...ew A on other side as required A SCREW A SCREW A A ScrewA die Taste der 5 25 Anlage manuell dr cken um CD ROM zu verschlie en 5 25 Anlage kann mit Schrauben Schraube A auf anderer Seite nach dem Wunsc...

Page 7: ...Spostare verso sinistra la leva tray dell hard drive per rimuoverlo dal telaio Install your hard drive into the tray and secure with included screws Screw C C SCREW C SCREW C C SCREW C Festplatte auf...

Page 8: ...erStone SST CP05 puo essere compatibile con il SATA hard drive Fasten and secure included standoffs on the motherboard tray as required then install your motherboard and secure with included screws Sc...

Page 9: ...io Rimuovere il rivestimento della slot di espansione installare la scheda di espansione e avvitarla come richiesto Install your power supply as shown and then secure with included screws Screw B B SC...

Page 10: ...festigen v rifiez bien que tous les c bles sont bien connect s puis r installez les panneaux et fixez les avec des vis Aseg rese de que todos los cables necesarios est n conectados luego reinstale los...

Page 11: ......

Page 12: ...July 2008 Issue date G11207500...
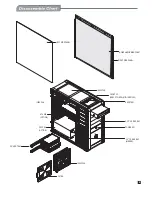
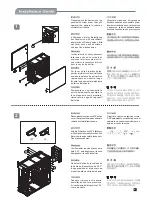
Reviews: