

Summary of Contents for SH90 - REV A
Page 2: ......
Page 8: ...Simrad SH90 6 323773 C ...
Page 83: ...Index 323773 C 81 ...
Page 85: ......
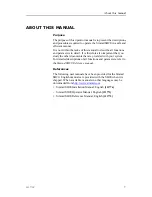
The Simrad SH90 - REV A Operator's Manual is a comprehensive guide for users of this advanced marine radar system. You can easily download the manual for free from our website 88.208.23.73:8080, ensuring you have all the necessary instructions and information to optimize your experience with this exceptional product.
Page 2: ......
Page 8: ...Simrad SH90 6 323773 C ...
Page 83: ...Index 323773 C 81 ...
Page 85: ......