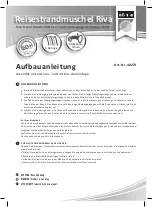
background image

TORSKEN 8

ART.-NR. 16079

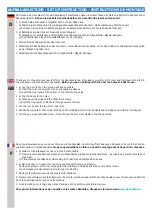
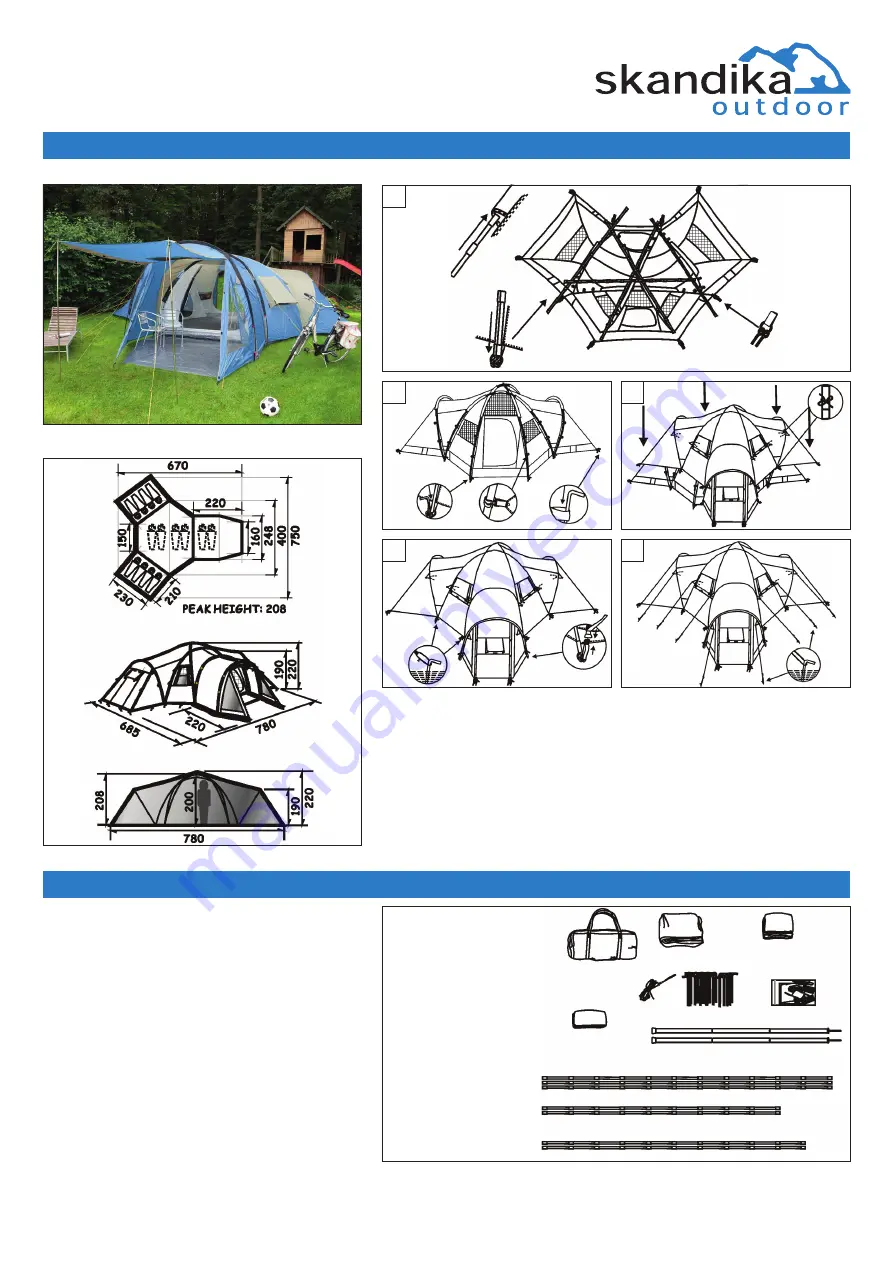
AUFBAUANLEITUNG · SET UP INSTRUCTION - INSTRUCTIONS DE MONTAGE

Weitere Informationen und Tipps zu Skandika-Zelten finden Sie unter

For further information and tips on Skandika tents please see

Pour plus d‘informations et de conseils sur les tentes Skandika, cliquez sur le lien suivant

www.skandika.de

1

2

3

4

5

MITGELIEFERTES ZUBEHÖR · CONTENTS CHECK LIST · INVENTAIRE DU CONTENU

1x

1x

1x

25x

57x

1,80 meters x 2 lines ; Assemble the steel by 

fitting the 3 sections together

1x

1x

6,26 meters x 3 lines, 11 sections per line (for black sleeves)

4,98 meters x 2 lines, 9 sections per line (for yellow sleeves)

5,00 meters x 2 lines, 10 sections per line (for red sleeves)

Summary of Contents for TORSKEN 8

Page 1: ... et de conseils sur les tentes Skandika cliquez sur le lien suivant www skandika de 1 2 3 4 5 MITGELIEFERTES ZUBEHÖR CONTENTS CHECK LIST INVENTAIRE DU CONTENU 1x 1x 1x 25x 57x 1 80 meters x 2 lines Assemble the steel by fitting the 3 sections together 1x 1x 6 26 meters x 3 lines 11 sections per line for black sleeves 4 98 meters x 2 lines 9 sections per line for yellow sleeves 5 00 meters x 2 line...

Page 2: ...enau so mit der Stift und Hülse Befestigen Sie die Stangen indem Sie Heringe durch die Ringe in den Boden verankern möglichst im 45 Winkel um maximalen Halt zu erreichen BEVOR SIE IHR ZELT IM URLAUB BENUTZEN Bauen Sie Ihr Zelt zuerst zu Hause auf Dies hilft Ihnen sich mit den Einzelteilen und den Aufbauvorgängen vertraut zu machen Dadurch wird der nächste Aufbau vereinfacht vor allem falls er bei ...

Page 3: ... then insert the pin into the ferrule as with the first end Fix the poles by pegging through the ring into the ground ideally at 45 in order to obtain max hold BEFORE YOU USE YOUR TENT ON HOLIDAY Pitch your tent at home first This helps familiarise you with the various parts and how to erect your tent and is extremely useful espe cially if you then have to pitch your tent in bad weather conditions...

Page 4: ...e down the poles and the other tent corners c Erect the steel poles to lift doors through eyelets of doors 3 Lay the rain fly over the top of the inner tent 4 Buckle the top hats at both ends of the fly to the webbings which must be tightened and peg down with the iron flapper 5 Pull the guy ropes and stake down this will keep the tent more stable in the strong winds Nous nous réjouissons que vous...

Reviews: